
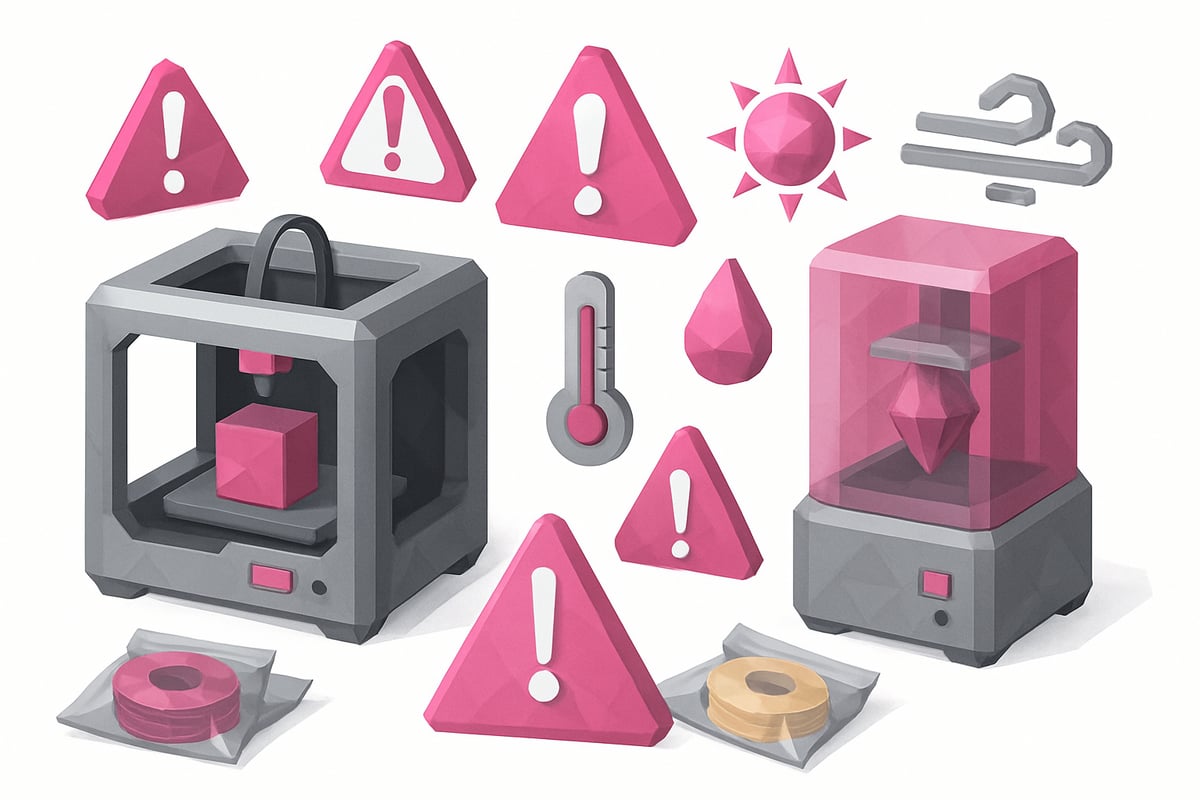
Are your 3D prints not turning out the way you expected? 😩 Don't worry, you're not alone. 3D printing errors are still a major headache for makers and professionals alike, even now that we have more advanced printers and materials in 2026.
Even as the technology improves, issues like poor bed adhesion, warping, and extrusion problems can still catch you off guard. But don't stress — here you'll find out how to identify and fix them step by step.
Get ready to discover the 10 most common 3D printing mistakes and learn how to avoid them so you can improve print quality, save material, and achieve incredible results. Let's print with confidence! 🚀
Why Do 3D Printing Errors Still Happen in 2026?
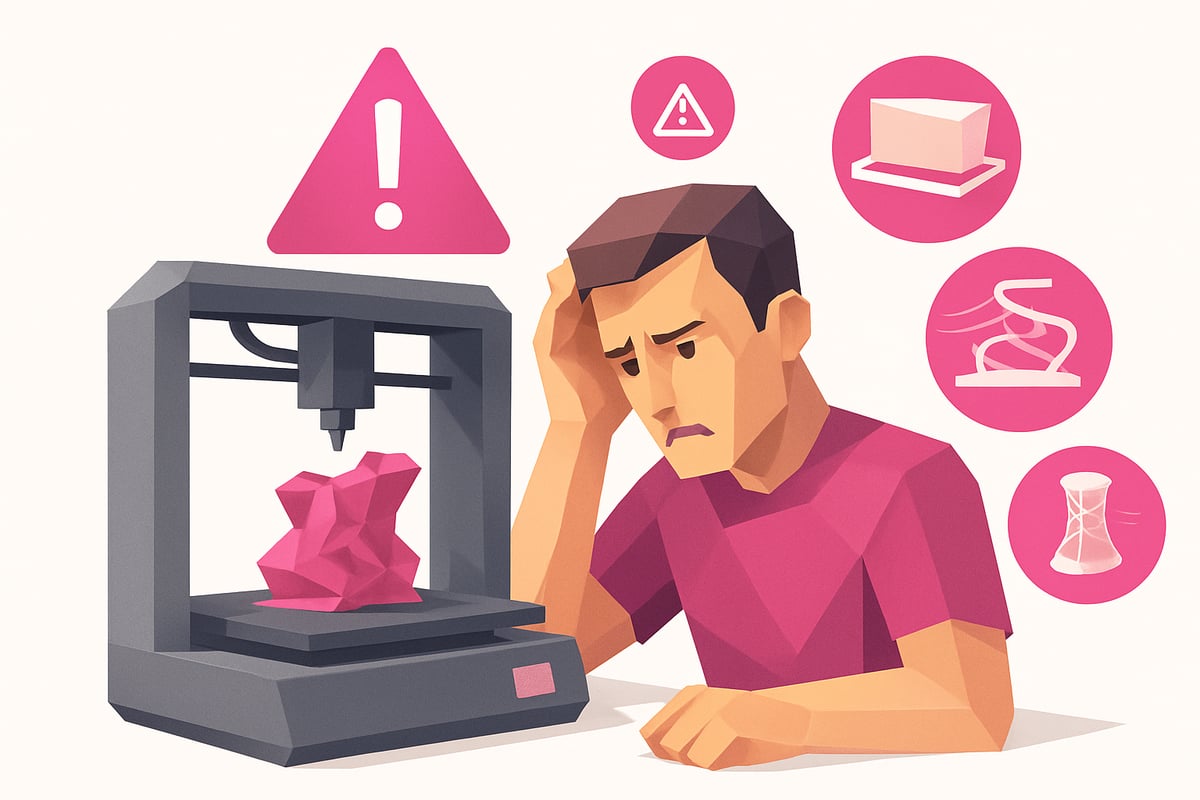
It seems hard to believe, but even in 2026, 3D printing failures are still an everyday reality for makers and professionals! 🤯 FDM and resin printers have come a long way, and we now have smarter materials and more intuitive software — yet the classic problems haven't gone away.
These issues persist because many users overlook the initial setup, skip regular maintenance, or simply underestimate how much their printing environment matters. Sound familiar? That first layer that just won't stick is a struggle whether you're a beginner or a seasoned maker. On top of that, factors like humidity, ambient temperature, and filament quality can ruin an otherwise perfect print in minutes.
According to leading 3D printing blogs, up to 60% of current failures come down to first layer and extrusion issues. That's why staying up to date with new techniques and continuous learning is essential. If you want to dive deeper into these challenges and find out how to avoid them, I recommend checking out this guide on common 3D printing errors and how to fix them.
The world of 3D printing keeps evolving, but the key is to learn, experiment, and fine-tune. Every print can be better than the last! 🚀
10 3D Printing Mistakes You Need to Avoid in 2026
Ever had a 3D print that seemed to be going perfectly — only for something to go wrong at the end? It happens to everyone! Here are the 10 most common 3D printing errors in 2026 and how to avoid them so you can nail every print. 🛠️
1. [Not Leveling Your Print Bed Properly]
If your print bed isn't level, the first layer will fail and 3D printing problems will follow quickly. Poor adhesion and shifted prints are telltale signs. Even if your printer has auto-leveling, it's always worth doing a manual check using a sheet of paper or dedicated sensors. Make bed calibration part of your routine before every print, and you'll notice a significant drop in warping and first layer failures.
2. [Using the Wrong Bed and Nozzle Temperatures]
Every material has its ideal temperature range, and ignoring this is one of the quickest ways to run into 3D printing issues. PLA, for example, typically works best with a bed temperature of 55–60 °C, while ABS needs more heat. Too low, and you'll get poor adhesion or warping. Too high, and you'll end up with stringing and rough surfaces. Always check your filament's technical data sheet before you start!
3. [Not Cleaning the Print Surface]
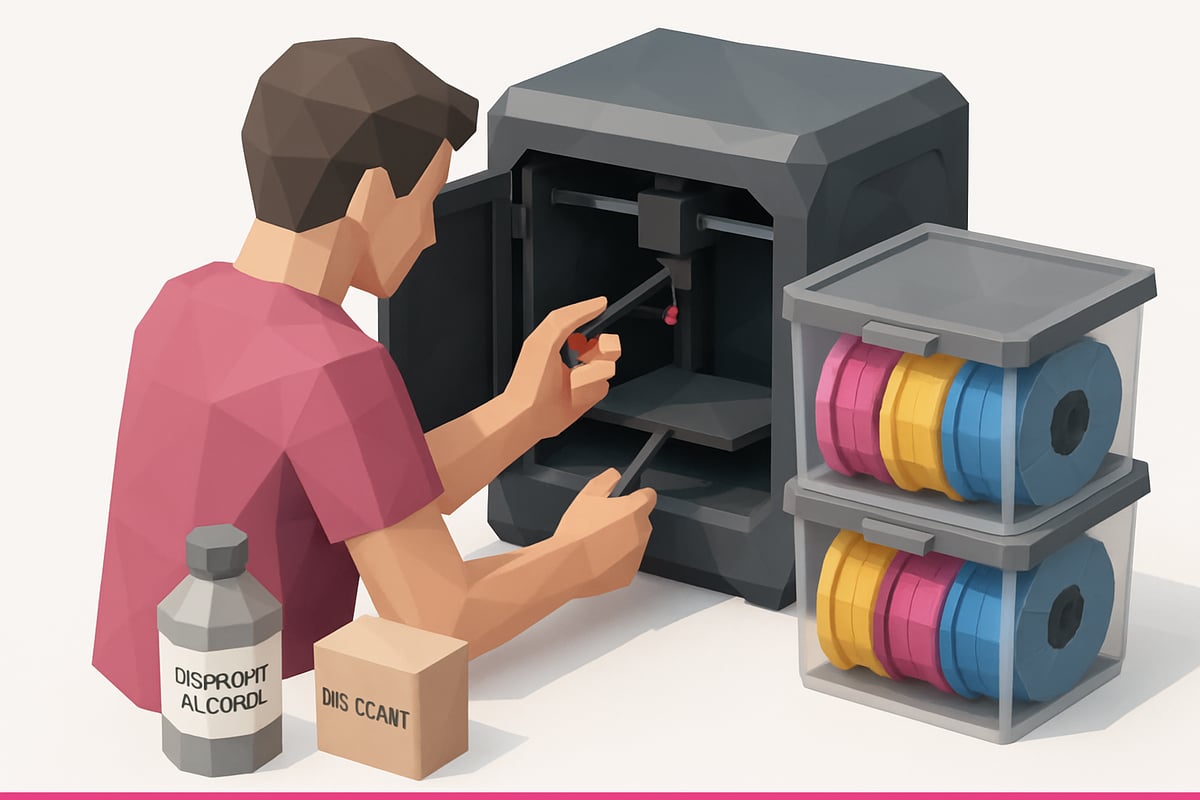
Are your first layer lines not sticking, or are corners lifting off the bed? You likely have dust or grease on the build plate. A dirty surface is one of the most common causes of 3D printing failures. Wipe it down with isopropyl alcohol between every print, and pay extra attention to surfaces like PEI or glass, which each have their own care requirements. Keep your bed clean and your prints will thank you.
4. [Setting the Wrong Nozzle Height (Z-Offset)]
A poorly dialed-in Z-offset can cause filament to not adhere properly, drag material across the bed, or even scratch and damage the surface if it's set too low. Run first layer tests and fine-tune until you get a smooth, continuous line. Remember — too far and too close are both problems; finding that sweet spot eliminates a huge number of 3D printing issues and noticeably improves part quality.
5. [Neglecting Extruder and Nozzle Maintenance]
The extruder and nozzle are the heart of your printer. Skip regular cleaning and you'll run into clogs, under-extrusion, and incomplete layers — some of the most frustrating 3D print failures out there. Use the cold pull method and clean your nozzle every 500–1,000 hours. If you're hearing clicking sounds or seeing gaps in your layers, it's time to inspect the whole system.
6. [Storing Filament or Resin Incorrectly]
Moisture is the number one enemy of both filament and resin. Store them poorly and you'll end up with popping, bubbles, and brittle parts — all completely avoidable 3D printing problems. Use airtight bags, desiccants, and dry storage boxes. Materials like PLA and PETG absorb moisture quickly, especially on humid days. If you're seeing irregular stringing or rough surfaces, your storage setup might be the culprit.
7. [Printing Too Fast or at the Wrong Speed]
Want faster prints? Be careful — pushing speeds too high causes vibrations, layer shifting, and loss of fine detail. Speed-related 3D printing failures are more common than most people realize. For quality results, aim for 40–60 mm/s and adjust travel speed and perimeter settings to suit your specific printer. Even high-speed machines need careful tuning to perform at their best.
8. [Not Dialing In Retraction and Flow Rate]
Retraction and flow rate are essential settings for avoiding stringing and rough surfaces. Skip calibration and you'll see classic 3D printing defects like blobs and threads of filament between parts. Adjust retraction distance and speed based on whether you're running a direct drive or Bowden extruder. PETG tends to need extra attention here. And don't forget to calibrate your flow rate in your slicer.
9. [Ignoring the Printing Environment (Drafts, Ambient Temperature)]
Your printing environment matters more than you might think. Drafts and sudden temperature fluctuations cause warping and layer separation — two of the most common 3D printing failures. Use an enclosure, shield your printer from drafts, and keep windows closed, especially when printing with ABS or Nylon, which are particularly sensitive to temperature changes. Control your environment and your parts will come out clean every time.
10. [Not Keeping Firmware and Slicer Software Updated]
Outdated software can trigger 3D printing errors through incompatible G-code or broken support generation. Always keep your slicer and firmware up to date to take advantage of the latest features and bug fixes. Programs like PrusaSlicer and Cura release frequent updates that address common issues. Check the changelogs regularly and don't fall behind.
Want to cut down on 3D printing failures even further? Always choose quality materials and check out our 3D Printing Filaments guide to get the best results from every single print. The difference is real!
How to Spot and Fix Errors Before You Hit Print
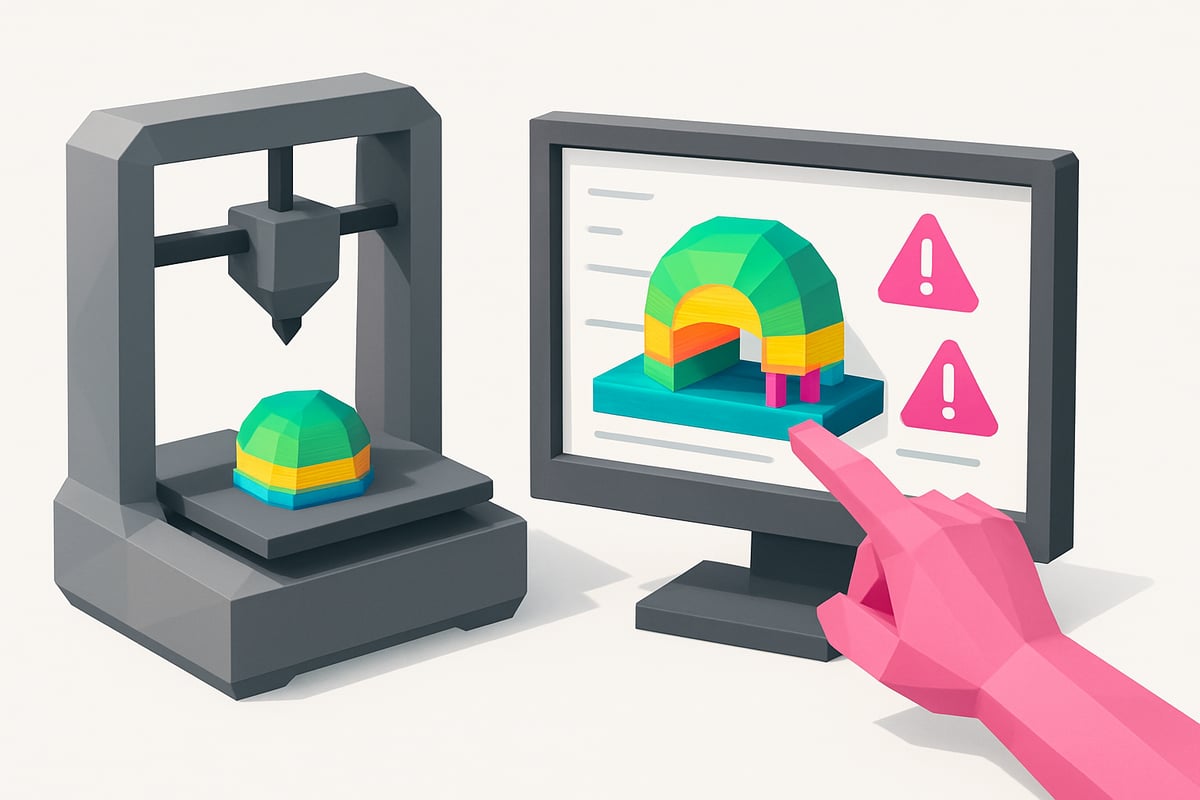
Have you ever spent hours on a print only to have it come out completely wrong? Catching 3D printing mistakes before you hit "print" is the key to saving time, material, and a whole lot of frustration. 🧐
Today, slicers like PrusaSlicer or Cura let you simulate the print and preview each layer before you commit. This makes it easy to spot issues like poorly placed supports, tricky overhangs, or suspicious toolpaths before it's too late.
Another best practice is running test prints, especially when switching materials or dialing in new settings. Checking the layer preview helps you catch under-extrusion or insufficient infill ahead of time. On platforms like OctoPrint, you can even monitor flow in real time and pause the print if something looks off.
Prevention is always easier than damage control. If you want to go deeper on how to anticipate and fix the most common 3D printing problems, check out this helpful breakdown of common 3D printing issues and solutions from Autodesk.
Remember — a few minutes of review can save you hours of reprints. 😉
Extra tips to improve your 3D prints in 2026
Want your prints to come out perfect on the first try? Here are some extra tips to leave common 3D printing problems behind and take your results to the next level! 😎✨
Keep a print log: Record the settings that worked for each material and model. That way you can reproduce great results without guessing.
Clean and maintain your printer: Regularly check and clean the moving parts and rails. Proper maintenance prevents the majority of 3D printing failures. Want to go further? Check out this 3D printer maintenance guide with real photos of our machines.
Use quality materials: Don't cut corners on filament or resin. Premium materials — like our 3D printer resins — reduce failures and deliver a better surface finish.
Keep learning: Follow specialist blogs, YouTube channels, and forums. Staying up to date is key to consistent results!
Check manufacturer guidelines: Always use official guides and resources when dialing in settings — no surprises that way.
Optimize orientation and infill: Rotate your model to reinforce critical areas and choose infill patterns based on the part's intended function.
Did you know that 80% of printing problems can be solved with proper maintenance and settings? Tap into the power of community knowledge: join our Telegram group at https://t.me/MrResin3D and subscribe to our Newsletter for exclusive deals and the latest updates. Don't miss out!
Now that you know the most common 3D printing mistakes and how to avoid them, the next step is making sure you're using quality materials to get flawless results every time. Whether you're into highly detailed miniatures, working on prototypes, or just trying to nail that perfect first layer, choosing the right resin makes all the difference. If you're ready to explore new formulas or looking for inspiration for your next project, check out our full selection and discover everything we have to offer right here:
Shop all 3D printing resins