

Miniature board games are having an incredible moment right now, and 3D printing is the secret ingredient taking this hobby to a whole new level. 🤩 If you've ever dreamed of customising your army, creating a hero from scratch, or simply replacing that piece that mysteriously went missing, you've come to the right place.
Thanks to resin technology, producing figures with jaw-dropping levels of detail is more affordable than ever.
How 3D Printing Is Revolutionising Board Games
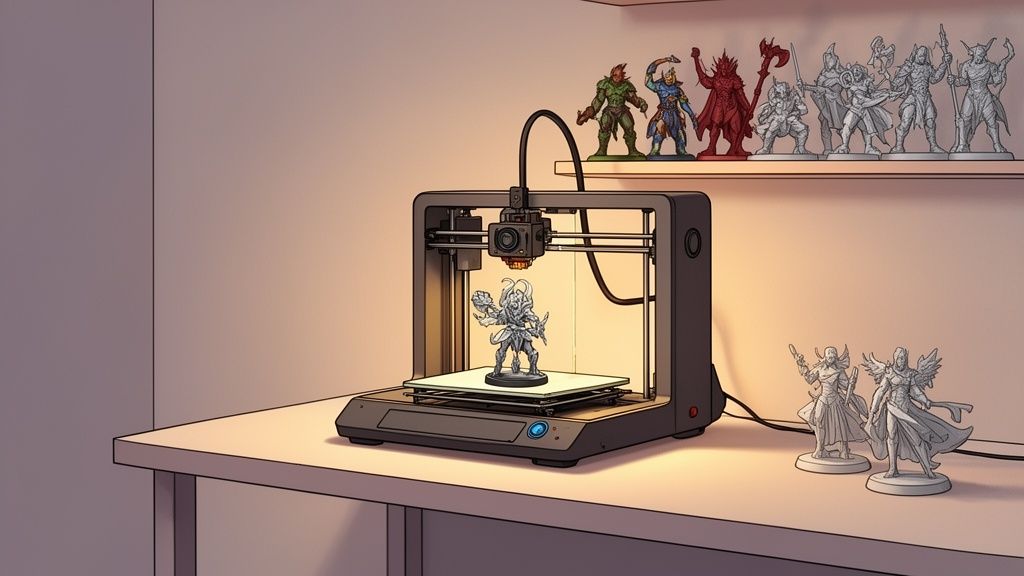
Let's be honest: the boom in miniature board games is very real. What was once a niche corner of the hobby world has become a passion that's hooking thousands of players. And right at the heart of it all, 3D printing has gone from science fiction to the ultimate tool in any gamer's arsenal. 🚀
This growth really took off in the wake of the pandemic, when so many of us rediscovered the joy of hands-on, creative hobbies. Suddenly, the idea of not just playing but actually making your own game components opened up a world of possibilities. You're no longer stuck with whatever comes in the box — the only limit is your imagination.
A Hobby That Just Keeps Growing
The surge of interest in wargames and scale modelling has been one of the biggest driving forces. A 2020 market study was already showing strong signs of growth, revealing that Spanish board game and miniature publishers turned over 261 million euros. And while minis accounted for just 6% of their catalogues, their pull among dedicated hobbyists continues to grow. If you want to dig into the numbers, take a look at this detailed market analysis.
This only confirms what many of us already knew: players want more than just a game. They want an immersive, personal experience. They want their armies, their heroes, and their dungeons to be truly unique. ⚔️
The real magic happens when a character you designed and printed yourself hits the tabletop for the very first time. It's a connection no off-the-shelf figure can match. ✨
Customisation for Everyone
3D printing has genuinely democratised the creative process. In the past, designing a miniature meant knowing how to sculpt and wrestling with expensive moulds. Today, with a good resin printer and access to thousands of STL files — many of them completely free — you can bring almost anything you can imagine to life.
That opens up a huge range of possibilities:
- Print proxies: Can't find that character from your favourite game, or is it way out of budget? Print your own version and get straight to playing.
- Design custom components: From themed tokens and markers to stunning terrain that'll leave your mates speechless.
- Modify and adapt models: Rescale a model, swap in new weapons, or change the pose so it fits your vision perfectly.
In short, 3D printing puts you in the creative director's chair for your own adventures, turning every game night into something that's genuinely yours.
Choose your setup for high-definition miniatures
Getting into the world of 3D printing for your tabletop miniatures can feel overwhelming at first, but trust me — it's a lot more straightforward than it looks. 🛠️ The key is knowing exactly what you need to make your figures look stunning on the table with a level of detail that leaves everyone speechless.
Resin technology (SLA/DLP/MSLA) has come a long way. What used to be reserved for industrial labs is now something we can run at home, with printers reaching resolutions of 8K, 12K and even 14K.
But what does that actually mean in practice? Think of it this way: each "K" refers to how many pixels the LCD screen has — the screen that cures the resin layer by layer. More pixels in the same space means sharper details and smoother surfaces. With a 12K printer, a 28mm miniature can show the texture of a cloak or the battle scars on a warrior's face — details that a lower-resolution machine would simply miss.
The ideal 3D printer for your miniatures
Don't get caught up in resolution numbers alone — balance is everything. There are other factors just as important when choosing your machine.
Here's what to look for:
- Build plate size: If you're only printing individual heroes, a smaller plate is more than enough. But if you're planning to build an army or print terrain pieces, you'll want a printer with a solid build volume.
- Print speed: Printers with monochrome screens cure layers much faster, which means more finished figures in less time.
- Ease of use: Look for models with a clear interface, straightforward levelling, and a strong community behind them. Brands like Elegoo and Anycubic are well known for exactly this.
A great starting point is an 8K or 12K printer. It strikes a fantastic balance between detail, speed, and price — and it's a community favourite. To learn more about which model suits you best, check out our complete guide to resin 3D printers.
The resin makes all the difference
If the printer is the brush, the resin is the paint. The type you choose will directly affect the final level of detail, how well your miniatures hold up on the gaming table, and how easy the post-processing is. Every resin has its own quirks.
To help you make sense of it all, we've put together this comparison table — a handy cheat sheet to help you figure out which resin works best for whatever project you have in mind. 📝
Resin comparison guide for tabletop miniatures
This table helps you choose the right resin based on your detail requirements, durability needs, and post-processing preferences for your miniatures.
| Resin Type | Key Advantages | Best For | Product Example |
|---|---|---|---|
| Standard | Budget-friendly and beginner-friendly. Great for getting solid detail without breaking the bank. 👍 | Prototypes, terrain, and miniatures that don't need to withstand heavy handling. | Anycubic Standard Resin+ |
| ABS-Like | Far tougher and more flexible than standard resin. Handles drops and regular tabletop use much better. 💪 | Gaming miniatures, mechanical parts, and any model that gets handled frequently. | Elegoo ABS-Like Resin 2.0 |
| Water-Washable | Easy cleanup with no isopropyl alcohol needed. Lower odour than standard resins. 💧 | Projects where easy post-processing is a priority — ideal for beginners. | Anycubic Water-Wash Resin+ |
| High Definition (8K/14K) | Formulated to capture the finest possible detail with high-resolution printers. 💎 | Display miniatures, highly detailed character models, and complex sculptures. | Mr Resin 14K Ultra |
As you can see, there's no single "best" resin for everything — only the right resin for each type of miniature. Think about how you'll actually use the model, and you won't go wrong.
Choosing the right printer and resin combination is the first big step towards bringing your armies to life. 🚀
Turn a digital file into a real miniature
The journey from an STL file to a finished miniature sitting on your gaming table is the heart of this hobby. 🖥️➡️🤖 To achieve that level of detail you're after, everything starts with high-resolution files that are properly prepared for your resin printer.
Even before you open your slicer software, take a good look at the model. Does the orientation make sense? Is the size right? Make sure the scale matches your game to avoid any nasty surprises.
And speaking of scale — it's a crucial detail. Nobody wants a tiny hero standing next to an orc that should be the same height. 28mm and 32mm are the most common standards in wargames and tabletop RPGs, making them a safe choice. If your model isn't already at that scale, simply adjust it in your slicer to keep everything looking consistent on the board.
Where to find quality STL files
Fortunately, we're living in a golden age for 3D printable files. There are countless specialist platforms packed with both free and paid models. Sites like Thingiverse, MyMiniFactory, and Cults are a great starting point, with massive libraries you can filter by theme or licence type.
The advantage of using well-known platforms is that you're downloading community-tested models, which saves you a lot of headaches and failed prints. If you'd rather not spend anything upfront, check out our roundup of the 21 best websites for free STL files to find reliable designs at no cost.
This is, in broad strokes, the path your idea takes from screen to finished hero on the tabletop.
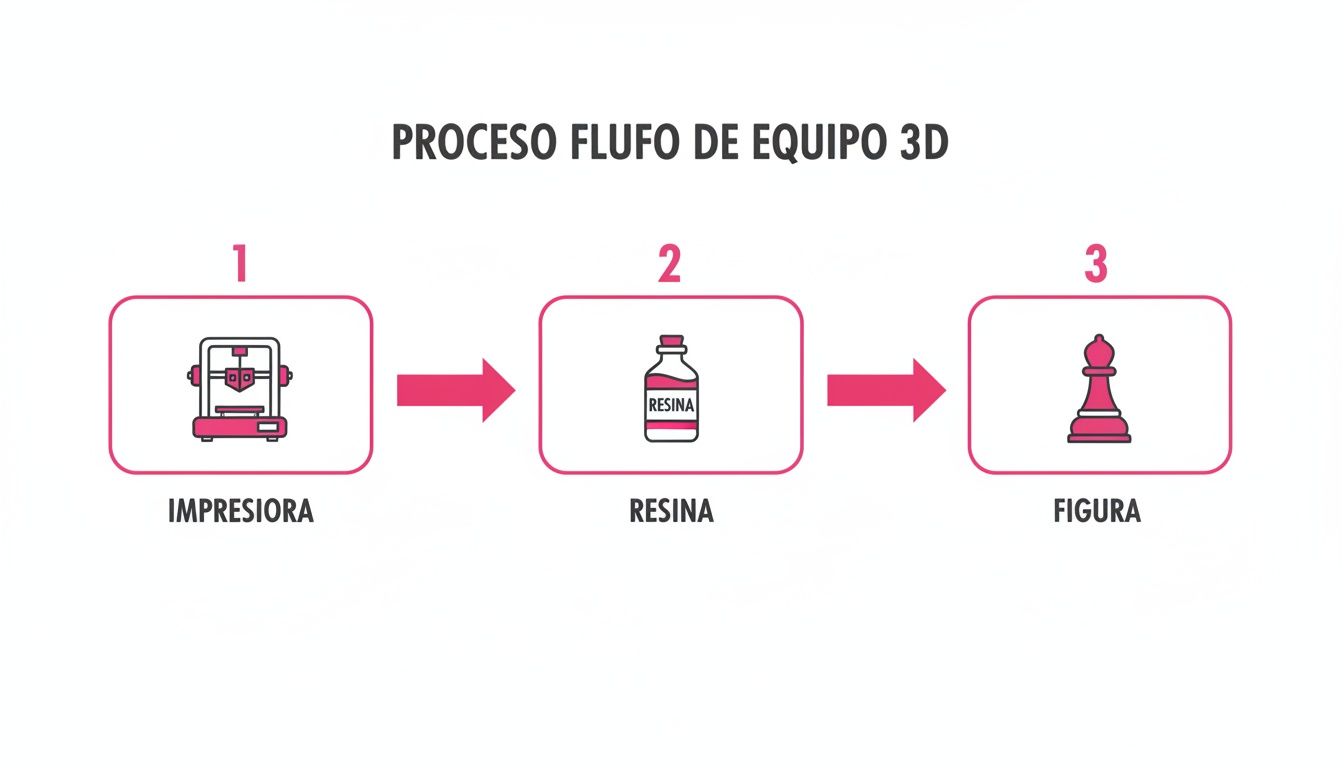
As you can see, everything is connected. A solid initial setup is the key to avoiding wasted resin and failed prints.
The art of orientation and supports in your slicer
Here's a golden tip I've learned through trial and error, especially in slicers like Chitubox or Lychee: tilt your miniature between 30° and 45°. Why? Because it reduces support marks on visible areas and improves layer adhesion. This angle relieves stress on the lower layers and, trust me, makes removing supports so much easier later on.
Some practical tips that will save more than a few prints:
- Add supports to any overhang larger than 1 mm.
- Use thin contact point diameters between 0.5 mm and 0.8 mm. You'll use less resin and the marks will be minimal.
- Set support density to 10–20%. It's the perfect balance between solid support and easy cleanup.
Beyond supports, consider hollowing out larger figures. Not only will you use less resin (up to 30% less!), you'll also speed up curing. Just remember to add drain holes so the liquid resin trapped inside can escape.
Recommended print settings to get you started
Every resin and printer has its quirks, but these parameters are an excellent starting point for miniatures.
- Layer height: 0.05 mm is a solid standard for capturing fine detail without stretching print times.
- Exposure times: For mono screens, aim for 6 to 8 seconds per layer.
- Anti-aliasing: Turn it on! It smooths edges and curves, eliminating the dreaded "staircase" effect.
- Z-lift distance: Around 5 mm is usually enough to peel the part from the FEP without creating too much suction.
With these settings, your miniatures will come off the printer ready for clean post-processing and a near-professional finish. Now that your figure is printed, comes the fun part: prepping it and bringing it to life with paint.
Give your miniatures the professional finish they deserve
Taking the piece off the printer is just the beginning of the journey. Trust me, post-processing is what separates a decent print from a stunning miniature worthy of any **tabletop miniature wargaming** board. It's the "dirty" work that truly brings your creations to life and makes them shine. ✨When the printer beeps for the last time, the figure comes out tacky and coated in liquid resin. Now it's time to give it a proper wash to reveal all that detail you fought so hard to achieve with your supports and settings.
Thorough cleaning and support removal
For cleaning your prints, you have two main options: the classic isopropyl alcohol (IPA) or, if you've chosen a dedicated resin, plain water. IPA is the tried-and-true method and never lets you down — it dissolves uncured resin brilliantly. If you want to streamline the whole process, a wash and cure station like the Anycubic Wash & Cure 3.0 automates everything and saves you a serious headache.
Water-washable resins, on the other hand, are a fantastic alternative if you want to avoid fumes and handling stronger chemicals. A simple water bath with gentle agitation, and you're done.
After cleaning comes the delicate part: removing the supports. Patience and a pair of fine flush cutters are your best friends here. The trick is not to cut flush with the surface — leave about a millimetre and then gently sand down that small nub that remains.
My golden tip: remove the supports before fully curing the print. At this stage, the resin is still slightly flexible, which dramatically reduces the risk of snapping off a chunk of your miniature when pulling the support away. 👍
UV Curing for Rock-Solid Hardness
Once clean and support-free, your miniature needs a proper UV curing session. The final cure is what fully hardens the resin, giving it the durability it needs to hold up through countless gaming sessions. A curing station with a rotating turntable is ideal, as it ensures the UV light reaches every nook and cranny.
How long should you cure for? It depends on the resin and the size of the model, but here's a quick guide:
- Small pieces (28–32mm): Usually 2 to 5 minutes is more than enough.
- Larger or bulkier pieces: These may need up to 10–15 minutes to cure properly all the way through.
Be careful not to overdo it though! Over-curing can make the resin brittle and may even cause yellowing.
Final Touches: Repair and Prep
Even with the greatest care in the world, you'll sometimes be left with small support marks or minor imperfections. Don't panic — it's completely normal and totally fixable. A two-part epoxy putty, such as the classic Green Stuff, lets you fill any gaps or rebuild fine details that may have been lost.
Once the putty has cured, a gentle pass with fine-grit sandpaper will leave the surface smooth as silk, ready for the next step. This final cleanup is key to giving your board game miniatures a flawless base before moving on to the best part: painting! 🎨
Paint Your Miniatures and Bring Them to Life on the Tabletop
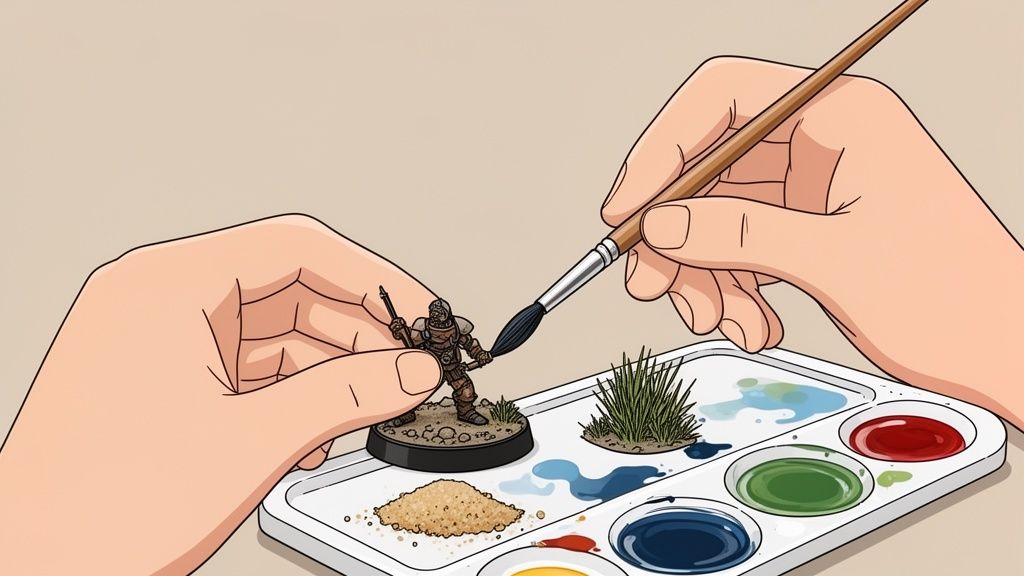
And now we reach my favourite part: the moment to add colour and character to your creations. 🎨 Painting your board game miniatures is what brings them to life and turns them into one-of-a-kind pieces that will tell epic stories across the tabletop.
With your model cleaned, cured, and sporting a perfect surface, the canvas is ready. And no, don't be put off if you've never picked up a brush before. With just a few basic techniques, the results you can achieve will genuinely surprise you.
Priming: The Foundation of a Great Paint Job
Never — and I mean never — underestimate the power of a good primer coat. This step is absolutely critical. Primer creates a uniform matte surface that paint will grip like glue. Trying to paint directly onto bare resin is a recipe for disaster; the paint won't adhere properly and will chip at the slightest knock.
You can use spray primer, which is the most convenient option, or apply it with an airbrush if you have one. The most common choices are neutral colours like black, white, or grey, and each one has its own advantages:
- Black: Ideal for dark colour schemes. The best part is that it automatically creates natural shadows for you — less work straight off the bat!
- White: Makes any colours you apply on top pop and look far more vibrant. It's perfect for bright miniatures or models with really vivid tones.
- Grey: A fantastic middle ground that works brilliantly with almost any colour palette. It's my go-to choice most of the time.
The secret is to apply it in very thin coats and from a sensible distance. The last thing you want is to fill in all those details you worked so hard to print.
Essential painting techniques for beginners
Once the primer is dry, the real fun begins. With just three basic techniques, you can take your miniatures from a lump of plastic to a hero or monster with real character.
- Base Colours: This is all about laying down the main colours of your miniature. Paint each area with its corresponding colour: silver armour, orc-green skin, deep red robes... A golden rule: two thin coats is always better than one thick, gloopy one.
- Washes (Shades): Washes are highly thinned paints that flow into every nook and cranny of the miniature. It's almost like magic. When applied, they darken recesses and folds, creating shadows and depth in the simplest way possible. A dark wash over metallic armour will make every rivet and joint stand out instantly.
- Drybrushing: This technique is king when it comes to highlighting raised details. Load a little paint onto an old brush, wipe off almost all of it onto a piece of kitchen paper, then lightly sweep it across the surface of the miniature. The tiny amount of paint left behind will catch only the edges and textures — like the folds of a cloak or the edge of a sword.
Trust me, combining these three techniques is the foundation of 90% of the miniature painting work you see out there. Master them, and a whole world of possibilities will open up for your tabletop miniatures.
A universe of colour and texture at your fingertips
The acrylic paint market for scale modelling and miniatures is enormous, but brands like Vallejo are an industry standard thanks to their quality and colour range. Their Game Color line is perfect for getting started. If you fancy trying something more advanced, Xpress Color paints let you achieve shading and highlighting effects in a single coat — absolutely brilliant!
If you want to dive deeper into this topic, I'd recommend taking a look at our guide on how to use Vallejo Game Color to paint your resin prints.
Finally, don't forget the base! Good basing is what truly integrates the miniature into its world. You can use texture pastes, static grass, small rocks or tufts to create a mini diorama that tells a complete story. An orc on a rocky base will always look far cooler than one sitting on a plain black plastic disc. 🌲🪨
Conclusion:
And with that, we've reached the end of our journey. We've covered the entire process, from the moment you decide which printer and resin to buy, all the way to that final, proud brushstroke on your finished miniature. This isn't just theory anymore — you now have a complete roadmap to take your tabletop gaming to the next level. 🚀
Say goodbye to being stuck with whatever figures come in the box. The power to bring unique characters to life — entire armies that will tell your own stories on the tabletop — is literally in your hands. This goes way beyond a hobby: it's pure, unfiltered creativity.
So you have everything you need for this adventure, we invite you to check out our online store at Mr Resin. You'll find everything from high-definition resins to the best paints and tools. We've got it all to bring your projects to life!
But it doesn't stop there, not by a long shot. The best part of this hobby is sharing it. That's why we want you to join our maker community on our Telegram group for exclusive community discounts and deals, plus coupons, news, and special events. It's the perfect place to show off your creations and get answers from fellow hobbyists. 💬
Oh, and don't forget to subscribe to our Newsletter. That way you'll always be the first to hear about new releases, coupons, and events we put together. We'd love to have you! 💌
Answering the most common beginner questions
When you first dive into this hobby, it's completely normal to have a ton of questions. We've all been there. Here are straight-to-the-point answers to the most common ones, so you can start printing your tabletop miniatures on the right foot. 🤔
Which 3D printer should I buy as a beginner?
If you're just starting out, look for a machine that delivers quality, good looks, and value — but above all, ease of use. My personal recommendation is to take a look at models like the Elegoo Mars or the Anycubic Photon Mono.
Both are fantastic workhorses for beginners. They deliver incredible resolution for highly detailed miniatures and won't drive you crazy during setup. They also have massive user communities behind them, so if you get stuck, there'll always be someone on a forum or Facebook group ready to help you out.
Can I use any resin for my minis?
Technically yes, but the results can vary massively. If you're after obsessive detail for display pieces, 8K or 14K resins are stunning — they capture even the tiniest wrinkle.
On the other hand, if your minis are going to hit the table and take the punishment of regular play, I'd highly recommend an ABS-Like resin without hesitation. They're more flexible and handle impacts much better. Drop your orc off the table and chances are he'll live to fight another day.
Is painting miniatures really that hard?
Not at all! Don't let the brushes intimidate you — they don't bite. It's way more approachable than it looks. If you learn just three basic techniques — base coats, a good wash to add shadows, and a touch of drybrushing to highlight the edges — you'll already be getting results that will surprise you.
The most important thing is to have fun and enjoy watching a grey lump of plastic come to life. That's what gets you hooked! 🎨
How do I store all this stuff?
Liquid resin is sensitive. Always store it in its original opaque bottle, somewhere cool and dark. Keep it well away from sunlight — no exceptions! ☀️
For your printed and painted miniatures, a display cabinet is ideal for showing them off while keeping dust at bay. Alternatively, a foam-lined storage case — the kind used to transport armies — is perfect for keeping them safe from knocks and scratches. That way your hard work will last for years to come.
✨ Happy Printing! 🚀