
🕒 Are your Anycubic resin 3D prints not turning out the way you expected? More often than not, the secret lies in your Anycubic resin exposure time — a single setting that can mean the difference between a perfect print and a failed one.
In this guide, you'll learn how to master this parameter in 2025 and avoid the most common mistakes. We'll cover what exposure time actually is, what factors affect it, how to dial it in step by step, specific recommendations for each Anycubic printer model and resin type, plus expert tips for flawless results.
Get ready to take your resin 3D prints to the next level. Let's get those perfect parts!

What Is Exposure Time for Anycubic Resins?
Anycubic resin exposure time is the number of seconds UV light cures each layer of resin inside your 3D printer. This setting determines how thoroughly the resin solidifies, and it directly impacts the quality, accuracy, and strength of your prints.
There are two main types: bottom exposure time, used for the first few layers to ensure solid adhesion to the build plate, and normal exposure time, which applies to the rest of the print. Getting these values wrong can cause issues like lost detail, malformed layers, or brittle parts. In fact, specialized forums suggest that up to 80% of Anycubic resin print failures come down to incorrect exposure time settings.
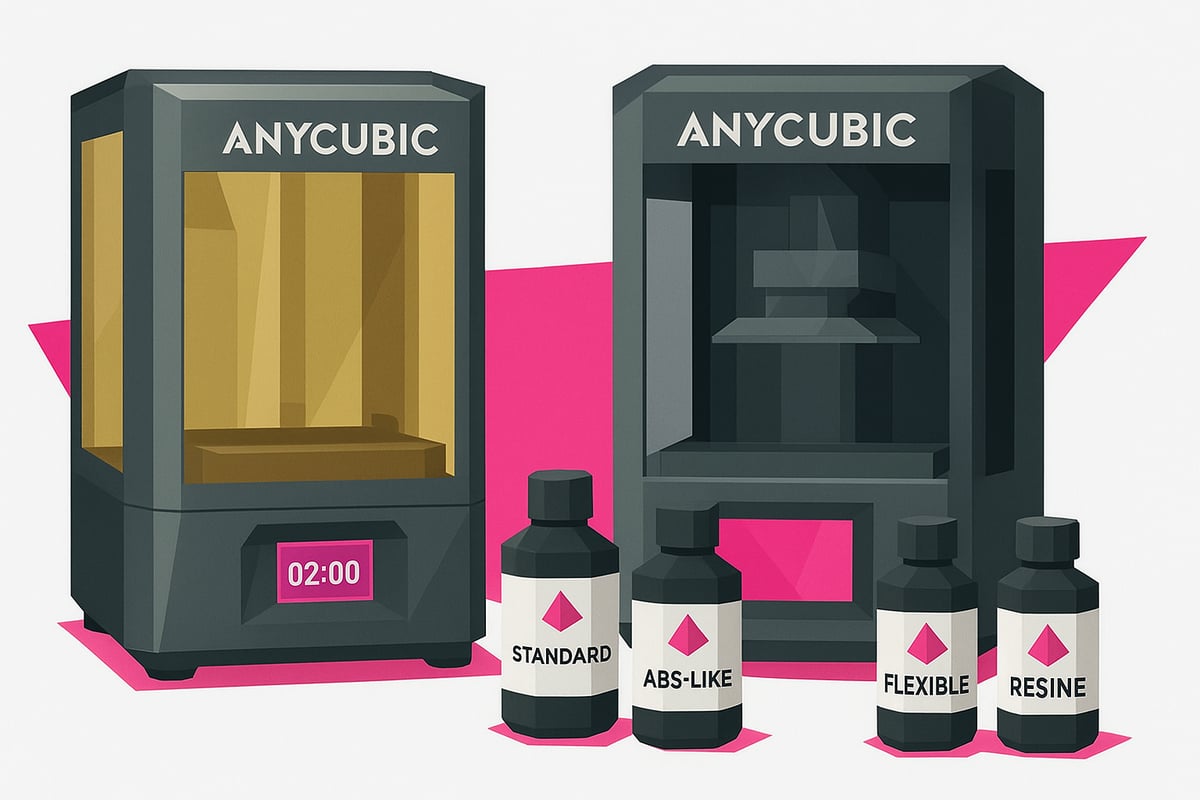
For example, the Photon Mono X and Mono M5 require different exposure times due to variations in UV light power and screen size. The type of resin you use — standard, ABS-like, or flexible — also plays a major role in achieving proper adhesion and successful prints. To explore all available models and variants, check out the Anycubic 3D resin catalogue to find the right resin and dial in your Anycubic resin exposure settings.
Factors That Affect Exposure Time
Anycubic resin exposure time is not a one-size-fits-all setting! A range of factors influence your final print results. If you've ever wondered why two people using the same printer get completely different outcomes, here's your answer.

Your Anycubic Printer Model
Each Anycubic printer has unique specs that directly affect resin exposure time. For instance, the Photon Mono X features a larger screen and more powerful UV light than the Mono M5, allowing it to cure resin faster.
Differences in light intensity and LCD screen size determine how the resin responds during printing. Referencing actual images of these models — like those available at www.mrresin.es — can help you identify your machine and fine-tune your settings accordingly.
If you're unsure about the optimal values for your specific model, you can also consult the Anycubic resin print parameters, where you'll find recommended settings for each printer and resin type.
The Type of Resin You're Using
Resin type is another critical variable. Standard resins generally require shorter exposure times than ABS-like or flexible resins, which often need extra seconds to cure fully.
With specialty resins — such as transparent or heavily pigmented options — you'll notice that the pigmentation affects how much light passes through the material. That's why it's worth browsing visual examples of Anycubic resins and other options in the catalogue at www.mrresin.es before adjusting your settings.
Pro tip: whenever you switch resin brands or types, always run an exposure test print first to avoid any unpleasant surprises.
Environmental and Configuration Settings
Don't overlook your environment. Ambient temperature and humidity can shift your Anycubic resin exposure time by as much as 10%. Even a 5°C temperature change can be enough to affect your results.
The cleanliness of your LCD screen and the condition of its protective film also matter. A dirty or scratched screen prevents light from passing through evenly, which can lead to failed prints.
Other key parameters include layer thickness and overall print height. Thicker layers typically require longer exposure times, while taller prints may call for additional fine-tuning.
Remember: always verify that all factors are aligned before printing to avoid failed prints and wasted resin.
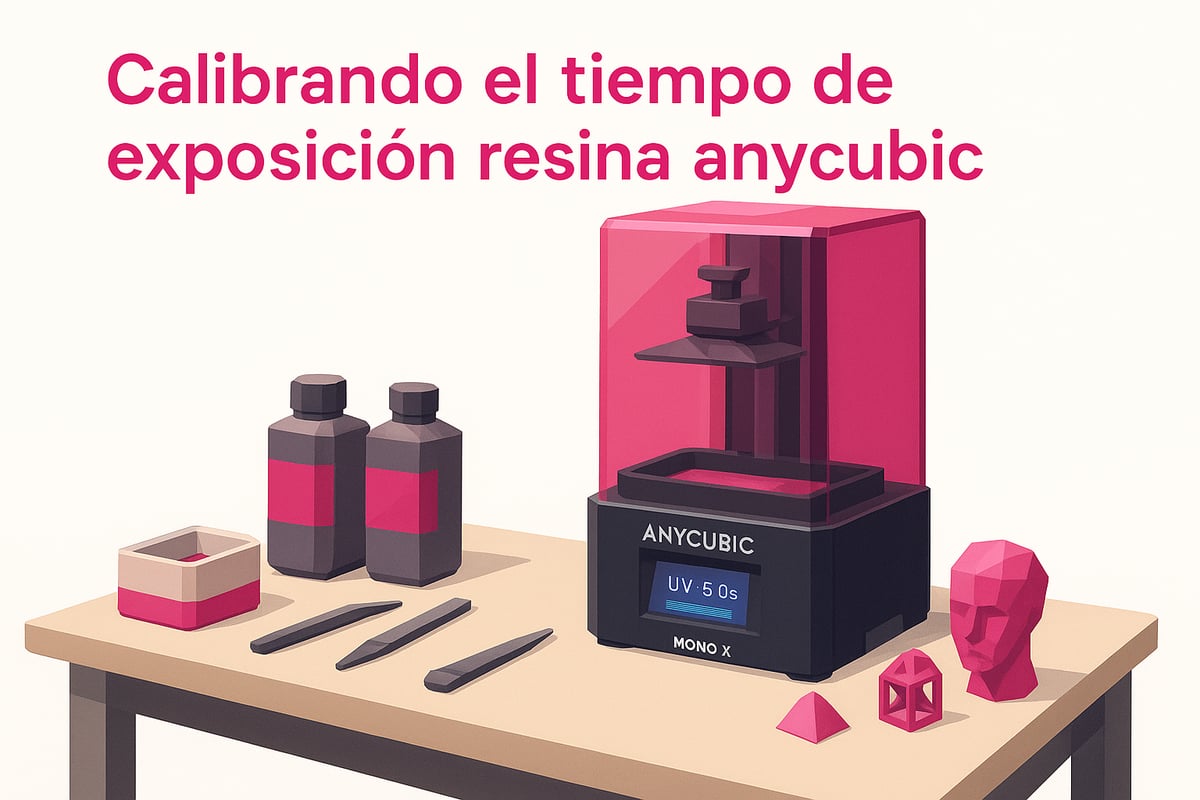
How to Calibrate Exposure Time Step by Step
Ready to get perfect prints? 😎 Dialing in the right Anycubic resin exposure time is the key to getting professional-quality results. Here's how to do it without the headaches.
Equipment and Material Prep
Before you start, make sure your printer and resin are compatible. Clean the build plate and LCD screen thoroughly with isopropyl alcohol. Don't skip the leveling step! A clean, level surface ensures your Anycubic resin exposure time is set correctly and you won't run into nasty surprises mid-print. Check out real-world photos of each step at www.mrresin.es for visual guidance.
Running Exposure Tests
Next, print a test model such as the AmeraLabs Town or the well-known RERF file. These models show you exactly how your resin responds to different exposure times. Adjust the seconds gradually and evaluate the results. For a detailed walkthrough of the RERF file, check out the Anycubic RERF Exposure Test Guide. This makes it easy to compare successful and failed prints side by side with real photos.
Reading Results and Making Final Adjustments
Look closely at your test models: are details blurry or are layers tacky to the touch? These are classic signs of overexposure or underexposure. Note down the settings that gave you the best results and save them for future prints. That way, you'll always have the ideal Anycubic resin exposure time dialed in for your specific printer and resin. Photos comparing good and defective parts will help you quickly spot any issues.
Recommended Exposure Time Chart by Anycubic Printer Model and Resin Type 2025
Want flawless results every time you print? This chart has you covered! Below are the optimal Anycubic resin exposure times for the most popular printer models and resin types in 2025. Use it to cut down on errors and get the most out of your printer.
| Model | Standard Resin | ABS-like | Color | Transparent |
|---|---|---|---|---|
| Photon Mono | Base: 2.8s Normal: 1.6s |
Base: 3.1s Normal: 1.8s |
Base: 2.9s Normal: 1.7s |
Base: 3.2s Normal: 1.9s |
| Photon Mono X | Base: 2.5s Normal: 1.8s |
Base: 2.8s Normal: 2.0s |
Base: 2.6s Normal: 1.9s |
Base: 2.9s Normal: 2.1s |
| Photon Mono M5 | Base: 2.2s Normal: 1.5s |
Base: 2.5s Normal: 1.7s |
Base: 2.3s Normal: 1.6s |
Base: 2.6s Normal: 1.8s |
Real photos of resins and printed models available at www.mrresin.es.
💡 Following this chart can reduce common print failures by up to 60%. Keep in mind that each new batch of resin or firmware update may require minor tweaks to your Anycubic resin exposure time for the best possible results.
If you're looking for ultra-strong resins that require specific settings, check out the tough 3D resins for durable prints section and discover new options for your projects.
Always fine-tune based on your conditions, run test prints, and save your best settings. Print like a pro and show off flawless results!

Advanced Tips to Optimize Your Anycubic Resin Prints
To take your results to the next level, always use an up-to-date slicer like Lychee or Chitubox. These let you create custom profiles tailored to each model and resin type. That way you can dial in your Anycubic resin exposure time with precision, getting sharp details even on miniatures. 🧙♂️ If you want to fine-tune even further, run a test using Anycubic's RERF file, as explained in this Anycubic RERF exposure test guide. You'll be surprised how small adjustments can make a big difference.
Don't forget to update your Anycubic printer's firmware whenever a new version is available. Firmware updates can improve how your Anycubic resin exposure time is handled and, as a bonus, extend the lifespan of your LCD screen. Did you know that regular maintenance — like cleaning the screen and using FEP protectors — helps keep your print quality consistent? Many users in forums report much more reliable results after adding these simple habits to their routine. 🛠️
The community is your greatest resource. Join groups and forums where makers share tips for printing high-precision parts or detailed miniatures. Try different settings, save the ones that work best, and browse real photos from other makers for inspiration. Remember — every model and resin may need its own unique adjustments, so document your findings and don't be afraid to experiment.
Frequently Asked Questions About Anycubic Resin Exposure Time
Wondering what happens if your Anycubic resin exposure time is too high or too low? Too high, and your prints can come out over-cured — losing fine detail and becoming brittle. Too low, and the print will be incomplete or peel off the build plate.
Resin pigmentation plays a major role. Dark or heavily pigmented resins need longer exposure times, while clear or lightly tinted resins need less. Always run tests to confirm.
Can you use the same settings across different printers? Not always. Each Anycubic model has different light output and screen specs. Check the calibration guide and run an Anycubic RERF exposure test to dial in the perfect settings.
How often should I recalibrate exposure time? Recalibrate whenever you switch resins, update firmware, or notice a drop in print quality.
Where can you find up-to-date settings? Check forums, the official manual, and resources like this Resin 3D Printing Manual to always stay current.
Now that you know how to dial in your exposure settings to get the most out of your Anycubic printer and avoid those frustrating failures, why not take the next step? If you want to experiment with different results or try out new resins, I'd encourage you to browse our full selection. You'll find the perfect resin for any project — from ultra-detailed miniatures to functional parts. Trust me, having the right material really does make all the difference.
Shop all 3D printing resins