
Have you ever wondered how you could turn your ideas into real objects without leaving home? 🤔 The 3D printing revolution is closer than ever, and now anyone can be a creator, inventor, and artist right from their own desk.
In this essential beginner's guide to first 3D prints in 2026, you'll discover how to avoid the most common mistakes and achieve incredible results from your very first attempt. You'll learn how to choose the right printer, the best materials, and how to bring your first projects to life with practical tips and real-world examples.
Ready to take the leap and explore all the creative possibilities that 3D printing has to offer? Keep reading and start your journey into the world of digital fabrication today. 🌟
What Is 3D Printing and Why Is It Trending in 2026?
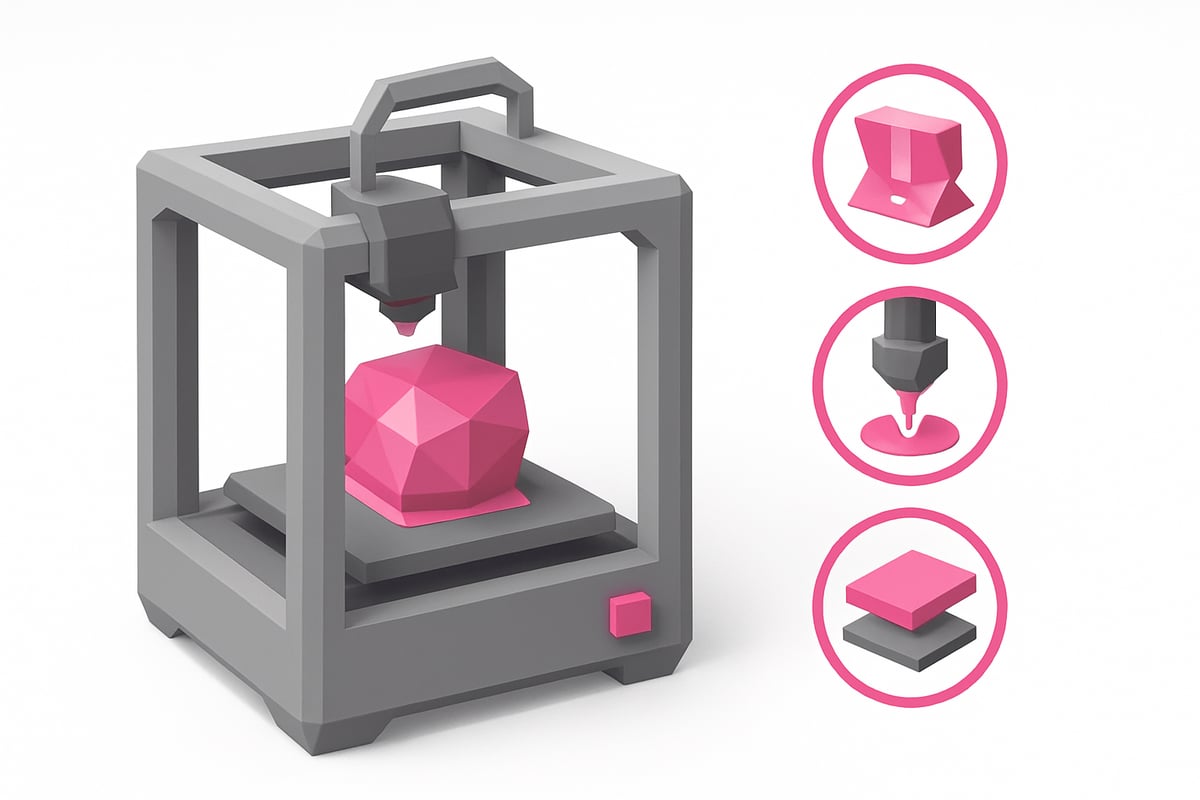
Imagine being able to manufacture your own ideas at the push of a button? 🤯 3D printing is a technology that turns digital designs into real objects, layer by layer, using materials like filaments or resins. Over the past few years, this technology has evolved enormously, moving from exclusive lab equipment to something found in homes and schools everywhere.
According to Statista, 3D printing adoption is growing at 24% annually — and it's no surprise! Today, first 3D prints are being used in education, medicine, startup prototyping, art, and even everyday hobbies. You can print everything from toys and miniatures to tools and replacement parts.
In 2026, the latest innovations are making a real difference: more affordable and precise printers, eco-friendly materials, and beginner-friendly software. Check out this table of key trends:
| 2026 Innovation | Brief Description |
|---|---|
| Affordability | Prices starting from $150 |
| Eco-friendly materials | PLA and recyclable resins |
| Improved precision | Details down to 0.05 mm |
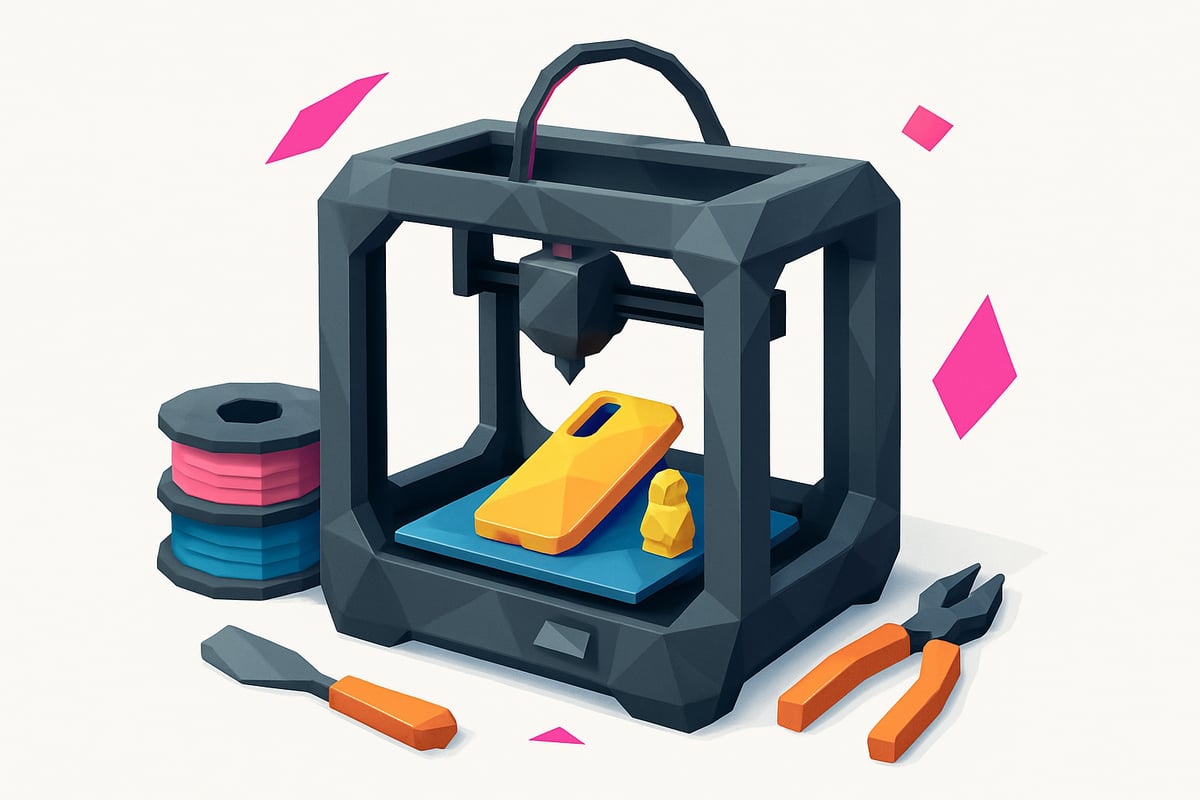
Want a real-world example? People are already printing phone cases, desk organizers, and custom parts at home. This is how first 3D prints are revolutionizing personal manufacturing, empowering anyone to create their own objects. To learn more about getting started, check out this Definitive Guide to Getting Started with 3D Printing.
First Steps: What Do You Need to Get Started?
Ready to dive into the world of first 3D prints? 🚀 Before you print your first object, you need to know the basic equipment, materials, and accessories that will set you up for a fun and safe experience from day one. Let's go through it step by step!
Types of 3D Printers for Beginners
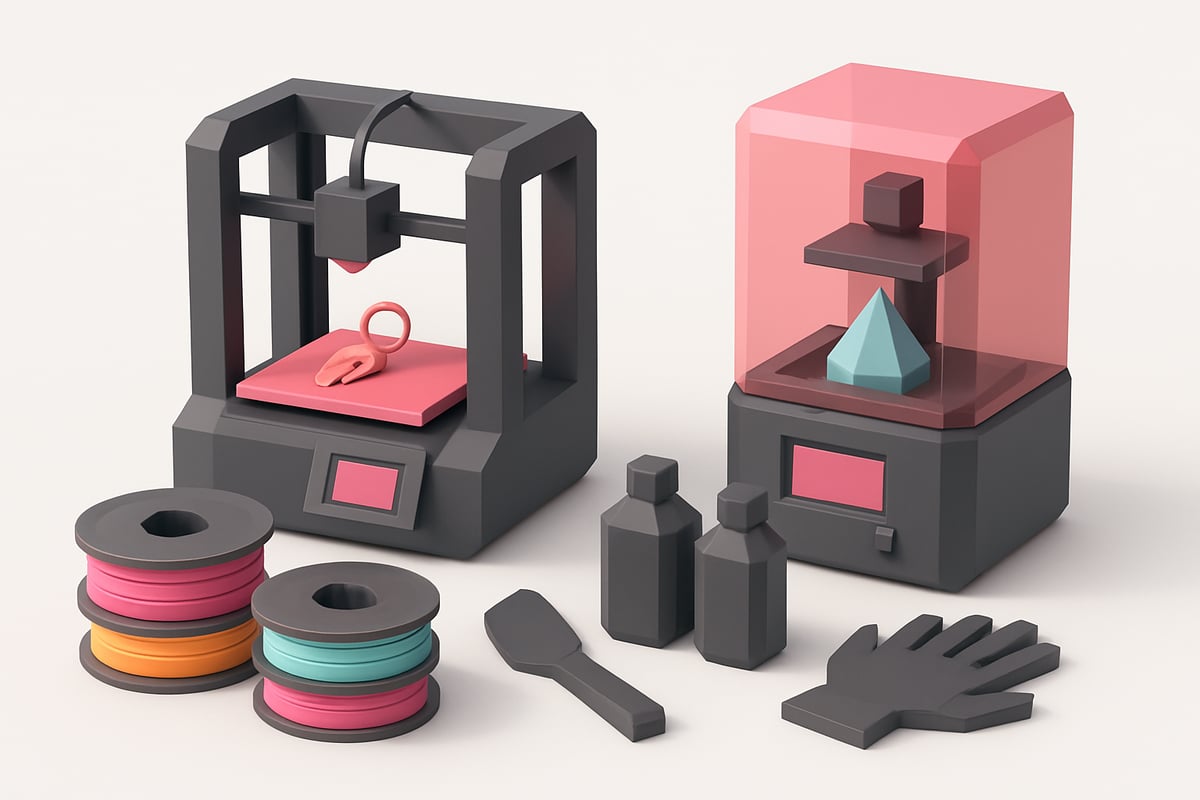
The first step is choosing the right type of printer. FDM (Fused Deposition Modeling) printers are ideal for beginners: they print using plastic filaments like PLA and PETG, and are easy to use and maintain. SLA or resin printers offer greater detail but require more care and proper ventilation.
| Type | Ease of Use | 2026 Price | Example |
|---|---|---|---|
| FDM | ⭐⭐⭐⭐⭐ | 180-350 € | Creality Ender 3, Anycubic Kobra Go |
| SLA/Resin | ⭐⭐⭐ | 200-400 € | Elegoo Mars 3, Anycubic Photon Mono |
Want to dive deeper into the differences and use cases? Check out this complete guide on Types of 3D Printers and Their Uses to make the best decision before your first 3D prints.
Material selection: filaments and resins
For your first 3D prints, PLA is the most recommended material: easy to print, safe, and available in a wide range of colors. PETG is strong and flexible, making it ideal for functional parts. Standard resins deliver fine detail, but require careful handling.
- PLA: safe, budget-friendly (15-25 €/kg), perfect for beginners.
- PETG: more flexible, impact-resistant, from 22 €/kg.
- Standard resins: precise detail, priced from 28 €/L.
Keep in mind: 65% of beginners choose PLA for its simplicity and great results. Always check material compatibility with your printer.
Essential tools and accessories
Don't forget the must-have accessories for successful first 3D prints:
- Spatula for removing prints from the bed
- Gloves and a mask for handling resins
- Adhesives to improve bed adhesion
- Cleaning kit for nozzles and the print bed
Ventilation is essential, especially when working with resins. A starter kit typically costs between 25 and 40 €, and includes everything you need to get started safely and comfortably.
Step-by-step process: From idea to finished print
Ready to see your ideas come to life? Here's a straightforward walkthrough for achieving your first 3D prints from scratch, explained in a simple and practical way. Let's go! 👇

Step 1: Prepare your 3D model
To get started with your first 3D prints, you'll need a digital model. You can find ready-made files on free repositories such as:
- Thingiverse
- Printables
If you want to create your own designs, try beginner-friendly software like Tinkercad or Fusion 360. Always check the copyright and licensing terms of any models you download — this keeps you on the right side of the law and supports the creative community.
Step 2: Slicing software setup
A slicer is the software that "translates" your model into instructions your printer can understand. Popular options include Cura and PrusaSlicer.
Here's a quick reference table with basic settings:
| Setting | Recommended for beginners |
|---|---|
| Layer height | 0.2 mm |
| Infill | 15% |
| Supports | Automatic based on model needs |
Start with the default settings and adjust as you go based on your results. Experiment freely — there's nothing to be afraid of!
Step 3: Prepare your printer and materials
Before printing, make sure the bed is properly leveled and the printer is calibrated. This will prevent most common beginner issues.
Load your filament or resin depending on your printer type. Do a quick check: is everything clean and in place? A few extra minutes here will save you a lot of headaches down the line.
Step 4: Printing and Monitoring
During the print, keep an eye on the first few minutes — this is when you'll spot any adhesion failures or jams. If something goes wrong, don't worry; it's all part of the learning curve with your first 3D prints.
Running into issues regularly? I recommend checking out this guide on Common 3D Printing Mistakes, where you'll find practical fixes and expert tips.
With patience and practice, every print will come out better than the last! 🎉
Common Mistakes and How to Avoid Them
Did your first 3D prints not turn out quite right? 😅 Don't stress — it's completely normal to hit some bumps at the start. The good news is that recognizing these mistakes will help you improve fast and actually enjoy the process.
Top Mistakes and How to Fix Them
| Common Mistake | Why It Happens | Quick Fix |
|---|---|---|
| Poor bed adhesion 🤔 | Dirty or unleveled bed | Clean, re-level, and apply adhesive |
| Extruder clogs 😨 | Low-quality filament | Switch to reliable filament and inspect the nozzle |
| Layer defects 🧐 | Wrong temperature or print speed | Adjust settings in your slicer |
| Warped prints 😬 | Incorrect calibration | Recalibrate your printer |
| Poorly placed supports 🛠️ | Inadequate support settings | Only add supports where truly needed |
Keep in mind — 70% of beginners run into trouble with their first 3D prints! Don't get discouraged; every mistake is a chance to learn something new.
One of the best ways to avoid many of these issues is choosing the right filament. Check out this practical guide to choosing filament for your 3D printer, packed with useful tips for getting your first prints right.
Still have questions? Join online communities like our Telegram group, and don't hesitate to tap into trusted resources. Every print brings you one step closer to the result you're after!
Practical Tips to Get Better Results
Ready to take your 3D printing to the next level? 🌟 Before you start, make sure your workspace is well ventilated — especially if you're working with resins or specialty filaments. Wear gloves and safety glasses when needed, and always keep your work area clean and tidy.
Here are some key tips to help you achieve professional-quality results:
- Adjust settings to match your model: Not every print needs the same resolution or infill. Start with standard settings and experiment gradually.
- Keep up with regular maintenance: Clean the nozzle, lubricate the axes, and check the bed level after each project.
- Don't underestimate post-processing: Sanding, painting, or varnishing your prints can transform a basic model into a work of art.
- Practice with beginner-friendly projects: Keychains, phone stands, and miniatures are perfect for building skills and confidence.
| Project | Difficulty | Estimated Time |
|---|---|---|
| Simple keychain | 🟢 Easy | 30 minutes |
| Phone stand | 🟡 Medium | 1 hour |
| Miniature | 🟢 Easy | 45 minutes |
Want to get even better results with your first 3D prints? Join online communities, ask questions, and learn from other makers' experience. According to 3D Printing Statistics 2023, the community grows every year and there's always someone ready to help.
Don't forget to join our Telegram group and subscribe to our Newsletter for exclusive discounts, coupons, and resources. Every day is a new opportunity to create something amazing!
Now that you know how to get started with 3D printing and which materials work best for beginner projects, here's something that made a huge difference for me: choosing the right resin can be the line between a frustrating print and a great experience. If you're ready to explore everything you can create, check out the resin range at Mr Resin. You'll find options for miniatures, prototypes, and functional parts — plus helpful guides and tips to set you up for success. Take a look here:
Shop all 3D printing resins