
🧲 Want to print flexible, super-tough parts on your 3D printer in 2025? The secret is mastering how to print TPU — the flexible filament that's taking the maker world by storm.
In this practical guide, you'll discover everything you need to succeed: from what TPU is and why you should use it, to setting up your printer, recommended settings, advanced techniques, and troubleshooting tips for the most common issues.
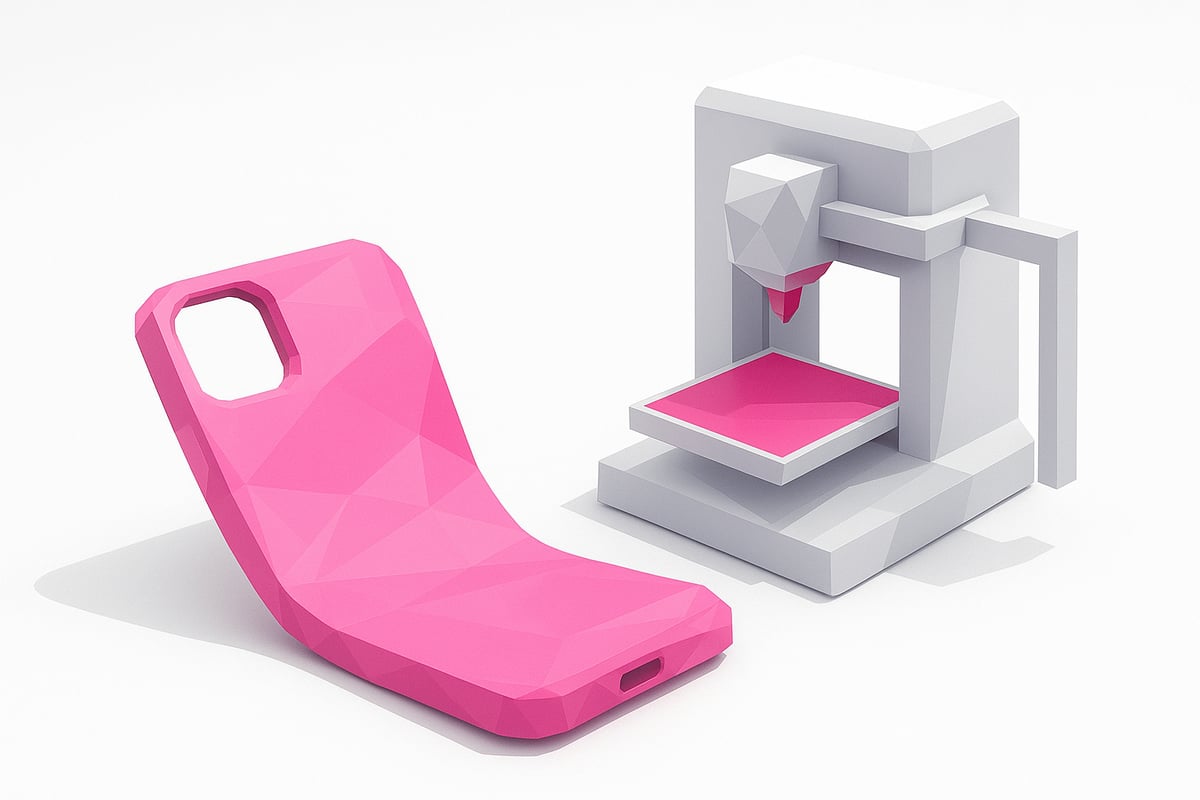
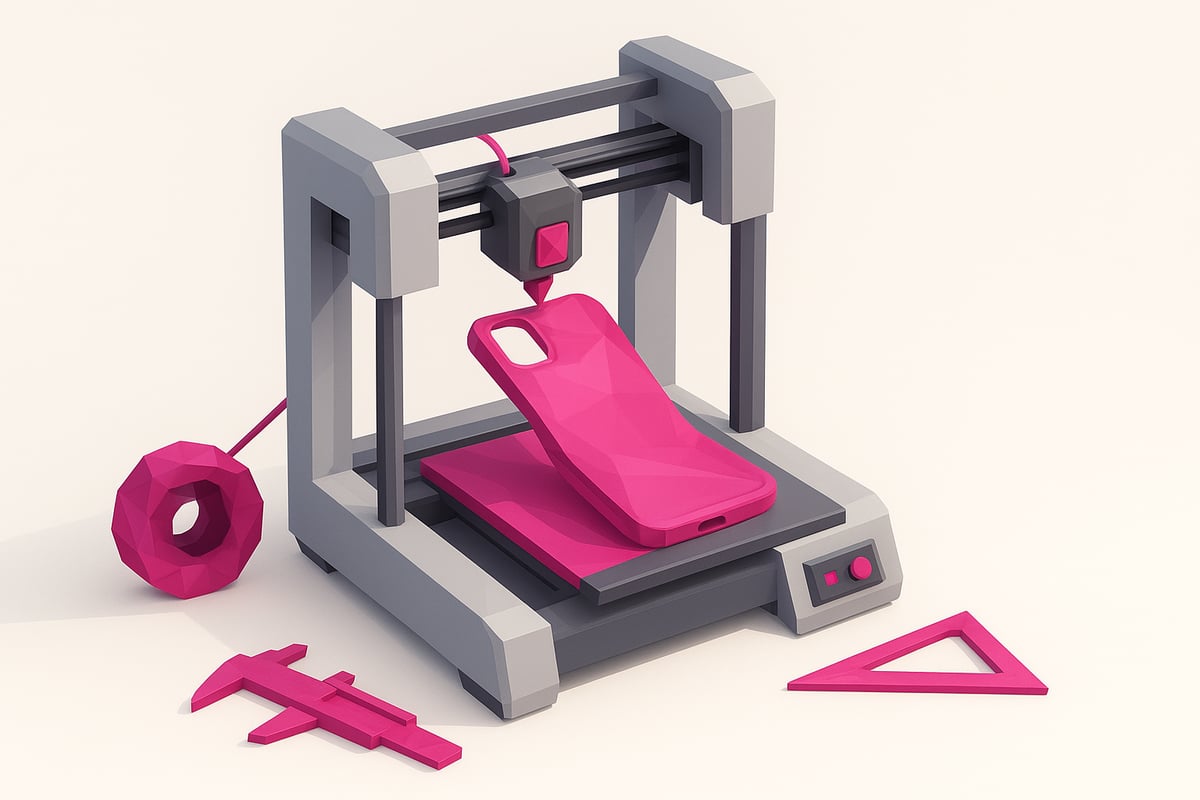
Flexible 3D printing applications are booming right now, and TPU offers unique advantages that more and more users are looking for. Imagine creating functional, long-lasting parts with a professional finish — right at home.
Ready to take your projects to the next level? Keep reading and learn how to master TPU like a true pro in 2025. The flexible adventure starts here! 🚀
What is TPU and why use it for 3D printing?
TPU (thermoplastic polyurethane) is a go-to filament for anyone who needs flexibility and durability in 3D printing. This material stands out for its elasticity — it can stretch up to 500% without breaking — and for its resistance to everyday wear, chemicals, and oils. Printing with TPU lets you create parts that aren't just flexible, but incredibly tough too.
Compared to other filaments like PLA, PETG, and ABS, TPU sets itself apart mainly through its ability to absorb impacts and vibrations. Take a quick look at this comparison table:
| Filament | Flexibility | Wear Resistance | Main Uses |
|---|---|---|---|
| TPU | ⭐⭐⭐⭐⭐ | ⭐⭐⭐⭐⭐ | Phone cases, insoles, flexible parts |
| PLA | ⭐ | ⭐⭐ | Prototypes, decorative parts |
| PETG | ⭐⭐ | ⭐⭐⭐ | Technical parts, bottles |
| ABS | ⭐ | ⭐⭐⭐ | Enclosures, mechanical parts |
Right now, printing with TPU is trending for functional prototyping, phone cases, orthotic insoles, and industrial components. If you're unsure which Shore hardness to choose (85A, 90A, 95A), pick based on how much flex you need — the lower the number, the softer the material.
Want to learn more about choosing the best filament for your printer? Find all the details in the Complete Guide to 3D Filaments. That way, you can start printing TPU and make the most of its impact and vibration-absorbing properties in your next projects.
How to set up your 3D printer for TPU printing
Ready to make the leap and start printing TPU on your 3D printer? 🧰 Proper setup is the key to getting clean, flexible parts without the headaches.
Extruder and nozzles: the perfect pairing
For trouble-free TPU printing, go with a direct drive extruder. Direct drive setups give you much better control over flexible filament and drastically cut down on clogs. If your printer runs a Bowden setup, you can still print TPU — just drop your print speed and dial in your retraction settings carefully.
We recommend at least a 0.4 mm nozzle, though a 0.6 mm nozzle makes for smoother flow and fewer blockages. Always check your nozzle condition before you start printing!
Cleaning and maintenance: the foundation of great prints
Before loading TPU, thoroughly clean your hotend and clear out any residue from previous filaments. A dirty hotend is a fast track to clogs and poor print quality. While you're at it, inspect your extruder and make sure the gears are clean and free of debris.
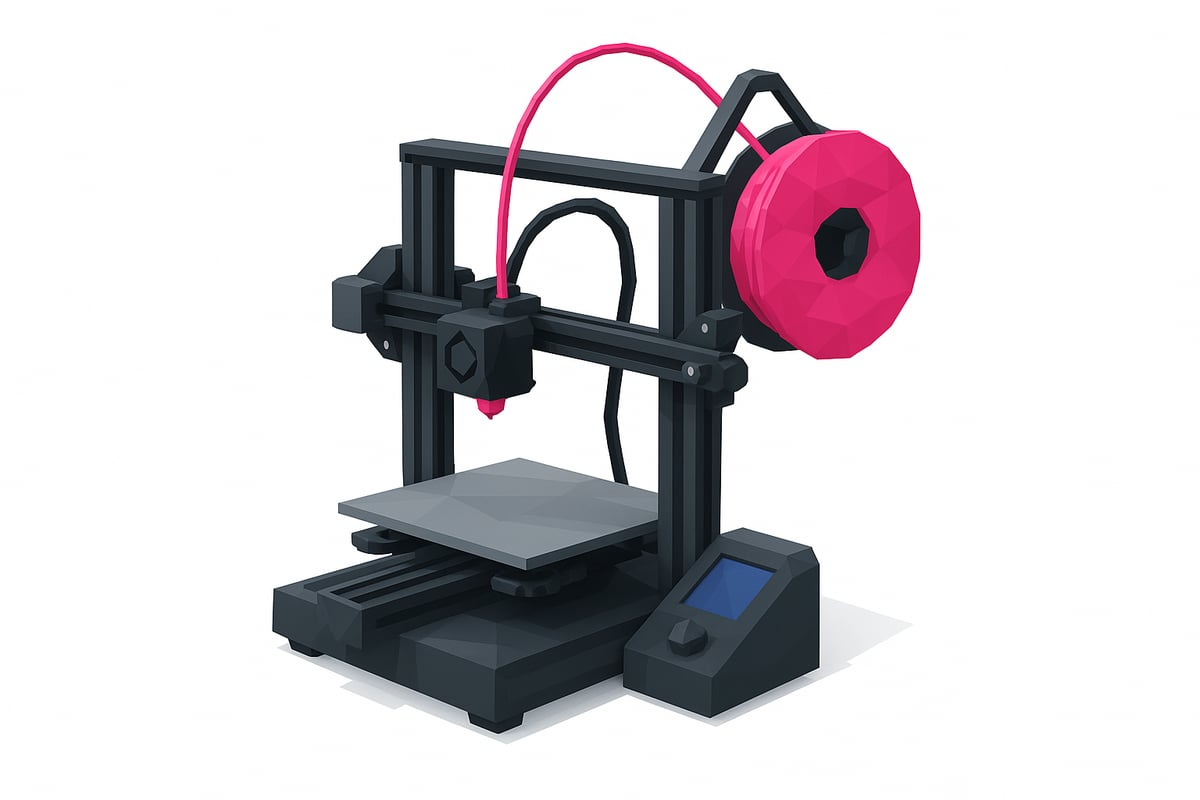
Filament path and spool holder
Minimize friction along the filament path using properly aligned PTFE tube guides. An upgraded spool holder positioned directly above or level with the extruder helps TPU feed smoothly without any tugging or resistance. Looking for ways to upgrade your machine? Check out these step-by-step 3D printing tutorials — they're packed with useful tips.
Print bed and accurate leveling
Choose a print surface with good adhesion like PEI or textured glass, but skip the hairspray or glue sticks — too much grip can actually cause problems. Level your bed carefully and run an extrusion test to confirm your filament is flowing evenly before you start.
Quick tips to avoid clogs
- Use a rigid filament guide.
- Set extruder tension correctly — not too loose, not too tight.
- Keep your print speed low and consistent.
Properly prepping your printer is the first step toward successful TPU prints. Take the time to work through these adjustments and you'll be rewarded with flexible, strong parts — no nasty surprises.
Optimal TPU print settings for 2025
Want professional-quality results when printing TPU? It all comes down to dialing in your slicer settings. Here's how to configure your printer for flexible, durable parts with no failures.
Print temperature and speed
For reliable TPU printing, set your extruder temperature between 210°C and 240°C — the sweet spot is typically around 230°C. Keep your print speed low, between 20 and 30 mm/s, to prevent jams and achieve clean detail. Printing too fast can lead to rough surfaces or under-extrusion issues.
Want to go deeper on these settings? Check out this guide on how to 3D print flexible TPU filament for recommendations tailored to different Shore hardness ratings.
Layer height and retraction
A layer height of 0.2 mm or above is recommended — this minimizes the risk of blockages and promotes better flow. For retraction, keep values low: 1 to 2 mm at around 20 mm/s. High retraction values are a common cause of TPU jams. Fine-tuning these settings improves part quality and reduces stringing.
Cooling and bed adhesion
Turn off your part cooling fan for the first few layers when printing TPU, then bring it up to around 30% after that. You generally don't need a heated bed or adhesives — TPU bonds well to clean print surfaces on its own. This approach helps prevent warping and keeps your print stable throughout.
Adhesion issues? Adjusting bed preparation and cooling can make all the difference when printing TPU, giving you flat, well-bonded first layers.
Recommended settings summary table
Here's a quick overview of the ideal settings for printing TPU:
| Parameter | Recommended value |
|---|---|
| Temperature | 210°C - 240°C |
| Speed | 20 - 30 mm/s |
| Retraction | 1 - 2 mm at 20 mm/s |
| Layer height | ≥ 0.2 mm |
| Perimeter width | 0.4 - 0.6 mm |
Save your custom profile in your slicer for future projects. That way, your optimized settings are always ready to go and you'll avoid repeating the same mistakes.
Advanced tips for flawless TPU printing
Want your flexible parts to come out perfectly every time you print TPU? These advanced tricks will help you avoid the most common mistakes and get the most out of your printer.
Always keep your filament dry. TPU absorbs moisture like a sponge, which can cause bubbling and stringing. Use desiccant bags or dry boxes before printing TPU to ensure a smooth, strong finish.
Fine-tune retraction and temperature carefully. To avoid annoying stringing, try short, slow retractions. Run temperature tower tests to find the sweet spot for your specific spool. If possible, calibrate flow rate between 95% and 105% using test cubes to dial in your results even further.
Upgrade your printer with top-mounted spool holders and 3D-printed filament guides. This reduces friction and improves filament feeding, especially when printing softer Shore hardness TPU. If you need inspiration, check out more tips and tricks for printing TPU to help you optimize your experience.
Choose the right filament hardness for your project. Softer materials (Shore 85A) absorb impacts better, while stiffer ones (95A) are ideal for structural parts. When removing prints, gently flex the build plate or use a thin spatula to avoid damaging the print surface.
With these tips, you'll see fewer failures and more flexible parts ready to use in any application.
Troubleshooting common TPU printing problems
Running into issues printing TPU? Don't worry! Here's how to fix the most common failures and get your parts printing perfectly.
Clogs and flow problems
Extruder clogs are usually caused by excessive retraction or printing too fast. Lower your print speed and reduce retraction to 1–2 mm to prevent the filament from jamming.
Make sure your nozzle is clean and use at least a 0.4 mm diameter. Check extruder tension and clean the drive gears for smooth filament feed.
The most common surface defects
Seeing stringing, bubbling, or uneven layers? Dry your filament thoroughly, adjust your temperature, and reduce retraction. Bubbling is a telltale sign of moisture in the material.
Try enabling the part cooling fan only from the second layer onwards, and keep flow rate between 95% and 105% depending on the quality of your prints.
Quick Diagnostics and Maintenance
Run single-wall tests to identify over-extrusion or under-extrusion issues when printing TPU. Check your PTFE tube regularly and replace it if you notice any wear.
Clean filament residue from the nozzle and extruder gears on a regular basis. For more tips, check out this 3D Printing Troubleshooting Guide to master the art of printing TPU.
Optimization and Profiles for Success
Save your optimized print profiles after every adjustment. That way, the next time you print TPU, you'll have a reliable starting point and avoid repeating the same mistakes.
Remember: each spool may need small tweaks in temperature or flow rate. Practice makes perfect!
Frequently Asked Questions About TPU Printing
Still have questions about how to successfully print TPU? Here are answers to the most common ones! 🤔
- Do I need a heated bed to print TPU? No, most TPU filaments adhere perfectly fine without a heated bed.
- Which nozzle size is best? A 0.4 mm nozzle is the minimum recommended, but a 0.6 mm nozzle reduces the risk of clogs.
- How do I prevent stringing? Dial in your retraction settings and keep your filament dry.
- Why is drying TPU important? TPU absorbs moisture quickly, which can cause bubbles and print defects.
- What do I do if the filament gets jammed? Reduce your print speed, check the tension, and clean out the extruder.
- How should I store TPU? Keep it in airtight bags or containers with silica gel desiccant.
- What settings should I use for functional parts? Use 0.2 mm layer height, low print speed, and optimal temperature. Want to go deeper? Check out this Complete TPU 3D Printing Guide.
That's everything you need to print TPU without the headaches. If you have any other questions, drop them in the comments or join our community.
Conclusion:
Now you have all the keys to successfully printing TPU in 2025! Mastering this flexible filament opens the door to durable, functional, and professional-quality projects. To brush up on the fundamentals, take a look at What Is FDM 3D Printing and How Does It Work to round out your knowledge.
Visit our online store to discover the best filaments, printers, and accessories. Join our Telegram group at https://t.me/MrResin3D and stay up to date with deals, discount codes, and support from a passionate community.
Don't forget to subscribe to our Newsletter for exclusive offers, new arrivals, and expert tips to make every TPU print a success.
✨ Happy Printing! 🚀
Now that you know how to set up your printer, which settings to use, and how to troubleshoot the most common TPU issues, you're probably itching to experiment with new projects. If you want to try different types of filaments or need to restock your supplies, I'd recommend checking out our materials selection. You'll find everything from TPU to more rigid options — perfect for whatever project you have in mind. Take a look and find the ideal filament for your next print:
Shop all 3D Printing Filaments