

Hello, maker! Here's Mr Resin, ready to dive into the review I know you've been waiting for: the Elegoo Neptune 4. This machine has burst into our workshops with a very clear promise: breathtaking speed without sacrificing quality. If you're looking for an FDM 3D printer that gives you a lot for very little, stick around, because in my experience, this is your top contender.
Welcome to the new era of speed
Let's get straight to the point, because the Elegoo Neptune 4 is no simple update. It's a giant leap forward, especially because it puts within everyone's reach a technology that until recently was reserved for advanced users: Klipper firmware.
So what is Klipper? Imagine fitting your 3D printer with a supercomputer brain. It's software that allows it to calculate movements at a blistering speed, optimizing every curve and every straight line.
When I talk about speed, I'm not exaggerating. We're talking about theoretical peaks of 500 mm/s, although I recommend staying around 250 mm/s to maintain top quality. To put that into perspective, most entry-level 3D printers run at between 50 and 80 mm/s. Do the math! You could be cutting your printing times in half or even down to a third. More time for you, to keep on creating.
Of course, speed without control doesn't get you very far. That's why Elegoo has fitted a dual-gear direct drive extruder. This system pushes filaments for 3D printing with a force and precision you can really feel, which is essential for taming flexible materials like TPU and keeping everything running like clockwork at high speeds.
If all this sounds like a foreign language, don't worry — I've got you covered. Take a look at my ultimate guide to getting started in the world of 3D printing, where I explain these concepts from scratch.
A family for every need
It's important to know that the Neptune 4 doesn't come alone. It's the head of a family designed for different types of makers:
- Neptune 4: The standard model, with a build volume of 225x225x265 mm, which is more than enough for the majority of projects.
- Neptune 4 Pro: Very similar to the base model, but with extra rigidity thanks to metal rails on the X and Y axes, giving it a boost in durability and precision.
- Neptune 4 Plus and Max: The big sisters. If large-scale projects are your thing — like helmets, cosplay armour, or oversized parts — these are your machines. Massive build volumes so you never have to split your models.
In my opinion, a 3D printer at this price point coming with Klipper pre-installed straight out of the box is a true game changer. It saves you hours of headaches and gives you access to advanced features like Input Shaping (to say goodbye to the "ghost" effect, or ghosting) and Pressure Advance (to achieve perfect corners).
What about the Neptune 3 Pro?
A lot of people ask me whether the upgrade from the Neptune 3 Pro is worth it. To make it crystal clear, here's a quick table showing the differences you'll notice most in day-to-day use.
Elegoo Neptune 4 vs Neptune 3 Pro at a glance
A quick table so you can see the most important differences between the Elegoo Neptune 4 and its popular predecessor, focusing on the improvements that have the greatest impact on our day-to-day experience.
| Feature | Elegoo Neptune 3 Pro | Elegoo Neptune 4 (The leap!) |
|---|---|---|
| Printing speed | 60-80 mm/s (recommended) | 250 mm/s (recommended) |
| Firmware | Marlin | Klipper (pre-installed) |
| Part cooling | Standard layer fan | 4 high-power fans |
| Nozzle temperature | Up to 260 °C | Up to 300 °C (full-metal) |
| Connectivity | SD card, USB | SD card, USB, WiFi/LAN |
As you can see, we're not talking about minor tweaks. The Neptune 4 plays in a different league, especially in speed and in its ability to handle more technical materials thanks to its fully metal hotend.
In this article, we're going to break down every corner of this machine so you know whether it's the missing piece for your workshop. Let's get into it!
Assembly and calibration to start printing in 30 minutes
Few things beat the excitement of unboxing a new 3D printer and getting it up and running in the time it takes to have a coffee. With the Elegoo Neptune 4, this isn't a fantasy — it's reality. I'm going to walk you through it step by step so you have this marvel churning out filament in under half an hour.
First things first: assembly. Elegoo has made it incredibly easy, as the machine comes 90% pre-assembled. The work comes down to screwing the Z-axis gantry onto the base and plugging in a few cables which, by the way, are labelled so it's impossible to get them wrong.
A seasoned tip: take a minute to check that all screws are properly tightened (without overdoing it) and, above all, that the gantry is perfectly perpendicular to the base. A small misalignment here is a recipe for future headaches.
The first layer is everything
With the 3D printer assembled, the moment of truth arrives: calibration. And this is where the Neptune 4 shines with its 121-point automatic bed levelling system. Say goodbye to the old paper sheet trick and adjusting knobs at the four corners. The printer creates a digital map of the entire bed and corrects any minor imperfection on its own.
The process is child's play:
- On the touchscreen, find the automatic levelling option. The printer will take a moment to heat the bed and the nozzle before it starts measuring.
- When it's done, it's time to fine-tune the Z-Offset. This is, without a doubt, the most critical step. It tells the printer the exact distance at which it should start extruding the first layer.
- Grab a regular sheet of paper. Lower the Z-Offset value in very small increments (0.01 mm at a time) until you feel the nozzle tip grazing the paper. The key is to notice a slight resistance when moving it, but without it tearing or getting stuck.
Trust me, nailing the Z-Offset is 80% of the work in achieving a perfect first layer. It's the foundation of the entire print, so don't rush it. Take as long as it needs.
To give you an idea of how this speed and precision is achieved, here's a quick overview of how the key components of the Elegoo Neptune 4 work together.
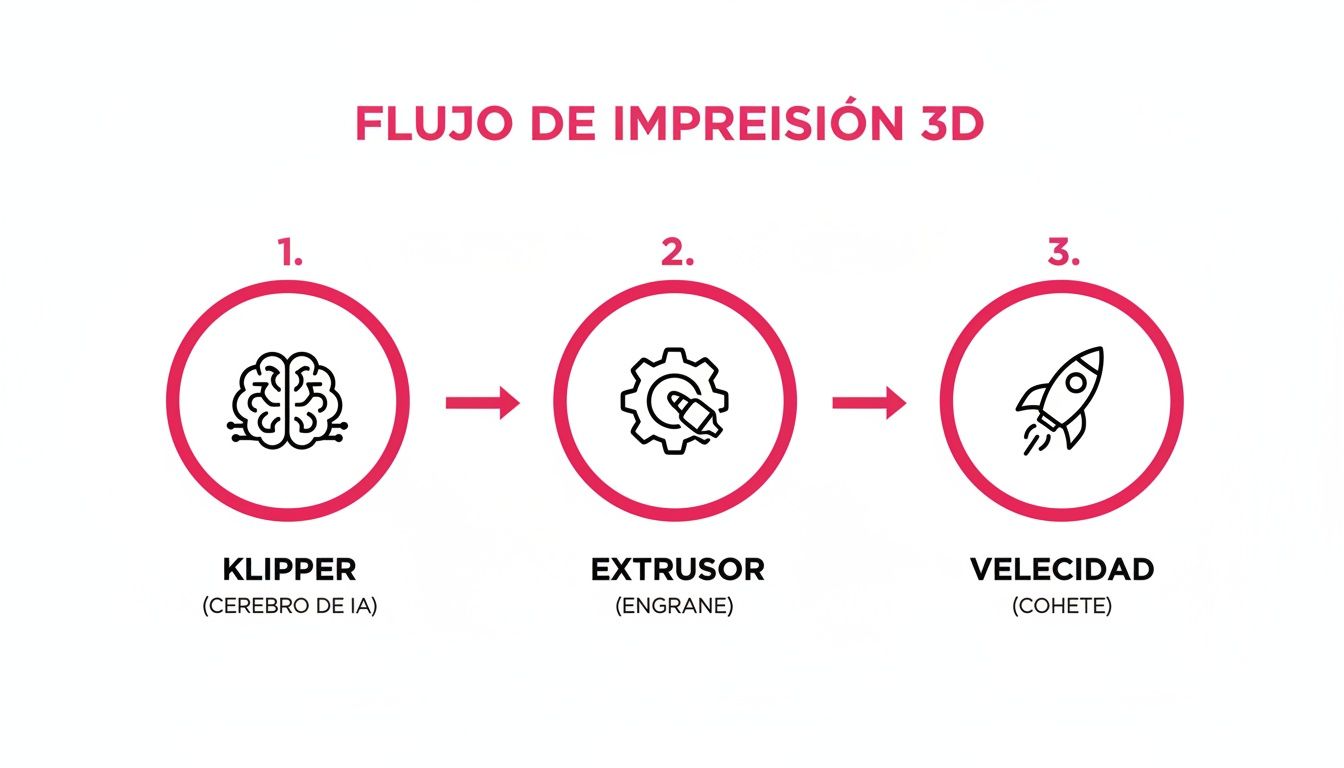
Klipper acts as the brain that plans everything, the extruder is the muscle that pushes the material with precision, and speed is the result of both working in perfect harmony.
Wireless connection for greater convenience
The final step into the 21st century of 3D printing is connecting the printer to your network. Thanks to Klipper coming pre-installed, the Elegoo Neptune 4 can connect via both WiFi and Ethernet cable. No more going back and forth with the SD card from your computer to the printer.
Once connected, all you need to do is type its IP address into your computer's browser to access the Fluidd interface. From there you have full control of the machine. You're all set to launch your first Benchy and be amazed by the high speed!
If you're feeling curious and want to know how other printers are set up, you can take a look at my complete guide to setting up your Anycubic Kobra 3 Combo.
How to master Klipper: the beast under the hood
This is where the Elegoo Neptune 4 flexes its muscles and leaves the competition behind. Many of you hear the word "Klipper" and start to panic, but don't worry! I'm here to bust that myth and tell you why this firmware is the secret engine that makes this printer fly.
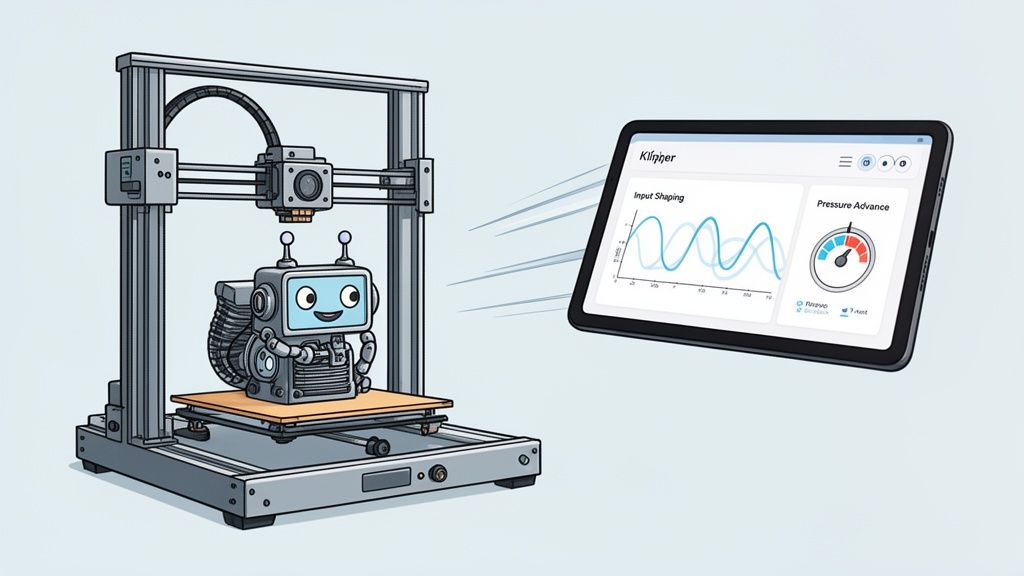
What is Klipper and why should you care?
Think of it this way: traditional 3D printers, the ones using firmware like Marlin, are like a car with an old-school GPS. The car, which is the printer, has to calculate the entire route (the G-code) using its own board, which is not exactly a supercomputer. It moves, yes, but at its own pace.
Now, imagine Klipper is like plugging your car into Waze or Google Maps on a top-of-the-line smartphone. The printer's board (the car) relaxes and simply follows basic commands: "accelerate," "turn here," "slow down a bit." All the heavy lifting, like calculating curves or pushing speed to the maximum, is handled by a much more powerful processor. In the Neptune 4, this is a small ARM board that acts as a dedicated mini-computer.
This simple change in approach makes all the difference. It allows the printer to perform incredibly complex and fast calculations, resulting in spectacular 3D printing speeds without sacrificing an ounce of precision. And what I love most is that in the Neptune 4, this system comes pre-installed. No more nightmare installations and YouTube tutorial marathons!
Welcome to Fluidd: your new command center
Once you have the printer connected to your WiFi network, you can say goodbye to the small touchscreen for day-to-day use. Simply open the browser on your computer, type in the printer's IP address and... magic! You're inside Fluidd, the web interface that gives you full control over Klipper and your Elegoo Neptune 4.
At first it might overwhelm you a little with so many charts and buttons, but trust me, within a couple of days you'll be navigating the key areas like a pro:
- Dashboard: Your pilot's cockpit. Here you control the nozzle and bed temperature, monitor how the print is going, and get a preview of your model.
- Console: A command window for sending G-code directly. It's great for running diagnostics or making fine adjustments.
- Jobs: Your print history. From here you can reprint something or manage your queue of pending jobs.
-
Configuration: The inner workings of Klipper. This is where the famous
printer.cfgfile lives. My advice is that, at first, don't touch anything in here until you feel more confident.
I recommend focusing on the Dashboard. From there you can preheat the 3D printer, move the axes, push through a bit of filament, or even adjust speed and flow on the fly. It's like having a remote control for your 3D printer from the comfort of your sofa.
Klipper's secret weapons for next-level quality
Speed is cool, but what really makes Klipper so impressive are two features that change the rules of the game: Input Shaping and Pressure Advance. They sound very technical, but their results are incredibly easy to see.
Input Shaping to eliminate "ghosting"
You know those vibrations or "ghosts" that appear on the walls of your prints, especially at corners, when you print very fast? That's called ringing or ghosting. Well, Input Shaping is a technology that measures the natural vibrations of your 3D printer and cancels them out intelligently.
The result is that you can print at breakneck speeds and achieve smooth, perfect surfaces, as if you had printed at a snail's pace. The Neptune 4 already comes with pre-configured values that, honestly, work wonderfully.
Pressure Advance for flawless corners
Pressure Advance is another stroke of genius. It tackles a classic problem: at corners, the 3D printer tends to release too much plastic, creating ugly blobs. And just as it accelerates out of the corner, it sometimes falls short and leaves a small gap.
This feature anticipates those speed changes and regulates the filament pressure at the nozzle proactively. What does this mean in practice? Clean, defined, and perfect corners, even when the 3D printer is running at full speed. For me, mastering these two concepts is what truly makes the difference between a good print and a spectacular one. And with the Elegoo Neptune 4, you have these tools at your disposal from minute one.
The best filaments and profiles for your Neptune 4
Right, so you've got your Elegoo Neptune 4 assembled, calibrated, and you've started playing with Klipper. Now comes the most important part: feeding it properly. Because, let's be honest, there's no point having a racing car if you then fill it with low-quality fuel. A great 3D printer deserves a material to match!
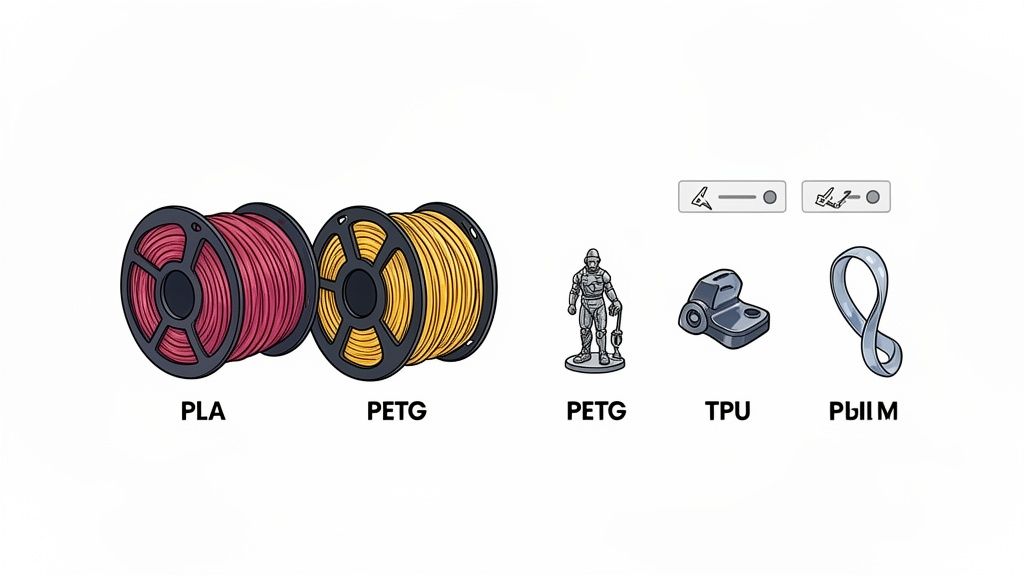
I've been running a ton of tests, so I'm going to tell you which types of filaments work best with this beast. And best of all, I'll give you my starting profiles so you don't have to begin completely in the dark.
PLA and PLA+, the everyday staple
For 90% of projects, whether quick prototypes or decorative figures, PLA and its enhanced cousin, PLA+, are the undisputed kings. They're easy to print, barely smell, and you can find them in every colour you can imagine.
The Neptune 4, with its incredibly powerful cooling system, handles PLA wonderfully, even at speeds that until recently seemed like science fiction. Here's my starting configuration for Cura or PrusaSlicer:
- Nozzle temperature: 210-220 °C. PLA+ sometimes appreciates a little extra heat.
- Bed temperature: 60 °C.
- Printing speed: Start at around 200-250 mm/s for perimeters and walls. For infill, you can confidently go up to 300 mm/s.
- Retraction: Thanks to the direct extruder, retractions are short and extremely fast. Around 0.5 mm at 40 mm/s is usually enough to eliminate almost any stringing.
With these settings, I guarantee you'll get extremely high-quality parts in record time.
PETG and TPU, technical materials within your reach
This is where the 300 °C hotend and direct extruder of the Elegoo Neptune 4 really shine. Materials that used to be a bit of a headache can now be printed with surprising ease.
PETG is my preferred material for functional parts that need good mechanical resistance and some heat tolerance. Think of it as PLA on steroids. To tame it, try this:
- Nozzle temperature: 235-245 °C.
- Bed temperature: 70-80 °C.
- Printing speed: PETG is stickier, so take it easy. Lower the speed to around 80-120 mm/s to ensure good layer adhesion and avoid issues.
- Layer fan: Don't overdo it. Set it to 30-50%, as too much cooling can cause layers to separate.
TPU, the flexible filament par excellence, is another big winner here. The short, controlled filament path in the direct extruder prevents jams. In fact, in my experience, the Neptune 4's popularity is partly due to how well it handles these materials. It's no coincidence that the Elegoo Neptune 4 series, with its 5.2:1 ratio extruder, has made such an impact on the market.
My TPU profile:
- Nozzle temperature: 220-230 °C.
- Bed temperature: 50-60 °C.
- Printing speed: Here, patience is your best ally. Start slow, at around 30-40 mm/s, and if everything looks good, you can gradually increase from there.
- Retraction: Disable it or use very low values (0.2 mm) to prevent jams from forming.
If you want to go deeper and become a true materials expert, don't miss my complete guide on how to choose filament for your 3D printer, where I cover absolutely everything.
In the end, the key is experimentation. Every filament brand is its own world, but with these starting profiles I've given you, you have a more than solid foundation to start getting the most out of your Elegoo Neptune 4. Now get printing non-stop!
Maintenance and common troubleshooting
Every machine, no matter how good it is, needs a little care to keep running at its best. And the Elegoo Neptune 4 is no exception. But don't let that worry you — its maintenance is considerably simpler than deciphering the instructions for a piece of Swedish furniture.
Here I share my routine to always keep it in top shape and a first aid guide for those days when things simply don't go as planned.
My maintenance routine to prevent disasters
By dedicating just a few minutes every now and then, you'll make sure your Neptune 4 prints like it did on day one. Trust me, it's better to invest time in prevention than in repairs!
- PEI bed cleaning: After a couple of prints, I always wipe it down with an isopropyl alcohol cloth. This removes any fingerprint grease and ensures the first layer sticks like glue.
- Belt inspection: Once a week, I take a quick look at the tension of the X and Y axis belts. They need to be taut, like a guitar string, but not overly so. If they're loose, the vibrations at high speed can ruin your print.
- Axis lubrication: About once a month, I apply a touch of lithium grease to the Z axis rods. This ensures smooth and quiet movement. Oh! And don't forget the POM wheels that slide along the aluminum profiles.
- General cleaning: I try to keep the 3D printer free of dust and filament scraps. A blast of compressed air every now and then works wonders.
Firefighter's guide for everyday problems
It's happened to all of us: a print fails and we stand there staring at the machine with no idea why. Don't panic! I've put together this cheat sheet for the most common issues with the Elegoo Neptune 4.
Problem 1: The dreaded jam or clogging
It's every maker's nightmare. You notice the filament stops coming out or comes out as an extremely thin, weak strand.
- Quick fix: Try doing a cold pull. Heat the nozzle to around 220°C, push a little filament through by hand, then lower the temperature to 90°C. Once it gets there, pull the filament out with a quick, firm motion. Almost every time, this pulls out the piece that was causing the problem.
- If that doesn't work: Time to roll up your sleeves and disassemble. Luckily, the Neptune 4's hotend is fairly accessible. Remove the PTFE tube and use the small needle that comes with the 3D printer to unclog the nozzle from below.
Problem 2: The first layer rebels and won't stick
You hit print and, instead of a perfect line, you end up with a plastic spaghetti nest. A classic.
- Check the Z-Offset: I can assure you it's the culprit 99% of the time. Recalibrate it using the paper trick. Sometimes, a tiny adjustment of 0.02 mm makes all the difference between success and failure.
- Clean the bed: As I mentioned before, a little isopropyl alcohol works like magic. Fingerprint grease is invisible but it's the number one enemy of adhesion.
- Raise the temperature slightly: Give it an extra 5°C on both the bed and the nozzle. Sometimes, that small boost of heat is all the plastic needs to feel comfortable and stick properly.
This 3D printer has been a massive hit, largely because of how reliable it is. Its 121-point automatic leveling system has been a game changer for many makers. You can see more details about its impact on the market here.
I always say it: a perfect first layer is half the print done. Leveling and a good Z-Offset are the foundations on which everything else is built. Never underestimate them!
With these tips, you've got the vast majority of unexpected issues covered. And remember, the maker community is huge and there's always someone willing to lend a hand on a forum or a Telegram group.
When to choose the Neptune 4 Plus or the Max
We've already seen everything the standard Elegoo Neptune 4 can do, and the truth is it's impressive. For the vast majority of us involved in this hobby, its 225x225x265 mm bed gives us more than enough for almost any project. But what if your ideas don't fit in there? What if you want to print something really… big?
That's where its bigger sisters come into play: the Neptune 4 Plus and the true beast of the family, the Neptune 4 Max.
You're probably thinking: "Mr Resin, do I really need that much space?". And the answer I always give is: it depends on how big your dreams are. If cosplay is your thing and you're picturing yourself printing a Mandalorian helmet or a chest armor piece in one single part, without having to cut the model up and glue pieces together, then the answer is a resounding yes.
Comparing the heavyweights
Although all three share the same core (Klipper, direct extruder, blazing speeds…), the size differences are massive. And bear in mind, it's not just about making room in the workshop; a larger size means other things to consider.
To give you a quick overview, here are the key points:
| Feature | Neptune 4 | Neptune 4 Plus | Neptune 4 Max |
|---|---|---|---|
| Print volume | 225 x 225 x 265 mm | 320 x 320 x 385 mm | 420 x 420 x 480 mm |
| Y-axis guides | POM wheels | 2 rows of wheels | 2 rows of wheels |
| Bed support | Standard | Reinforced | Heavily reinforced |
| Ideal for... | Figures, prototypes | Medium/large parts | Helmets, giant models |
As you can see, the jump to the Plus is already significant, but the Max plays in a completely different league. That volume opens the door to projects that for most FDM 3D printers are, quite simply, a pipe dream.
Speaking from experience, printing giant parts has a special kind of magic, but it comes with its own challenges. Print times can stretch to several days, and getting a bed that size perfectly leveled is even more crucial. Luckily, the 121-point auto-calibration system continues to do a magnificent job.
Who is the Neptune 4 Max for?
The Neptune 4 Max has earned a place of honor in the large-scale modeling and prototyping sector. Its massive print volume of 420x420x480 mm and the ability to heat the nozzle up to 300°C have put it on the radar of many professionals and ambitious makers.
In my opinion, it's the perfect machine for anyone looking to print real-scale objects or large-format prototypes without any hassle. You can check out all the official specifications for the Neptune 4 family on the Elegoo website.
In a nutshell: if your creations fit within the standard Neptune 4, don't overthink it. But if your ambitions are bigger than its print bed, don't even hesitate: the Plus or, even better, the Max are the tools you need to make them a reality.
Final verdict: is the Elegoo Neptune 4 worth it?
Well, maker, we've reached the moment of truth. After squeezing every last drop out of this machine, putting it through long prints and tough challenges, it's time to give a straight answer. Is the Elegoo Neptune 4 as good as they say?
I'll tell you straight: it's one of the best FDM 3D printers you can get right now for what it costs. Simple as that. Elegoo has made a bold statement by including Klipper as standard, bringing high-speed 3D printing within anyone's reach without needing to be a Linux expert or spending weekends tweaking config files.
So, is this 3D printer for you?
The answer here is pretty straightforward: it's for almost anyone who wants to take 3D printing seriously.
If you're taking your first steps and don't want to buy a 3D printer you'll outgrow in no time, this is a solid purchase. It'll give you plenty of room to learn, experiment, and grow without feeling like you need something more powerful any time soon.
And if you're already seasoned in this hobby, like me, and you're looking for a machine that gives you cruising speed for your workshop without breaking the bank, this is a fantastic option. It's a reliable workhorse, incredibly fast, and performs brilliantly.
No 3D printer is perfect — don't let anyone tell you otherwise. But I can assure you that the Neptune 4's strengths are so impressive that any minor flaw you might find with it becomes a mere footnote. It's one of those purchases I'd recommend without a second thought.
FAQ: Your questions, my answers about the Neptune 4
Right, let's get to the final stretch. I've rounded up the questions you bombard me with daily about the Elegoo Neptune 4. No beating around the bush — time is filament and your 3D printers are itching to roar.
What filaments can I use with the Neptune 4?
This is where the fun begins. Thanks to its direct extruder and a hotend that reaches 300 °C, this machine can handle pretty much anything.
You can go with the classics like PLA and PETG, venture into more demanding territory with ABS or ASA, or even tame those flexible materials like TPU that other 3D printers struggle with. It's a true all-rounder.
A friendly tip: if you want to start off on the right foot, grab a quality PLA+ filament. The results are spectacular from the very first minute and you'll save yourself a lot of headaches.
Is it hard to learn how to use Klipper?
Not at all — don't let the name put you off! Bear in mind that on the Elegoo Neptune 4, Klipper comes pre-installed and ready to go through Fluidd, a web interface that's incredibly easy to use. There's no need to dust off any programming manuals.
With the tips I've been sharing throughout this guide, I can assure you that you'll have it mastered in a couple of afternoons. In fact, here's a fair warning: once you experience the fluidity and control it gives you, you won't want to hear another word about Marlin.
Does it really print at 500 mm/s?
Yes, but with some nuance. It's like the speedometer on a racing car: it shows an incredibly high number, but you're not always going full throttle.
That blazing speed of 500 mm/s refers mainly to travel moves, when the print head moves from one point to another without extruding material.
For quality printing, the normal range is around 250-300 mm/s, which, trust me, is still an absolute beast. You'll see your print times cut in half — it's insane.
Do I need to make a lot of upgrades to the 3D printer?
Honestly, this is one of my favorite things about the Neptune 4: straight from the factory, it comes more fully loaded than a Swiss Army knife.
The 121-point automatic leveling, the direct extruder, and pre-installed Klipper are "extras" that on other 3D printers you'd have to pay a fortune for and install yourself, with all the headaches that entails.
It's a machine ready for battle right out of the box. A purchase I'd recommend without a second thought, because it's a robust tool ready to hit the ground running from day one.
Conclusion:
Well, makers, what a thorough look we've taken at the Elegoo Neptune 4! In my opinion, it's a machine that has changed everything, putting high speed within anyone's reach without needing to be a NASA engineer. Simple, powerful, and with a huge community behind it. What more could you ask for? A masterful purchase!
Now that you're armed with all this knowledge, it's your turn. Head over to the store, grab your favorite filaments, and let that beast loose!
Prefer email? Subscribe to the newsletter and receive the best deals directly in your inbox.
✨ Happy Printing! 🚀