Resin 3D Print Post-Processing

Post-processing is everything you do to a 3D print from the moment it comes off the printer until you call it finished: washing, curing, removing supports, sanding, gluing, priming and varnishing. This is what we use ourselves in the workshop: 99.9 % isopropyl alcohol, a spray bottle, nitrile gloves, a UV torch, primers, varnishes and wash and cure stations.

If you print in resin, post-processing is half the result. A badly washed part stays tacky and an over-cured one turns brittle. Below we explain how we do it, step by step, and what you need at each stage.

Skip to results list
21 items
Column grid
Column grid

Filter

Step 1: washing the resin print

When you take the part off the build plate, it's covered in liquid resin. That has to come off before curing, otherwise it hardens on top and fills in the detail. For standard resins you use isopropyl alcohol at 99 % or higher. 70 % IPA has a lot of water in it and leaves the part cloudy white.

We use two pots: a "dirty" one for the first wash and a "clean" one for the rinse, 2 or 3 minutes in each. If you have a wash and cure station like the Elegoo Mercury Plus, the spinning does the work for you. For hollows and supports, the spray bottle gets where the pot can't.

Don't leave the part in alcohol too long: after about 10 minutes some resins turn white or crack. If you use water-washable resin, you wash it in tap water, but that water mustn't go down the drain. It's all explained in our isopropyl alcohol guide.

frontal de la linterna uv para curar resina 3d mr resin con la luz encendida

Step 2: curing with UV light

Before curing, the part has to be completely dry. If alcohol is left in the hollows, you get white marks and sticky patches. A few minutes in the air or a hairdryer on the cold setting is enough.

Curing finishes hardening the resin. In a curing station a miniature needs a few minutes; a large or solid part, longer. Over-curing doesn't make it harder, it makes it more brittle and yellowish. There are rough times for each type of resin in our resin curing time guide.

To touch up an area that's still soft or to cure UV glue, we use the 395 nm UV torch. With the lights off, it also shows you where uncured resin is left on the bench: it glows under the torch.

Supports, sanding and filling

We remove supports before curing, while the part is still slightly soft: they come off cleaner and the marks sand down better. After curing, the resin goes rigid and chunks are more likely to snap off. Cut close to the part and on a cutting mat, not straight on the table.

The marks left behind are wet sanded, 400 to 1000 grit. Wet sanding doesn't raise dust, and resin dust is not something you want to breathe in. If there's a gap or a seam line, fill it with Gomagom 29 epoxy putty and sand once it's hard. We go into more detail in how to sand resin prints and in our supports guide.

Resin post-processing step by step: what to use at each stage

StepWhat it's forWhat to use
WashingRemove the liquid resin left on the part99.9 % isopropyl alcohol, spray bottle or wash station
DryingMake sure no alcohol is left before curingA few minutes in the air or a hairdryer on cold
CuringFully harden the partCuring station or sunlight; UV torch for touch-ups
SupportsRemove them without pulling chunks offFlush cutters on a cutting mat
SandingRemove support marks and layer linesWet sandpaper, 400 to 1000 grit; epoxy putty for gaps
GluingJoin parts or fix breaksCyanoacrylate or UV adhesive
PrimingHelp the paint gripVallejo spray primer or bottled primer
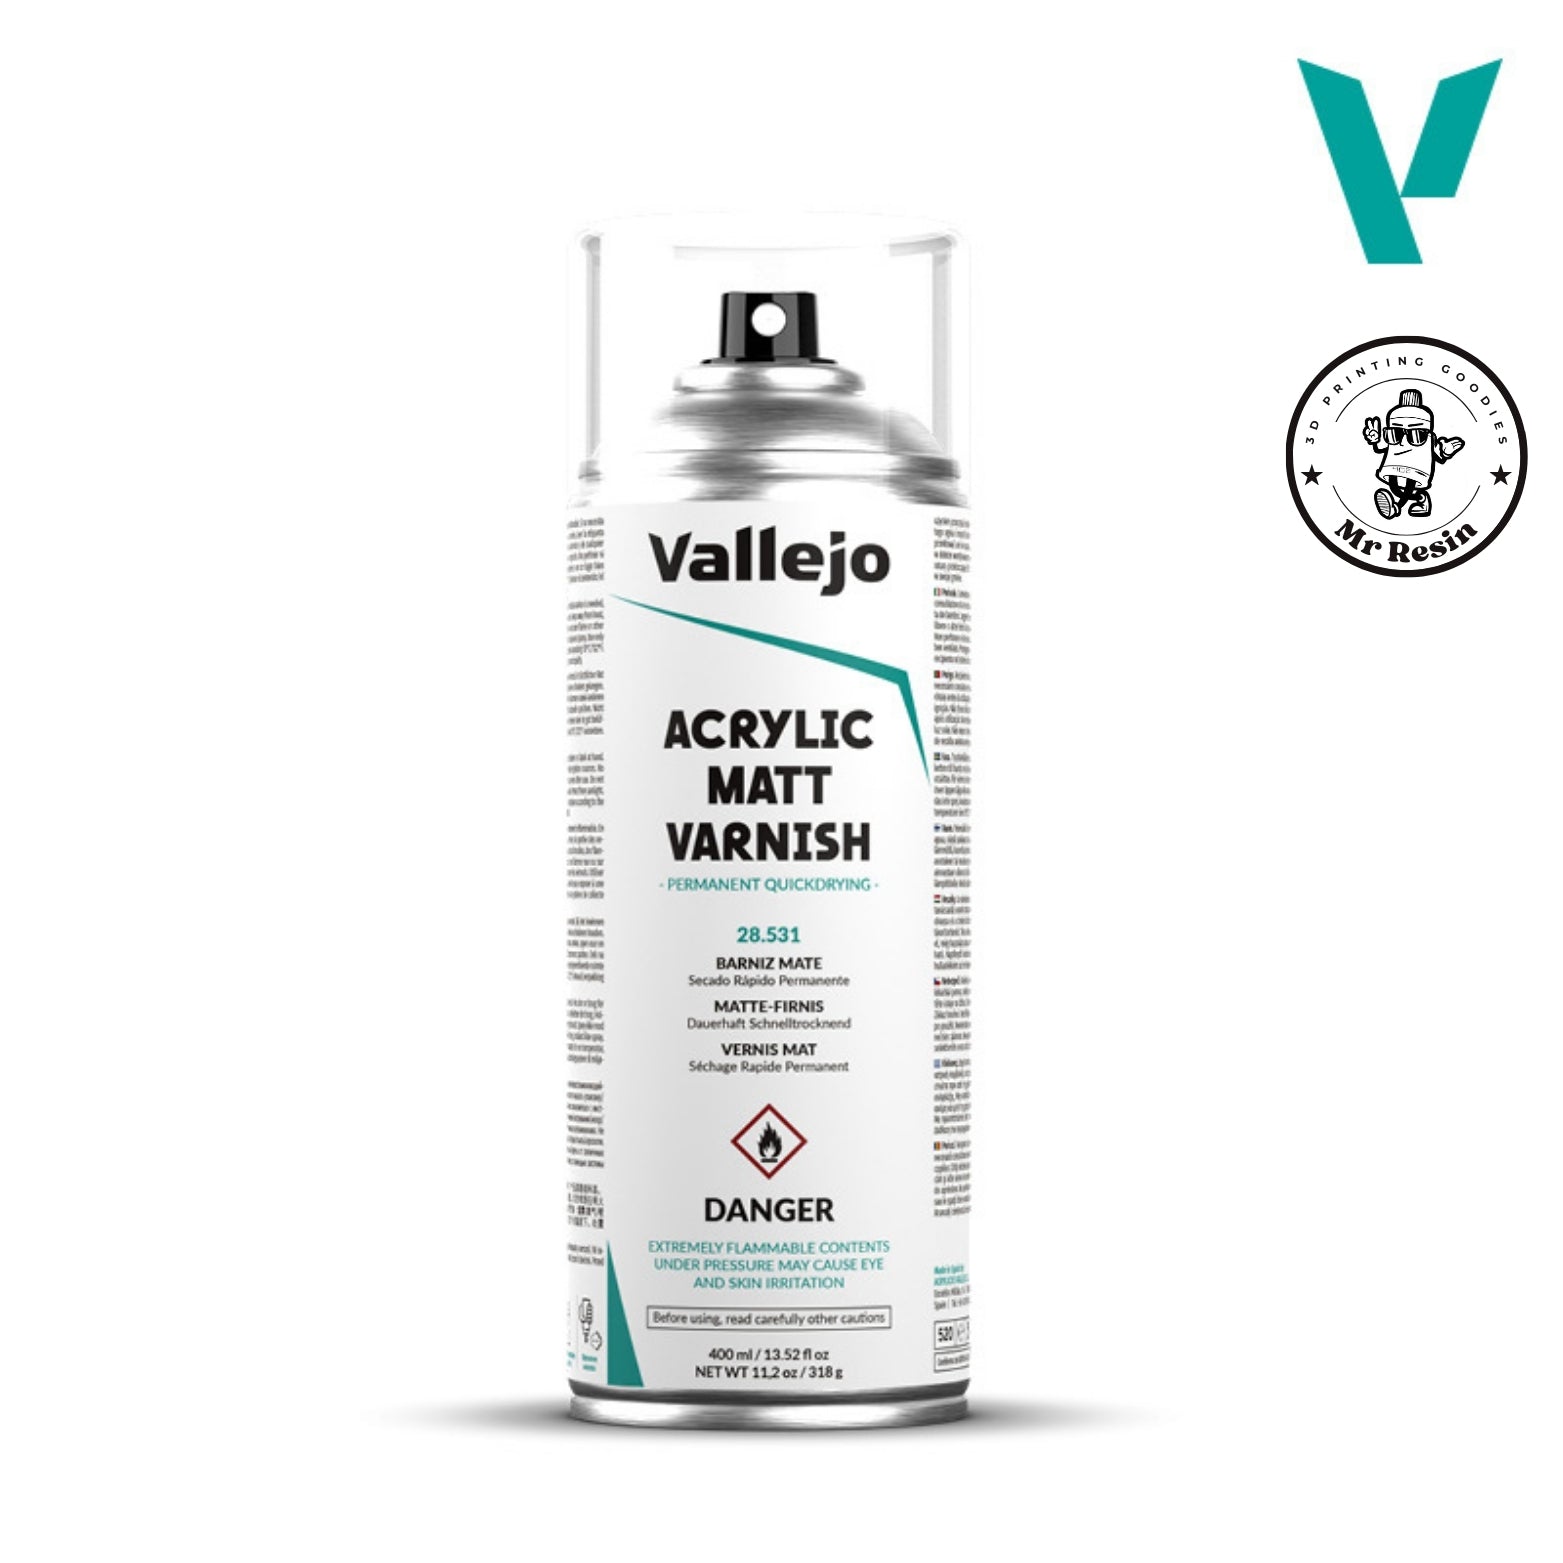
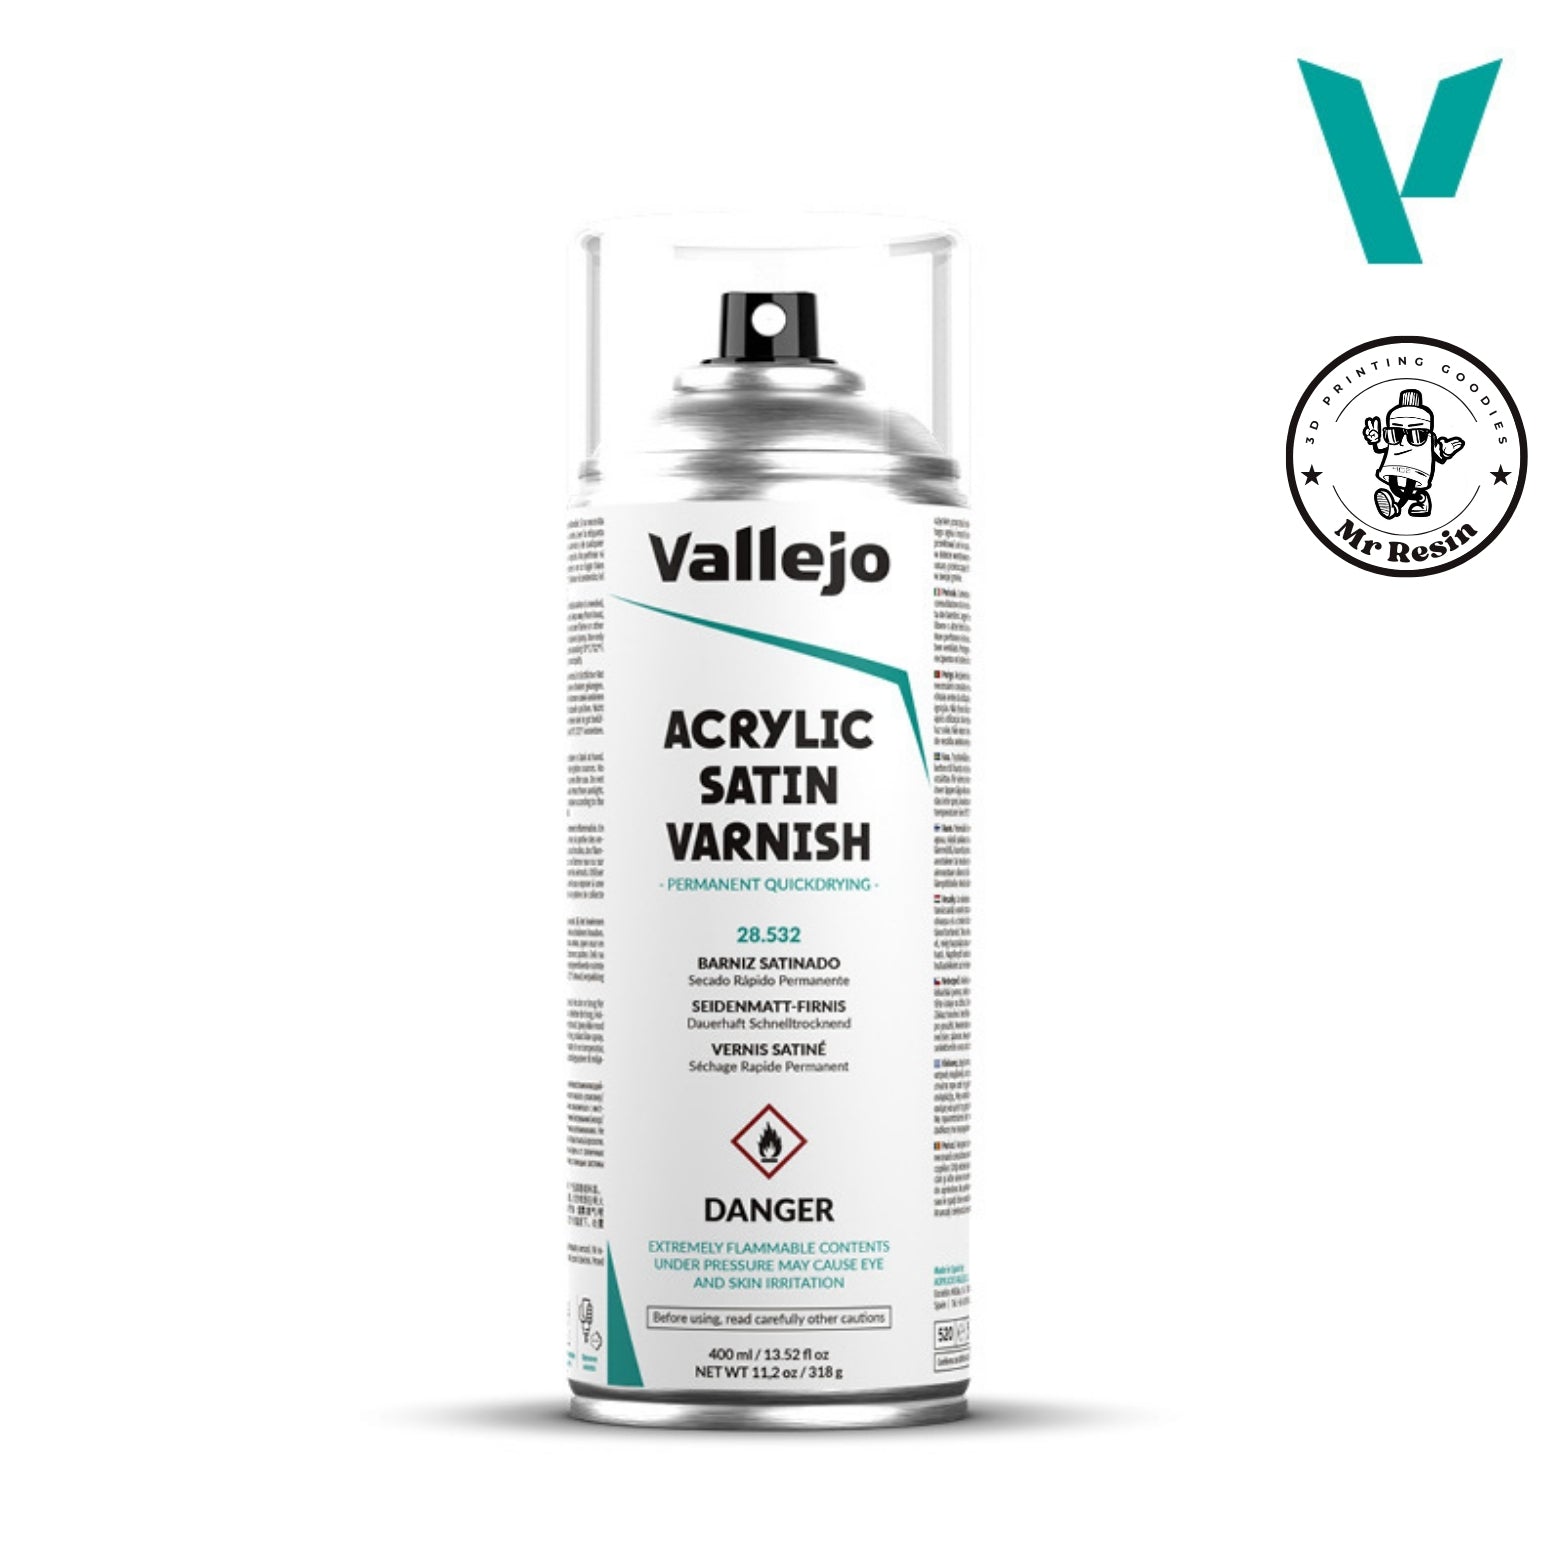
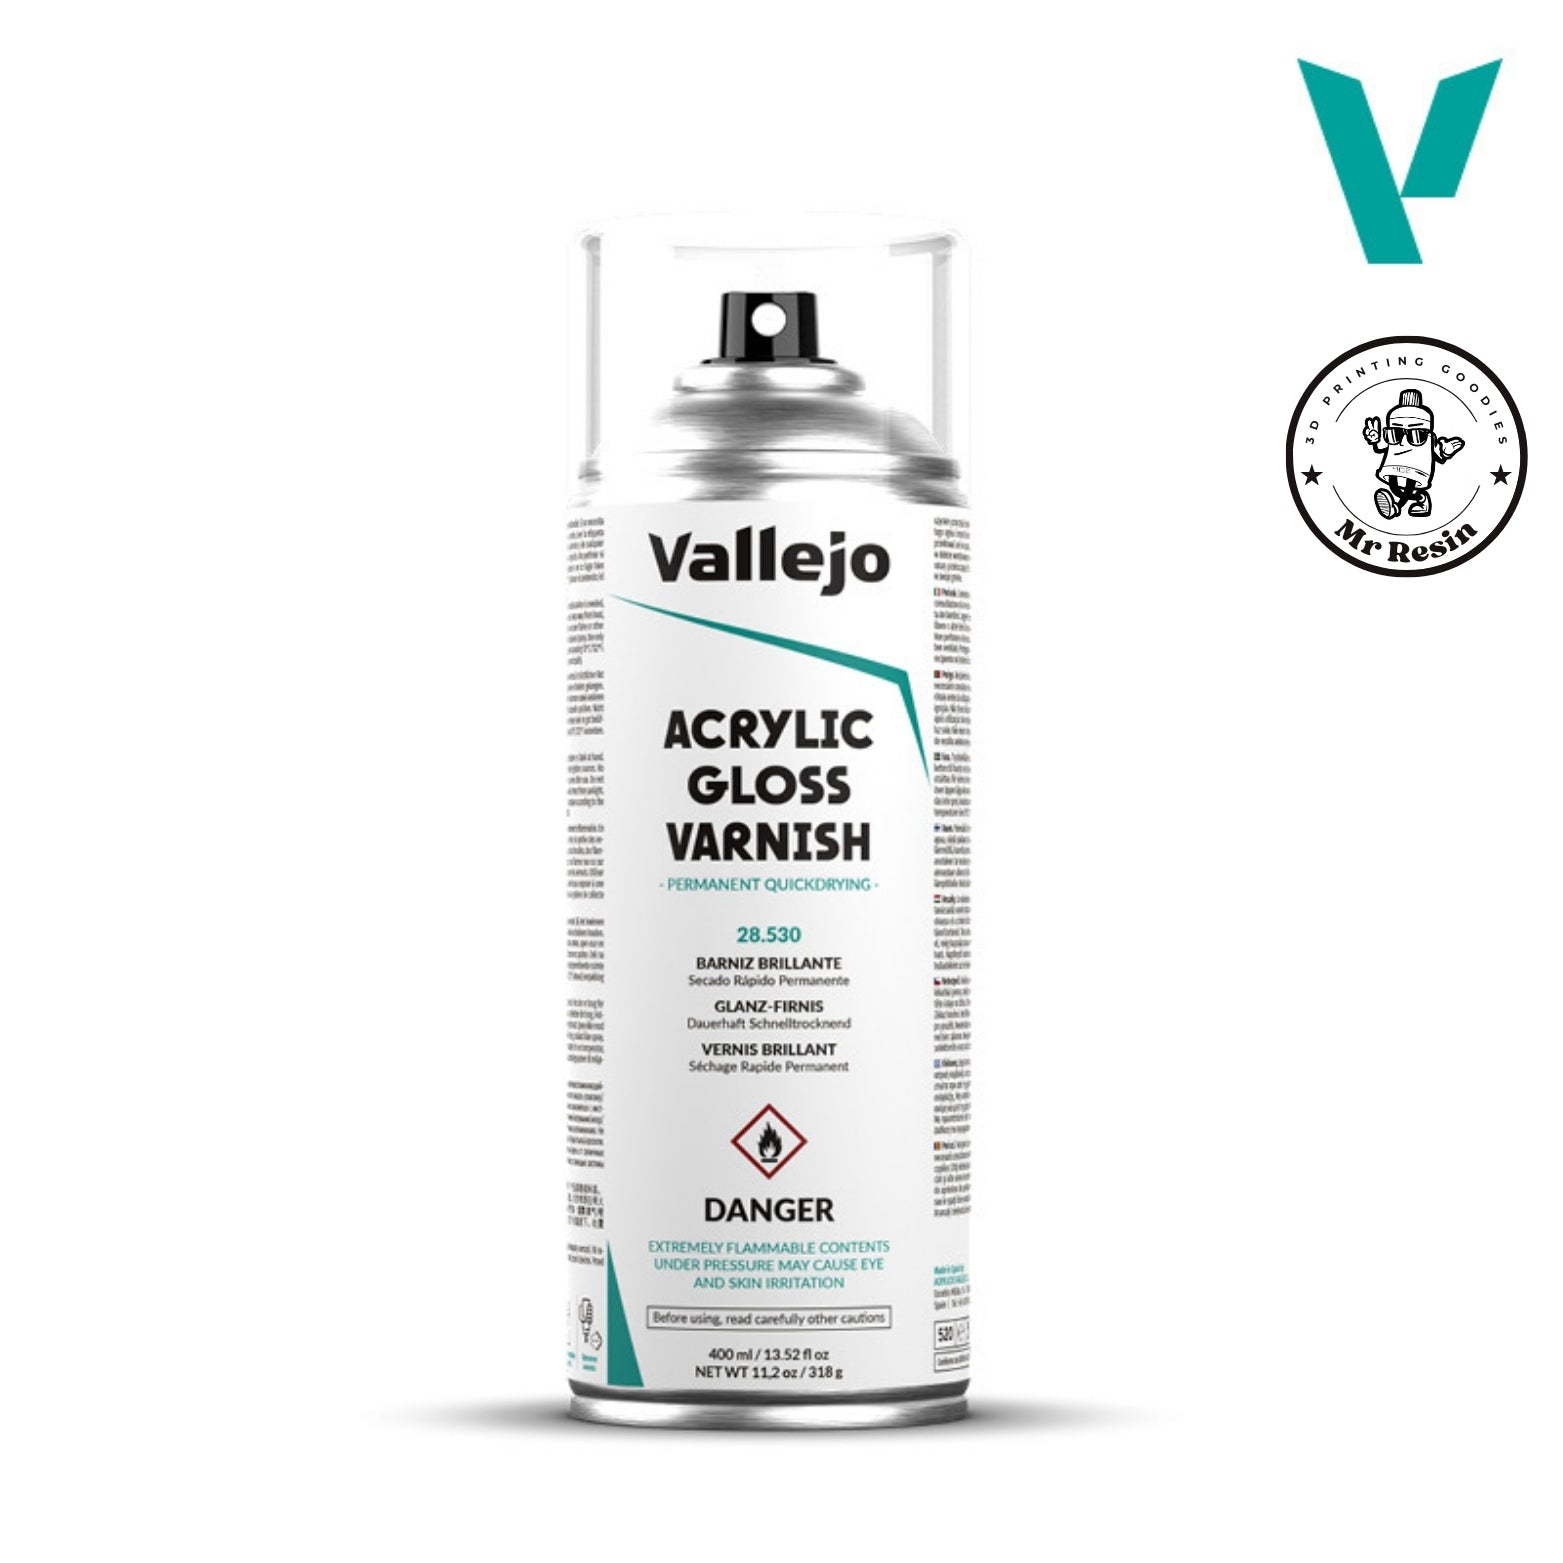
VarnishingProtect the paintVallejo varnish: matt, satin or gloss

Gluing resin and PLA parts

For small parts, a cyanoacrylate (superglue): good old Gomagom 7, Gomagom 9 with a brush to put it exactly where you want it, or Gomagom 37 gel when you don't want it running down a vertical wall.

If the joint has gaps or you want it invisible, Gomagom 87 UV adhesive fills them and sets in seconds under the UV torch. And if glue ends up where it shouldn't, Gomagom 21 adhesive remover gets it off. You'll find all our glues in adhesives and glues, and which one to choose in our guide to gluing resin 3D prints.

Spray imprimacion Vallejo Hobby Paint 28010 400ml para miniaturas - Mr Resin

Primer and varnish: the finish

If you're going to paint, the part needs to be washed, cured and degreased with soap and water. Then comes primer: it's what makes the paint grip. Vallejo spray primer covers quickly; bottled primer is for airbrush or brush. Step by step in how to prime miniatures.

Finally, varnish protects the paint from handling. Matt to kill the shine, satin for a middle ground and gloss for metals, gems or puddles. The differences are in matt or gloss varnish. Everything for painting is in miniature and scale model paints.

Safety and what to do with waste

Uncured resin irritates the skin and over time can cause an allergy. Always wear nitrile gloves, work somewhere well ventilated and wear safety glasses when washing. Isopropyl alcohol is flammable: keep it away from flames and radiators.

Alcohol can be reused. When it goes cloudy, leave it in a clear container in the sun: the resin cures and sinks to the bottom. Filter it and use it again. Liquid resin never goes down the drain. Cure it in the sun or under UV and it becomes solid waste; do the same with paper towels and dirty gloves. Alcohol that's past using goes to your local recycling centre.

3D print post-processing FAQs

What alcohol should I use to clean resin 3D prints?

Isopropyl alcohol (IPA) at 99 % or higher. 70 % IPA has too much water in it and leaves the part cloudy white. Water-washable resins are the exception: you wash those with water.

How long should I leave a resin print in IPA?

Two washes of 2 or 3 minutes each, one in dirty alcohol and one in clean. More than 10 minutes in one go can turn some resins white or make them crack.

How long should I cure a resin print?

It depends on the resin and the size. A miniature in a curing station only needs a few minutes; a large part needs longer. Over-curing makes it brittle, so start short and add time if you need to.

Should I remove supports before or after curing?

Before, while the part is still slightly soft. They come off cleaner and the marks sand down more easily. Once cured, the resin is rigid and chunks are more likely to snap off.

Why is my resin print still sticky after curing?

It's nearly always down to a poor wash, alcohol that was too saturated, or the part not being dry when it went in to cure. Wash it again in clean alcohol, let it dry and cure it again.

Can you reuse isopropyl alcohol?

Yes. Leave it in a clear container in the sun so the dissolved resin cures and settles at the bottom, filter it and use it again. When it no longer cleans properly, take it to your local recycling centre.

How do I dispose of leftover resin?

Never pour liquid resin down the drain. Cure it in the sun or under UV light and it becomes solid waste. Do the same with paper towels and gloves that have resin on them.

Do I need a wash and cure machine?

It isn't essential. You can manage with two pots of alcohol and the sun. A station saves time and gives more consistent results from one print to the next.

What glue should I use for resin prints?

Cyanoacrylate for small parts, UV adhesive if the joint has gaps or needs to be invisible, and epoxy putty for filling or for joints that have to take weight.

Do you ship isopropyl alcohol outside Spain?

No. Alcohol and aerosols, such as spray primer and spray varnish, are flammable, so we can only ship them within Spain. The rest of our post-processing range does ship to the other countries we sell to, with free shipping from €99. Wash and cure machines are the exception: for now we can't ship them to France or Germany.

Related Categories