

The resin 3D curing time is one of those topics that can make the difference between a perfect print and a sticky disaster. If you've ever wondered exactly how long you need to leave your pieces under UV light, or why some prints end up more resistant than others, you're in the right place. We're going to break down everything you need to know about this crucial process in resin 3D printing so your projects turn out flawless. 🎯
What exactly is 3D resin curing? 🤔
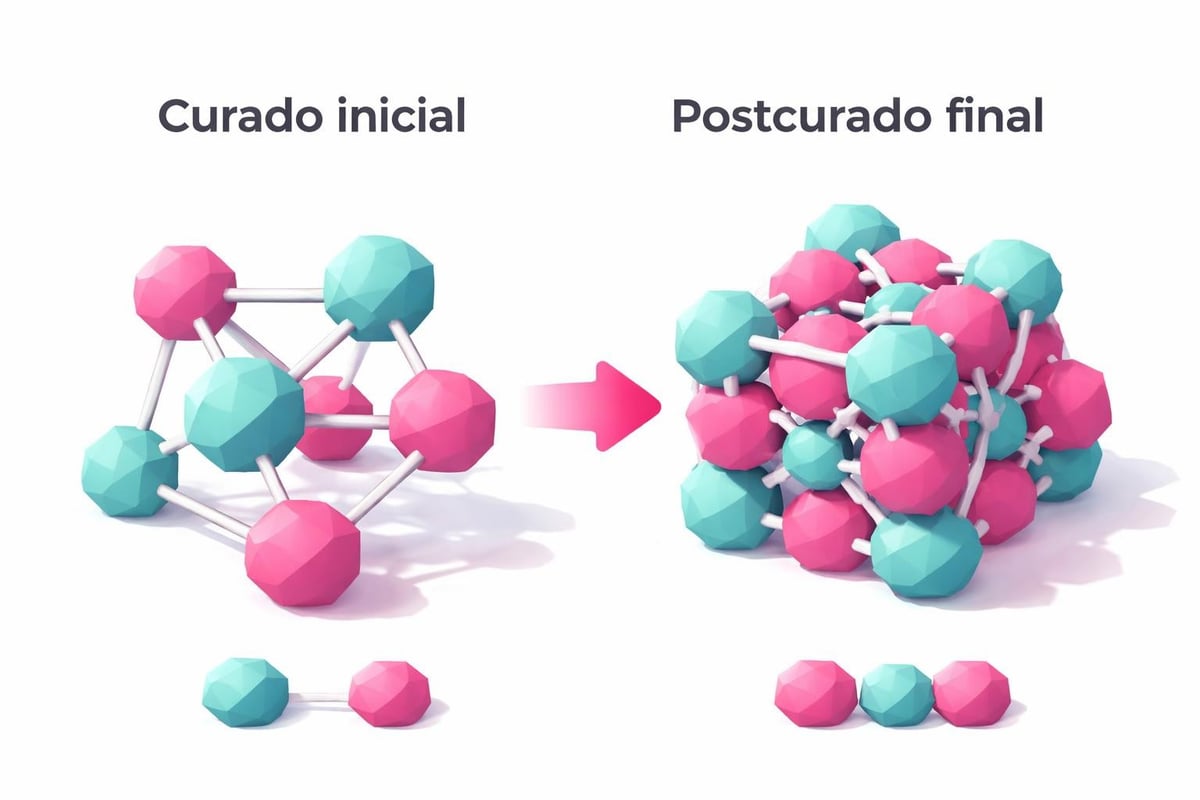
Curing is the process by which liquid resin completely solidifies through chemical cross-linking. During printing, each layer receives a dose of UV light that initiates this process, but once the piece is finished, it needs additional post-curing to reach its optimal mechanical properties.
Think of it like baking a cake: the initial oven (the 3D printer) cooks each layer, but the final resting period (the post-processing) is what truly perfects the result. Without adequate resin 3D curing time, your pieces will end up soft, sticky, or even brittle.
The two types of curing you need to know
Stereolithography and similar technologies work with two distinct phases:
-
Curing during printing: Each layer receives specific UV light according to the configured settings
-
Post-curing: Additional exposure to complete molecular cross-linking
Factors that affect resin 3D curing time ⚡
There is no single answer for all cases. The time required varies according to multiple factors you need to consider:
Resin type
Each formulation has unique characteristics. Standard resins typically need between 2-5 minutes, while specialized ones can vary:
|
Resin Type |
Approximate Time |
Characteristics |
|---|---|---|
|
Standard (grey/white) |
2-4 minutes |
General use, good resistance |
|
3-6 minutes |
Require more time to maintain clarity |
|
|
2-3 minutes |
Less time to avoid rigidity |
|
|
4-8 minutes |
Longer time for mechanical properties |
|
|
5-10 minutes |
High durability and thermal resistance |
UV light power and type
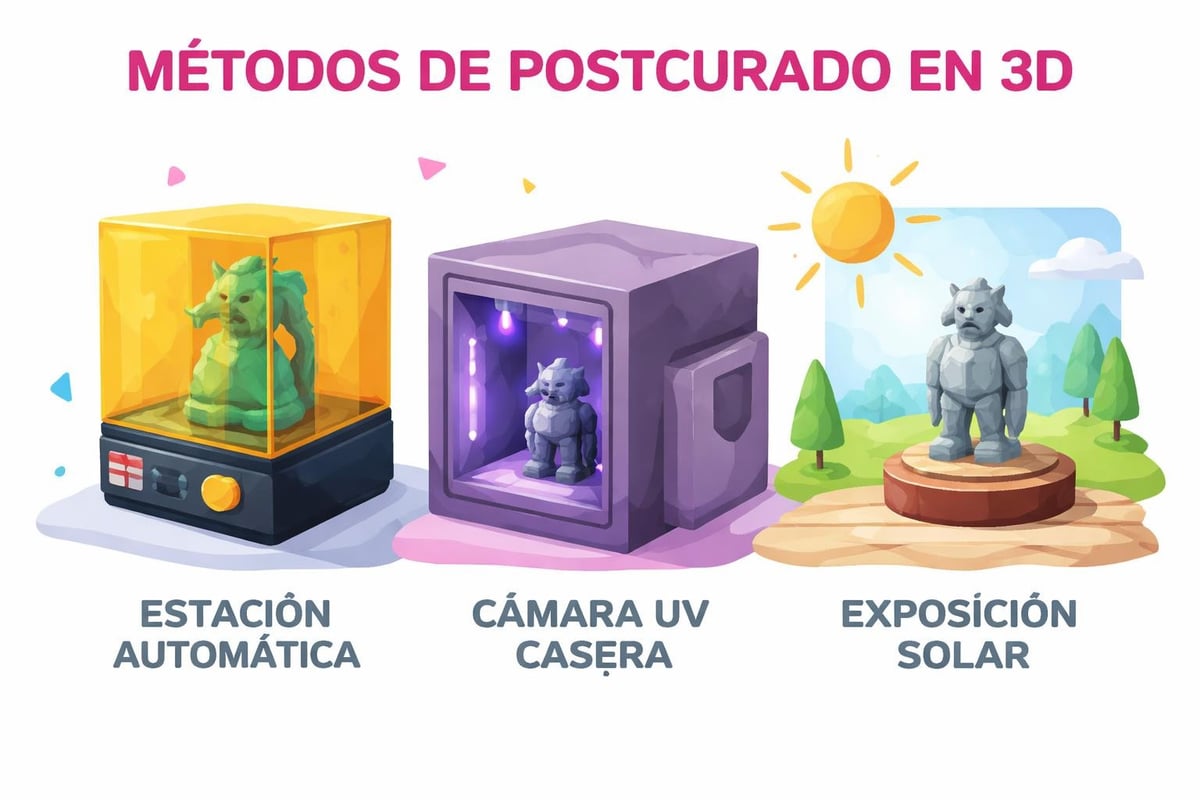
Professional curing stations with 405nm LEDs tend to be more efficient. The Anycubic guide on curing times mentions that power directly influences the speed of the process.
-
40W stations: typically 2-4 minutes
-
6W UV lamps: 8-15 minutes
-
Direct sunlight: 15-30 minutes (variable depending on weather conditions) ☀️
Part thickness and size
Thicker parts require more exposure. A small miniature can be ready in 2 minutes, while a solid object may need 10 minutes or more.
How to determine the perfect curing time for 3D resin 🎯
The best way to optimize the process is through systematic testing with your specific equipment.
Interval testing method
This is the method I personally use and it works wonderfully:
-
Clean the part thoroughly with isopropyl alcohol
-
Perform an initial curing of 2 minutes
-
Check the surface by touching it with a glove
-
Add 1-minute intervals until the surface is no longer sticky
-
Add 1-2 additional minutes to ensure complete internal curing
Signs of correct vs. incorrect curing
Properly cured:
-
Hard surface to the touch 💪
-
Uniform color
-
No resin smell
-
Adequate mechanical strength
Under-cured:
-
Sticky or soft
-
Deforms easily
-
Persistent resin smell
-
Can cause skin irritation ⚠️
Over-cured:
-
Yellowing or discoloration
-
Excessive brittleness
-
Surface cracks
-
Loss of fine details
Optimizing your curing station 🔧
For professional work, investing in a good curing station makes all the difference. Options range from budget models to professional stations with temperature control.
Recommended settings
The Elegoo resins and Anycubic, two of the brands we work with most at Mr Resin, come with detailed technical specifications.
For standard 405nm resins:
-
Temperature: 40-60°C
-
Time: 3-5 minutes
-
Rotation: enabled for uniform curing
The Prusa guide on curing goes deeper into how temperature accelerates the chemical process without compromising quality.
Advanced post-curing techniques 🚀
More experienced users combine different methods depending on the project. The Liqcreate study on post-curing demonstrates that the best results are achieved with resin-specific protocols.
Stage curing
For complex or large pieces:
-
Light pre-curing (1-2 min) for handling
-
Intensive cleaning of excess resin
-
Main curing (specific time according to resin)
-
Secondary curing optional for maximum strength
Water curing
Water-washable resins allow curing while submerged, reducing bubbles and improving the finish on transparent pieces. This method is especially useful for detailed miniatures.
Common mistakes you should avoid ❌
After years in this, I've seen (and made) practically every possible mistake:
-
Not washing before curing: Excess liquid resin hardens and ruins the finish
-
Curing without rotation: Creates shadows and uneven curing
-
Exposing directly without protection: Can cause discoloration in pigmented resins
-
Ignoring manufacturer specifications: Each resin has its own optimal parameters
The correct calibration of your 3D printer directly influences how much post-curing you will need.
Practical tips for different applications 💡
The 3D resin curing time also varies depending on the final use of your parts:
For miniatures and scale modeling:
-
Shorter curing (2-3 min) preserves flexibility in thin parts
-
Useful before applying Vallejo paints
For functional parts:
-
Full curing (5-8 min) ensures mechanical resistance
-
High-temperature resistant resins require extended post-curing
For transparent prototypes:
-
Submerged curing in water improves clarity
-
Strict time control prevents yellowing
Conclusion: Mastering curing time for perfect prints 🎨
3D resin curing time is not an exact science, but with practice and attention to the key factors, you will achieve consistent professional results. Always remember to start with the manufacturer's recommendations and adjust according to your specific equipment.
Don't forget to join our community 💬 to share your experiences and learn from other makers. Join our Telegram group to access exclusive discounts, coupons, news and special events. You can also subscribe to our Newsletter to receive exclusive community offers, technical guides and the latest news in 3D printing.
Whether you're working with UV 3D resins, LCD or DLP, mastering post-curing will completely transform the quality of your prints. Experiment, note your results and build your own knowledge base.
✨¡Happy Printing! 🚀
Mastering the curing time for 3D resin is essential for obtaining parts with optimal mechanical properties and professional finishes. Whether you work with standard resins or specialized ones, the key is understanding the factors that influence the process and adjusting according to your specific equipment and materials. At Mr Resin you will find everything you need for your complete workflow: from quality resins from leading brands to curing stations and post-processing accessories, all with real stock, fast shipping from Spain and specialized technical support. Visit our store and discover how we can help you take your prints to the next level.