

Want to optimize your 3D printing workflow and achieve professional finishes on your resin parts? 🦾 You're in the right place! The Anycubic Wash and Cure 3 Max is the perfect all-in-one solution for washing and curing your large-format 3D prints, hassle-free.
In this guide we'll show you how to make the most of every feature, from initial setup to advanced tips for flawless results. You'll discover its characteristics, advantages, usage steps, maintenance advice and comparisons with other models.
Get ready to take your post-processing to the next level and master the art of 3D printing with spectacular results. Keep reading to transform your experience!
Key Features of the Anycubic Wash and Cure 3 Max 2025
Looking for a machine that helps you take your prints to the next level? The Anycubic Wash and Cure 3 Max stands out by offering everything you need for post-processing resin parts, even in large formats. 🦾
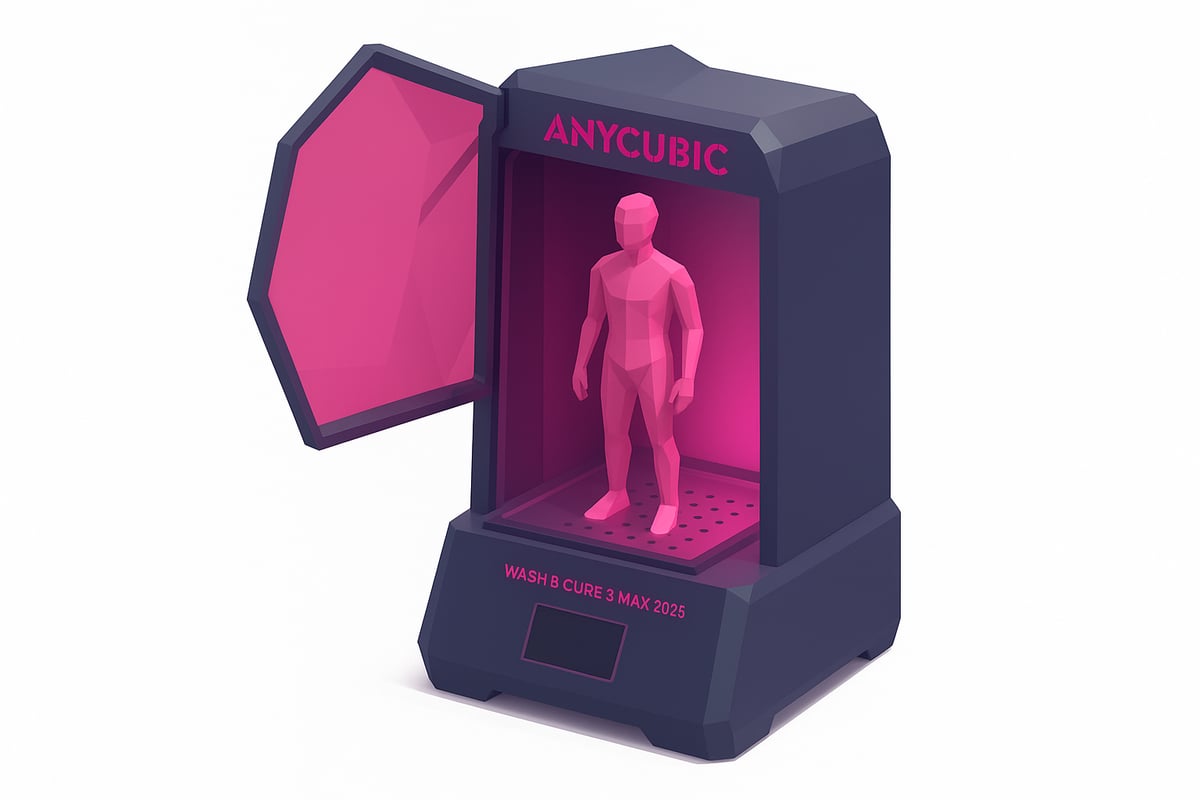
Among its main features, the following stand out:
- Large capacity: Accommodates parts of up to 14.9 litres, so forget about size limitations.
- Efficient washing: Dual agitation system and removable basket that guarantee thorough, safe washing for any model.
- Uniform 360° curing: 405 nm UV LED panels that cure your models quickly and evenly from every angle.
- Smart touchscreen: Easily control times and modes thanks to its intuitive interface, ideal for beginners and experts alike.
- Maximum safety: Lid sensor that stops the cycle if opened, plus UV protection for your peace of mind.
- Full compatibility: Works with most standard 3D resins as well as water-washable resins. Not sure which resin to use? Here you can find a selection of compatible Anycubic 3D resins perfect for your machine.
- Energy efficiency: Optimised consumption so you can use it daily without worrying about your electricity bill.
Can you imagine curing a 30 cm figure without any juggling act? With the Anycubic Wash and Cure 3 Max, that's a piece of cake. Plus, its robust design and ease of use make it an essential companion for any maker.
Step-by-Step Guide: How to Use the Anycubic Wash and Cure 3 Max 2025
Ready to transform the post-processing of your resin parts? Here's how to use the Anycubic Wash and Cure 3 Max, from first assembly to the perfect cure. Get the most out of your station and achieve workshop-quality results without leaving home! 🦾

Initial Preparation and Assembly
Before using the Anycubic Wash and Cure 3 Max for the first time, make sure you have everything ready for safe and efficient use. Start by carefully unboxing the machine and checking that all components are in perfect condition (tank, basket, lid, rotating platform and cabling).
Place the cleaning tank in position and assemble the basket. Connect the equipment to a stable power outlet and verify that the touchscreen works correctly. Install the safety cover, which features a sensor to prevent accidents.
Find a well-ventilated space away from direct sunlight. It is essential that the area is free of dust and humidity, as this ensures the Anycubic Wash and Cure 3 Max operates at peak performance. Wear gloves and glasses to prepare everything safely.
Check that the cover closes properly and that the machine is level. This prevents vibrations and leaks during the washing and curing processes. All set to move on to the next step.
Washing process
Washing is crucial for removing resin residue and achieving professional finishes with the Anycubic Wash and Cure 3 Max. Fill the tank with isopropyl alcohol or water, depending on the type of resin. If you have any questions about the correct use of alcohol, consult this Isopropyl Alcohol in 3D Printing guide.
Place the printed part in the basket or secure it directly to the support. Use the screen to select the washing program, adjusting the time according to the size and complexity of the model. For example, a 20 cm figure typically requires around 10 minutes.
Observe the process through the transparent cover, but never open it during the cycle. The dual agitation system ensures deep and safe cleaning, preventing resin residue from reaching hard-to-reach corners.
When finished, carefully remove the part and allow the excess liquid to drain. Always remember to handle resin and alcohol with gloves to protect your skin. Now, your part is ready for curing!
Curing process
Curing is the final step for your model to gain strength and a professional finish using the Anycubic Wash and Cure 3 Max. Pat the part dry with absorbent paper before placing it on the rotating platform in the curing area.
Set the curing time on the touchscreen, typically between 3 and 10 minutes depending on the resin and size. For example, a large housing prototype will be perfect after 8 minutes of exposure time.
Start the cycle and make sure the cover is properly closed. The automatic rotation and UV LED panels allow for highly uniform 360° curing. It is essential to wear gloves and avoid looking directly at the UV light during the process.
When finished, remove the part and let it rest for a few minutes. You will notice the difference: smoother surfaces and parts ready to use or paint. You have now mastered the complete process with the Anycubic Wash and Cure 3 Max!
Advantages and benefits compared to other post-processing systems
Can you imagine saving time and effort with every resin print? The Anycubic Wash and Cure 3 Max allows you to automate the process, achieving professional finishes without complications. Its all-in-one system reduces manual steps and minimises common errors.
Among its advantages, speed stands out, as it is up to 30% more efficient than previous models. Washing and curing are carried out in a single unit, preventing cross-contamination and splashing. In addition, its compatibility with large parts or miniatures makes it perfect for any project.
Safety is another strong point: smart sensors and UV protection ensure a safe environment even in busy workshops. Less handling means fewer accidents and a cleaner workspace.
Many professional workshops have noticed a remarkable improvement in productivity and a reduction in part failures. If you're looking for additional tips to achieve flawless results after post-processing, we recommend taking a look at these tips for perfect resin prints.
In summary, the Anycubic Wash and Cure 3 Max transforms post-processing into a fast, safe, and highly efficient task, ideal for both makers and demanding professionals.

Maintenance tips and best practices
Keeping your Anycubic Wash and Cure 3 Max in optimal condition is key to always getting top-notch results with your resin prints. 🧼 Here are some essential tips to help your equipment last longer and perform like it did on day one.
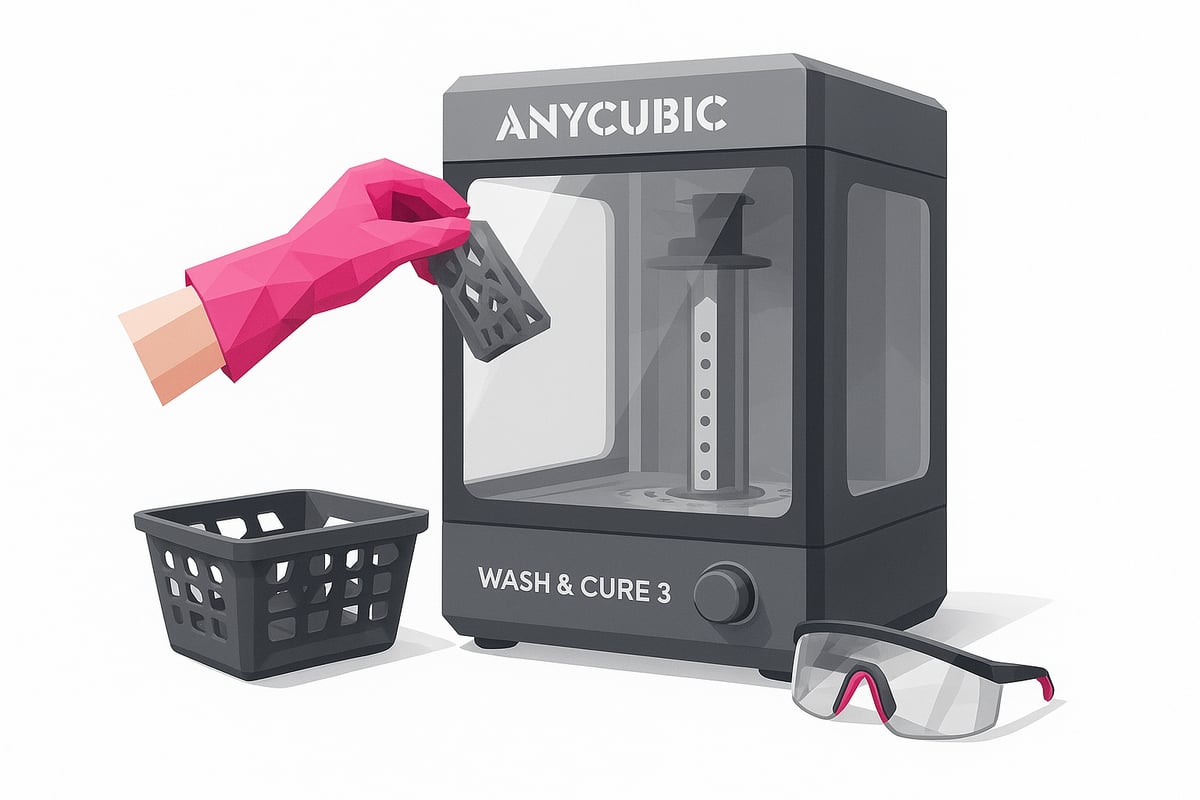
- Clean the tank and basket after each use to prevent resin residue from building up and contaminating future parts.
- Change the washing liquid regularly, especially if you notice cloudiness or floating residue.
- Check and clean the UV LED protective cover, so curing is always uniform and efficient.
- Store your Anycubic Wash and Cure 3 Max away from direct sunlight and in a cool, dry space.
- Always wear gloves and protective goggles when handling resins or washing liquids.
- Calibrate the rotating platform from time to time, especially if you notice the part is not spinning smoothly.
Many users have found that cleaning the equipment after each session noticeably extends the system's lifespan and improves finishes. If you want more ideas on how to take care of your station, take a look at this review with practical maintenance tips.
Ready for hassle-free post-processing? With these habits, your Anycubic Wash and Cure 3 Max will be with you for many more projects to come.
Comparison: Anycubic Wash and Cure 3 Max 2025 vs other popular models
When choosing a post-processing station, comparing the Anycubic Wash and Cure 3 Max with other popular models such as the Wash and Cure 2.0 and Elegoo units is key to making a good decision. The main difference is immediately apparent: the capacity of the 3 Max model, perfect for large parts or users who print in series.
Here is a quick table to see the key differences:
| Model | Capacity | UV Curing | Compatibility | User Rating |
|---|---|---|---|---|
| Anycubic Wash and Cure 3 Max | 14.9 L | 405 nm LED | All, incl. water | ⭐ 4.8/5 |
| Wash and Cure 2.0 | 7 L | 405 nm LED | Standard resins | ⭐ 4.5/5 |
| Elegoo Mercury X Bundle | 8 L | 405 nm LED | Standard resins | ⭐ 4.6/5 |
The Anycubic Wash and Cure 3 Max stands out for its energy efficiency, higher curing power, and an intuitive touchscreen interface with a lid sensor for maximum safety. It also offers full compatibility with water-washable resins, something not all models can guarantee.
Want to explore the technical specifications in more depth? You can check them at Anycubic Wash & Cure 3 Max Specifications.
In professional workshops, the Anycubic Wash and Cure 3 Max is preferred for its volume and speed, translating into greater productivity and less downtime. If you're looking for real product images, head over to www.mrresin.es to view visual comparisons and choose with confidence.
Frequently Asked Questions (FAQ) about the Anycubic Wash and Cure 3 Max 2025
Do you have questions about the Anycubic Wash and Cure 3 Max? Here you'll find quick answers to optimise your experience and solve common day-to-day issues. 👇
What types of resin are compatible?
The Anycubic Wash and Cure 3 Max works with most standard resins, including water-washable resins. For best results, check the Anycubic resin parameters and settings.
How much cleaning liquid do I need per cycle?
It depends on the size of the part, but generally filling the tank enough to cover the print is sufficient. Replace it when you notice dirt or residue.
Is it safe to use at home?
Yes, it has safety sensors and UV protection, but always wear gloves and make sure the area is well ventilated.
How do I avoid bubbles or residue during curing?
Make sure to thoroughly dry the part before curing and avoid exceeding the recommended exposure times.
What maintenance does the UV system require?
Clean the protective cover and check the LEDs periodically to maintain curing efficiency.
Where can I get spare parts and accessories?
You can easily find them at specialised stores and on the official Anycubic website.
Practical example:
If you notice white marks after washing, try rinsing with distilled water and make sure to dry completely before curing.
Do you need technical support or updates? Visit the Anycubic website for assistance and the latest news.
Conclusion:
The Anycubic Wash and Cure 3 Max offers professional-grade results, ease of use, and maximum safety with every print. If you're looking for more opinions and details, you can read an Anycubic Wash & Cure Max Review to dive deeper into other users' experiences.
Do you want to take your projects to the next level? Visit our store at Mr Resin to find resins, accessories, and exclusive deals. Join our Telegram group at https://t.me/MrResin3D to access discounts, coupons, and community news.
Don't forget to subscribe to the Newsletter and be the first to receive new releases and special promotions.
✨Happy Printing! 🚀
Now that you know how to get the most out of your Anycubic Wash and Cure 3 Max 2025 and you understand how important it is to use the right materials to achieve flawless results, why not take the next step and check out the resins that best suit your projects? At Mr Resin you have plenty of options to experiment with and take your prints to the next level, from super durable resins to the most detailed ones for miniatures. If you have questions or want to compare, you can find specifications and opinions from other makers like you right there.
View all 3D printing resins