
Would you like to create parts that bend like a spring, withstand impacts, and adapt to any design, all from home? 🤩 Flexible filament 3D printing opens the doors to a whole new world of creativity, where you can print phone cases, toys, prosthetics, or technical parts that once seemed impossible.
In this guide you'll discover everything from the basics to expert tips so you can master flexible filament 3D printing. We'll analyze filament types, real-world applications, tricks to avoid jams, and how to choose the perfect 3D printer.
Ready to take your projects to the next level? Keep reading and start creating in 2025! 🚀
What is flexible filament in 3D printing?
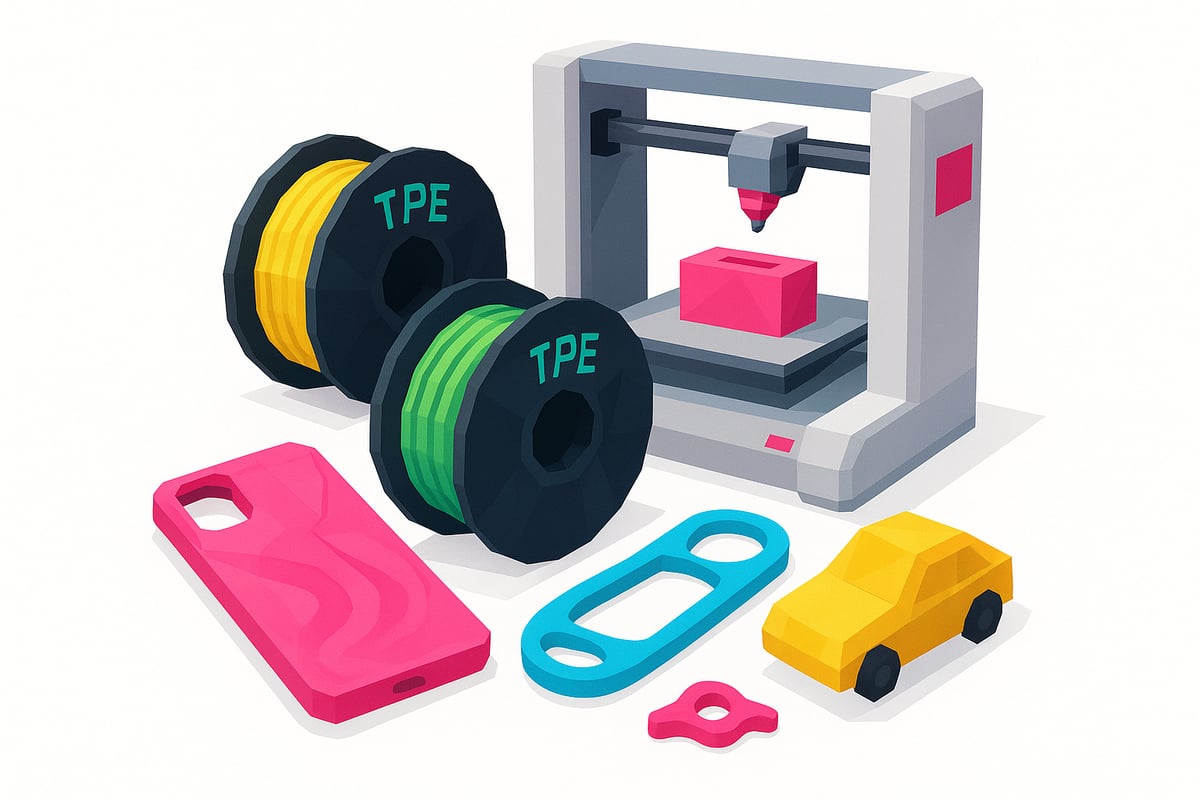
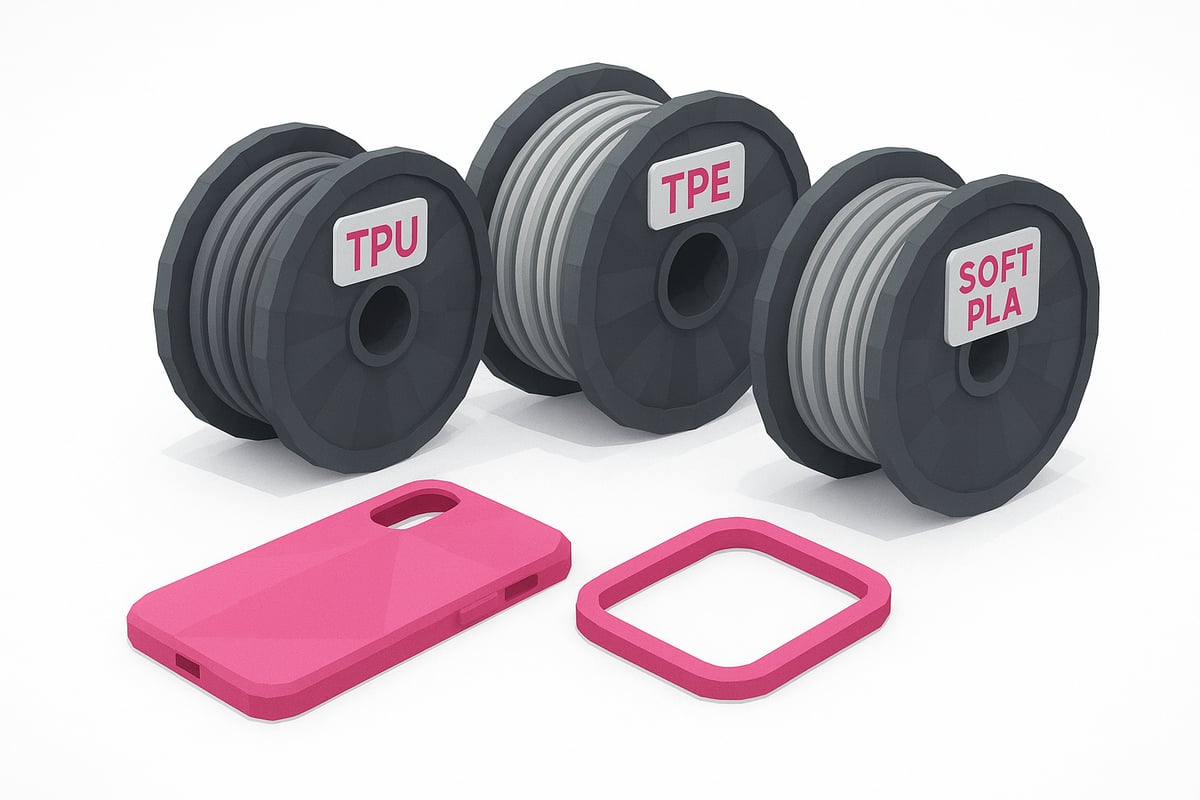
Have you seen those phone cases that bend without breaking? That's possible thanks to flexible filament, a star material in flexible filament 3D printing. The most popular are TPU, TPE, and Soft PLA, each with its own blend of elasticity and resistance.
Here's a quick table so you can see their properties compared to the classic PLA and ABS:
| Filament | Elasticity 🤸♂️ | Shore Hardness | Impact Resistance 💥 | Wear Resistance 🚴♀️ |
|---|---|---|---|---|
| TPU | Very high | 85A-98A | Excellent | High |
| TPE | High | 80A-95A | Very good | Medium-High |
| Soft PLA | Medium | 90A-92A | Good | Medium |
| PLA | Low | 60D | Low | Low |
| ABS | Low | 70D | Medium-High | Medium |
The secret of flexible filament 3D printing lies in its molecular structure, which gives it that ability to bend and absorb impacts. That's why they're ideal for printing:
- Phone cases and protectors
- Gaskets and shock absorbers
- Custom prosthetics
- Flexible toys
- Technical parts for robotics
According to Statista and 3D Hubs, the flexible filament market has grown 25% annually since 2021, and in 2025 it's expected to represent one in every six home 3D printing projects. Incredible!
Advantages? Tremendous versatility, impact and wear resistance, and the ability to create unique parts at home. Challenges? They're harder to print than PLA, require fine-tuning, and can jam in some 3D printers.
If you want to learn more about the types and how to choose the best one for your project, I recommend this complete guide on filament types for 3D printing with real images and practical tips.
From the first prototypes in 2010 to the explosion of options in 2025, flexible filament has revolutionized creativity at home and in industry. Today, anyone can experiment and create flexible parts right from their desk.
Types of flexible filament and how to choose the right one
The world of flexible filament 3D printing is as diverse as it is exciting. There are several types of flexible filaments, each with unique properties and applications that make them ideal for different projects at home or in the workshop. 🤩
Comparison: TPU vs TPE
Among the most popular filaments, TPU and TPE stand out. TPU is known for its excellent wear resistance and elasticity, ideal for parts that need to bend and return to their original shape. TPE is even softer and more elastic, perfect for objects such as gaskets or protectors.
| Property | TPU | TPE |
|---|---|---|
| Elasticity | High | Very high |
| Resistance | Excellent | Good |
| Ease of use | Easy to print | Requires experience |
Both are compatible with flexible filament 3D printing, but vary depending on the final use.
Soft PLA and hybrid compounds
Another interesting option is Soft PLA, which blends the ease of printing of PLA with a degree of flexibility. It is ideal if you are looking for something in between rigidity and elasticity.
There are also hybrid compounds that combine materials to achieve customized properties, such as chemical resistance or a satin finish.
Understanding Shore hardness
Shore hardness measures how soft or rigid a flexible filament is. For projects that require a lot of flexing, choose low values (example: Shore 85A). For firmer parts, opt for higher values.
Compatibility and technical requirements
Not all FDM 3D printers can work well with all flexible filaments. It is recommended to use direct extruders instead of Bowden, as they make feeding the material easier. Always check whether your 3D printer supports the type of filament chosen.
Leading brands and real-world examples
In 2025, brands such as eSUN, Prusament and ColorFabb lead the market. You can find real images and a wide variety of options in specialized stores. If you want to explore all the alternatives, visit this FDM 3D printing filament catalog, where you will find photos and user reviews.
Key factors for choosing your filament
Before making your decision, consider:
- Price and availability
- Ease of printing
- Surface finish and colors
- Resistance to chemicals or UV
Test sample packs before buying large quantities. This way you ensure that your flexible filament 3D printing project is a complete success. 😉
Preparing and configuring your 3D printer for flexible filament
Preparing your 3D printer for flexible filament 3D printing is key to achieving incredible parts without frustration. 🛠️ Each flexible material has its tricks, but with a few adjustments and tests, your results will improve greatly! If you are new to the topic, I also recommend reading this article on what filament 3D printing is and how it works to understand the basics before you start experimenting.
Technical requirements and recommended settings
First, adjust the extrusion temperature: for TPU and TPE, it's usually between 210°C and 240°C, and Soft PLA is around 200°C to 220°C. A heated bed helps a lot — set it between 40°C and 60°C. Lower the speed to 20-40 mm/s to avoid jams. Remember to reduce retraction and use moderate pressure on the extruder. Here's a quick reference table:
| Material | Extrusion Temp. | Bed Temp. | Speed (mm/s) |
|---|---|---|---|
| TPU | 220-240°C | 50-60°C | 20-35 |
| TPE | 210-230°C | 40-60°C | 20-40 |
| Soft PLA | 200-220°C | 40-60°C | 25-40 |
3D printers like Anycubic, Creality and Prusa allow these settings to be adjusted easily. Don't forget to clean the nozzle and carry out maintenance before each session!
Useful modifications and accessories
If you want a top-notch experience with flexible filament 3D printing, go for direct drive extruders instead of Bowden setups, as they push the filament more precisely and with much less risk of jamming. Add filament guides or anti-jam pulleys to keep the material flowing smoothly. Bed surfaces like PEI or BuildTak improve adhesion and make removal easier.
- Direct drive extruder: ideal for flexible materials.
- Filament guides: prevent tangles.
- PEI surface: easy part removal.
Look for real-life images of these upgrades in specialist stores to get inspired and see how they look on your 3D printer.
Initial testing and calibration
Before diving into large parts, print a flexibility test and fine-tune retraction using calibration models. This helps you spot common issues like stringing or poor adhesion. Use tools like calipers and pliers to make small adjustments. Remember that patience is key in flexible filament 3D printing: it's better to test and refine than to ruin a project by rushing. Test, learn and enjoy the process!
Step-by-step process for printing with flexible filament
Ready to dive into flexible filament 3D printing? Here's a simple, step-by-step guide to make your first prints a real success. Let's go! 🎯
1. Model preparation and slicing
Before setting your 3D printer to work, make sure you have a 3D model optimised for flexibility. Use software like Cura or PrusaSlicer and select specific profiles for flexible filament.
- Reduce the print speed and increase the number of perimeters to add more strength.
- Use between 10% and 20% infill to maintain flexibility.
- Only add supports when absolutely necessary, as they can make post-processing more difficult.
A visual example of settings in Cura: select TPU, lower the speed to 30 mm/s and set retraction to minimum values. This helps you avoid jams and achieve smooth, strong parts.
2. Loading the filament and first steps
Loading flexible filament requires patience. Trim the tip of the filament at an angle and guide it gently into the extruder.
- Clean the extruder before starting to prevent residue.
- Do not apply too much pressure, as you could bend the filament.
- Use slow, steady movements, making sure it feeds in straight.
Check that the filament comes out of the nozzle evenly. If you notice resistance, stop and check the path. This way you avoid jams from the start and your flexible filament 3D printing will go smoothly.
3. Monitoring during printing
Don't step away from the 3D printer during the first layers! Watch how the flexible filament is being deposited and make real-time adjustments if you notice any irregularities.
- Look for signs of jams or under-extrusion, such as skipped layers or stringing.
- Use cameras or sensors on advanced 3D printers to monitor without having to stay glued to the machine.
- If you detect errors, pause the print and fix the issue before continuing.
Flexible filament 3D printing can be unpredictable at first, but active observation is key to avoiding unpleasant surprises. If you want to go deeper into techniques and tips, you can check out this Flexible 3D Printing Guide.
4. Removing and post-processing the part
Once the print is finished, let the bed cool down before removing the part to avoid damaging it. Use a flexible spatula to gently pry it off.
- Wash the part with soap and water if there are any filament residues.
- Remove support with small scissors or nail clippers to avoid tearing.
- If you want a smoother finish, you can sand it with fine-grit sandpaper.
Done! You now have a flexible, functional part, perfect for your DIY projects, gadgets, or prototypes. Share your results and keep experimenting with different settings to keep improving.
Common problems and solutions in 3D printing with flexible filament
Has flexible filament 3D printing ever felt like an impossible challenge to you? 😅 You're not alone! This type of material has its tricks, but with a few tips, any maker can achieve perfect parts.
Extruder jams
Flexible filament tends to jam if the speed is too high or the extruder is not properly adjusted. Lower the speed to 20–40 mm/s and check the filament path. If you use a Bowden system, consider switching to a direct drive extruder. Clean the nozzle and keep the pressure just right.
Poor bed adhesion
Is the part coming loose? Use surfaces such as PEI or BuildTak, adjust the bed temperature (40–60 °C for TPU, for example) and make sure it is levelled. A little hairspray or glue can also help improve adhesion.
Stringing
Stringing is very common in flexible filament 3D printing. Try lowering the temperature and adjusting retraction. Increasing the travel speed can help. Always keep the extruder clean to avoid sticky residue.
Warping and deformation
Deformations usually appear due to uneven cooling. Use an enclosure if you can and avoid draughts. Do not overheat the bed, and if you notice lifted edges, check the first layer and adhesion.
Layer separation and cohesion failures
If you notice loose layers, increase the extruder temperature slightly and make sure the filament is dry. Adjust the flow in your slicer and run test prints to find the ideal settings.
| Problem | Quick fix |
|---|---|
| Clogs | Lower speed, clean nozzle |
| Poor adhesion | PEI, BuildTak, hairspray |
| Stringing | Lower temperature, retraction |
| Warping | Enclosed enclosure, level bed |
| Layer failures | Adjust temperature and flow |
For more practical tips and solutions, visit the Common 3D printing troubleshooting guide, where you'll find specific tips for flexible filament 3D printing, real-world cases and support from the community.
Creative applications and success stories with flexible filament
Flexible filament 3D printing has revolutionized the way we create functional and personalized objects both at home and in industry. 🚀 Today, the possibilities are only limited by your imagination.
Industrial prototypes and functional parts
Automotive and electronics businesses use flexible filament 3D printing to create gaskets, shock absorbers and rapid test parts. For example, sports shoe soles and cable protectors that withstand constant wear and flexing have been manufactured. Discover more about the properties and applications in this analysis of filaments for 3D printers.
Robotics, wearables and personalized medicine
In robotics, flexible components are printed for grippers and soft actuators, improving human-machine interaction. In medicine, adaptive splints and ergonomic prosthetics tailored to the user stand out. DIY wearables, such as smart bracelets and sensor cases, are becoming increasingly common.
Maker projects, DIY and community
The makers movement has embraced flexible filament to create toys, custom cases and home solutions. Platforms like Thingiverse and Printables are full of innovative ready-to-print models. Communities share tips, models and results, boosting collaborative learning.
Statistics and emerging trends
According to Statista, the flexible filament market grew by more than 20% in 2024, and is expected to keep growing in 2025 thanks to new industrial and home applications. Experts predict that flexible materials will be key in the next wave of 3D innovation.
Are you ready to create your own success story? Creativity and technology go hand in hand to drive flexible filament 3D printing into the future.
If after reading this guide you're feeling inspired to experiment with flexible filament and create your own projects, let me tell you that at Mr Resin you have everything you need to get started. Here you'll find a wide variety of flexible filaments, from TPU to Soft PLA, sample packs to try out and loads of useful resources so you don't get stuck along the way. Plus, their team is always ready to help if you have any questions or need an extra tip. Want to see all the available options? Head over here:
View all 3D printing filaments