
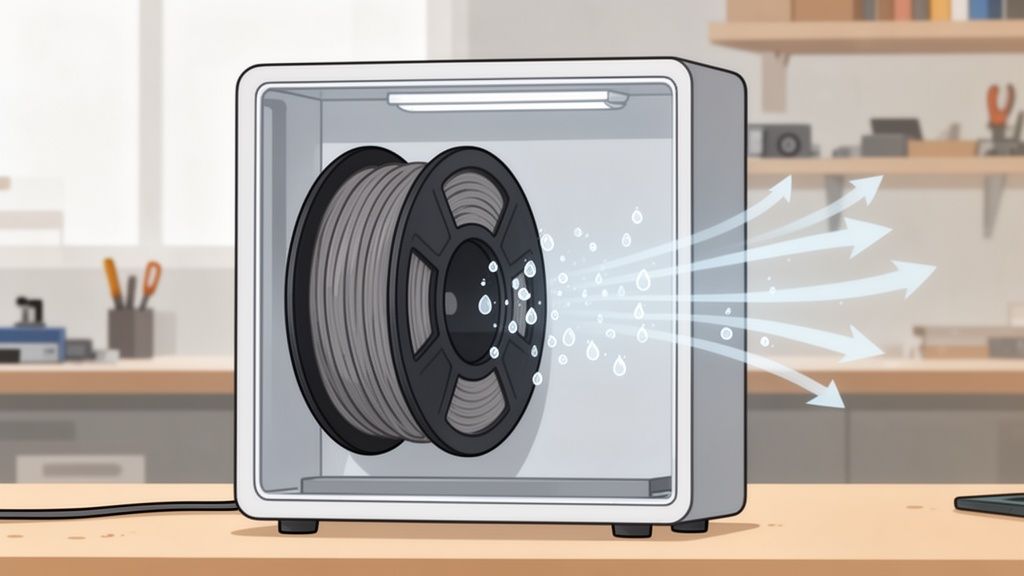
If you've ever come across a 3D print full of stringing, bubbles, or so brittle it breaks just by looking at it, you've almost certainly met the number one enemy of every maker: moisture. 💧 Many filaments, like PLA or PETG, are like sponges that absorb water from the air, and that can completely ruin your projects. That's what filament dryers are for — the ultimate tool to eliminate that moisture in a controlled way.
Why moisture is your worst enemy 🤫
The plastic we use in FDM 3D printing is hygroscopic, a technical word that basically means it loves absorbing moisture from the environment. When that wet filament passes through the hot extruder, the trapped water turns into steam almost explosively. What a mess! 🤯
This small phenomenon degrades the material and translates directly into a disaster:
- Weak and brittle parts: The bond between layers suffers and the part loses all its strength. 💔
- Surface finishes you'd rather forget: Bubbles start to appear, along with the notorious stringing and textures that shouldn't be there. 🕸️
- Extruder clogs: The steam can create blockages and cause the print to fail halfway through. 😫
In the world of 3D printing in Spain, especially in coastal areas, this problem is responsible for up to 80% of failed prints. That's why investing in a dryer is not a luxury — it's a fundamental step to guarantee quality and save yourself a lot of headaches. If you want to learn more about the process, we recommend reading about what filament 3D printing is and how it works on our blog.
How to tell if your filament has moisture? 🤔
Before going crazy changing slicer settings or taking apart your 3D printer, learn to listen and watch what your filament is telling you. The clearest sign is audible: if you hear small pops or crackles 💥 while printing, that's the unmistakable sound of water evaporating suddenly as it passes through the hotend.
Visually, the clues are just as obvious. If your parts start coming out badly all of a sudden, look out for these symptoms that give away a damp spool:
- Excessive stringing: Those annoying cobweb-like threads connecting parts of the print that shouldn't be touching.
- Surfaces with a strange texture: The part's finish looks rough, porous, or even has micro-bubbles.
- Layers that don't bond well: Adhesion between layers is poor, making the model feel weak.
A pro tip: if a part breaks too easily when bent slightly, the filament was almost certainly damp.
A print made with material that has absorbed water will always be far more brittle. Recognising these problems early will save you a lot of frustration, time, and wasted material.
How to choose the ideal filament dryer for you 👍
Finding the perfect filament dryer for your workshop isn't as straightforward as it seems. The market is full of options, from very basic boxes with a simple heater to more advanced units that give you full control over temperature, include timers, and even fans to keep air circulating.
The key is asking yourself what you actually need. Do you usually dry a single spool every now and then, or do you have several in constant rotation? Do you like experimenting with more technical materials that need temperature and humidity control down to the last detail?
A good dryer does much more than just heat. It keeps the temperature stable and moves the air to remove moisture effectively.
If you hear crackling while printing, you're getting strings everywhere, or the filament snaps just from looking at it, that's a clear sign: time to dry.
Our goal is to help you invest in a tool you'll actually use, not another gadget that ends up gathering dust in a corner. And to make sure you get it right not only with the dryer, but also with the materials, don't miss our complete guide to choosing filament for your 3D printer.
Drying times and temperatures: the ultimate cheat sheet 📝
Here's the cheat sheet you'll want to keep near your printer. Every material is its own world and, as such, needs its own drying recipe; treating a PLA is not the same as treating a Nylon, not even close.
So you don't have to go in blind, we've put together a clear, straightforward guide with the settings that work best for the most common filaments.
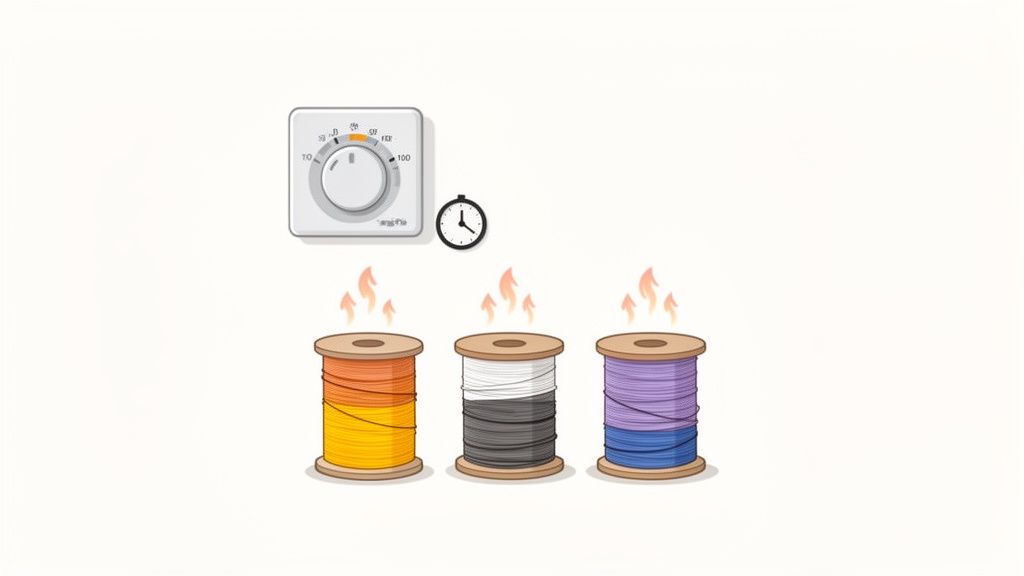
Getting these values right is essential. If your temperature is too low, moisture will still be there; if you go too high, you risk warping the filament or even the entire spool. To better understand why, you can take a look at our guide on the different types of 3D filaments.
Pro tip 💡: Always start with the lowest temperature and time in the recommended range. It's much easier to add an extra hour of drying than to try to recover a filament that's been ruined by too much heat.
DIY alternatives for drying your filament (with great caution) ⚠️
If you haven't made up your mind about a professional filament dryer yet, there are some DIY tricks that can get you out of a tight spot. But be careful — use them with great caution.
The most well-known option is using your kitchen oven. However, it's a risky move. The risk of melting the plastic spool, or worse, the filament itself, is very high. Home oven thermostats are not at all precise and tend to have temperature spikes that can ruin your material in the blink of an eye.
Watch out! 💥 A few degrees too many and you can say goodbye to an entire spool. I really wouldn't recommend it at all for sensitive materials like PLA, which has a very low glass transition temperature.
Another alternative is to use food dehydrators or put together an airtight box with a good amount of silica gel. Although these are considerably safer methods than the oven, their effectiveness falls short.
These solutions can work as a temporary fix, but if you're truly looking for consistent results and safety, investing in dedicated equipment is worth it. It will save you headaches and wasted material.
Quick questions about filament drying 🤔
Here we'll answer those typical questions that always come up when we talk about keeping moisture under control.
Do I need to dry a freshly opened spool?
The short answer is: yes, just to be safe. Even if it comes vacuum-sealed, that is not a total guarantee that the filament is 100% dry. Sometimes the bag has lost some of its vacuum along the way, or the desiccant packet is purely token.
For super sensitive materials like Nylon or TPU, running a short drying cycle as soon as you open it is a habit that will save you a lot of headaches. As they say, better safe than sorry! ✅
Can you print directly from the dryer?
Absolutely, and in fact that is the ideal way! Most modern dryers are designed so you can feed the filament through a slot and directly into the 3D printer.
This is a total game changer for long prints. You make sure the material stays in perfect condition from the first to the last layer, no matter how many hours the part takes. 🌟
Conclusion:
At this point, it is clear: controlling humidity is not a whim, but a necessity if you want to achieve professional-quality 3D printing results. 🎯 We say this from experience: a filament dryer is one of the best investments you can make to say goodbye to failed prints, wasted material, and those hours of frustration we all know too well.
It is a small step that completely transforms your results and takes your creations to the next level.
Ready to leave humidity problems behind? Take a look at our selection of dryers and filaments in the Mr Resin online store!
And if you want more, join our makers community in our Telegram group, where we share exclusive discounts and deals. Don't forget to subscribe to our newsletter so you never miss any news, coupons, and exclusive events. 💌
✨Happy Printing! 🚀