
🧲 Would you like to print flexible and super resistant parts on your 3D printer in 2025? The secret lies in mastering how to print TPU, the flexible filament that is revolutionizing the maker world.
In this practical guide you will discover everything you need to succeed: from what TPU is and why to choose it, to how to prepare your 3D printer, recommended settings, advanced techniques and tips for solving common problems.
Today, flexible applications in 3D printing are booming, and TPU offers unique advantages that more and more users are looking for. Imagine creating useful, durable parts with a professional finish at home.
Ready to take your projects to the next level? Keep reading and learn to master TPU like a true pro in 2025. The flexible adventure starts here! 🚀
What is TPU and why choose it for 3D printing?
TPU (thermoplastic polyurethane) is a star filament for those looking for flexibility and resistance in 3D printing. This material stands out for its elasticity, capable of stretching up to 500% without breaking, and for withstanding daily wear, chemicals and oils. Printing TPU allows you to create parts that are not only flexible, but also incredibly durable.
Compared to other filaments such as PLA, PETG and ABS, TPU is differentiated mainly by its ability to absorb impacts and vibrations. Take a look at this quick table:
| Filament | Flexibility | Wear resistance | Main uses |
|---|---|---|---|
| TPU | ⭐⭐⭐⭐⭐ | ⭐⭐⭐⭐⭐ | Cases, insoles, flexible parts |
| PLA | ⭐ | ⭐⭐ | Prototypes, decorative parts |
| PETG | ⭐⭐ | ⭐⭐⭐ | Technical parts, bottles |
| ABS | ⭐ | ⭐⭐⭐ | Housings, mechanical parts |
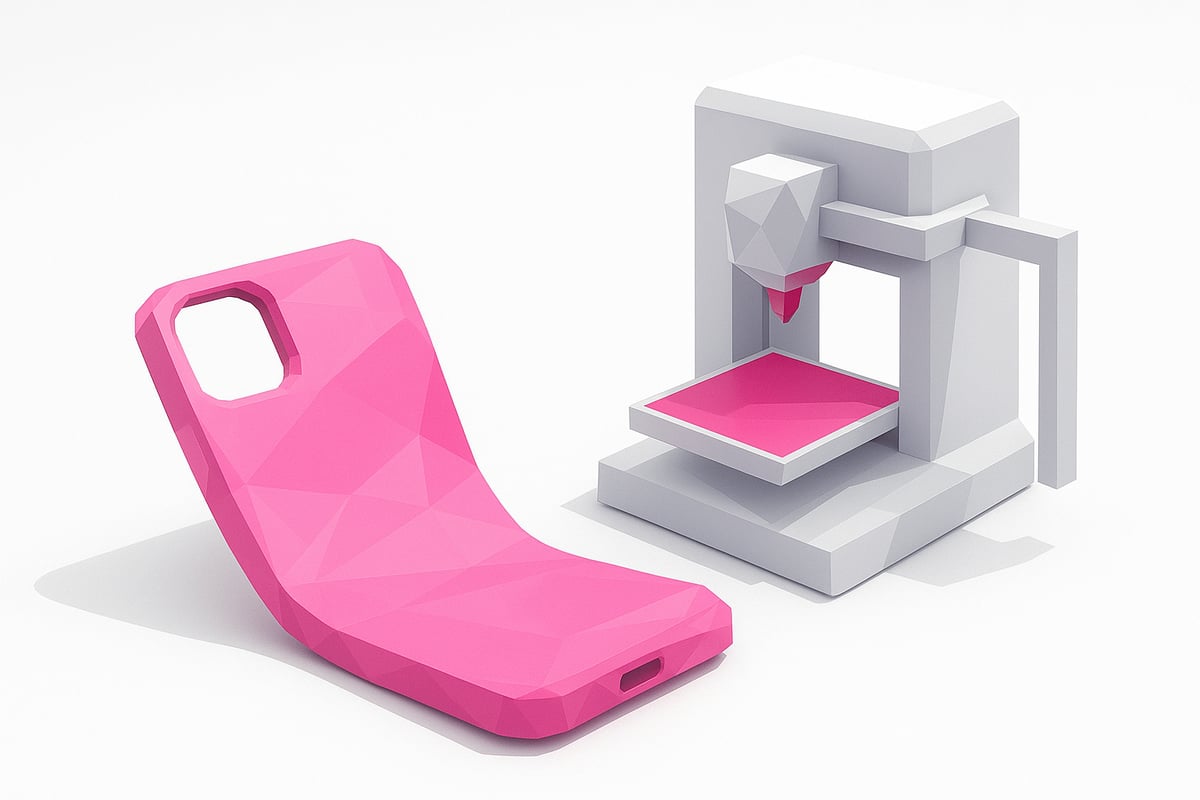
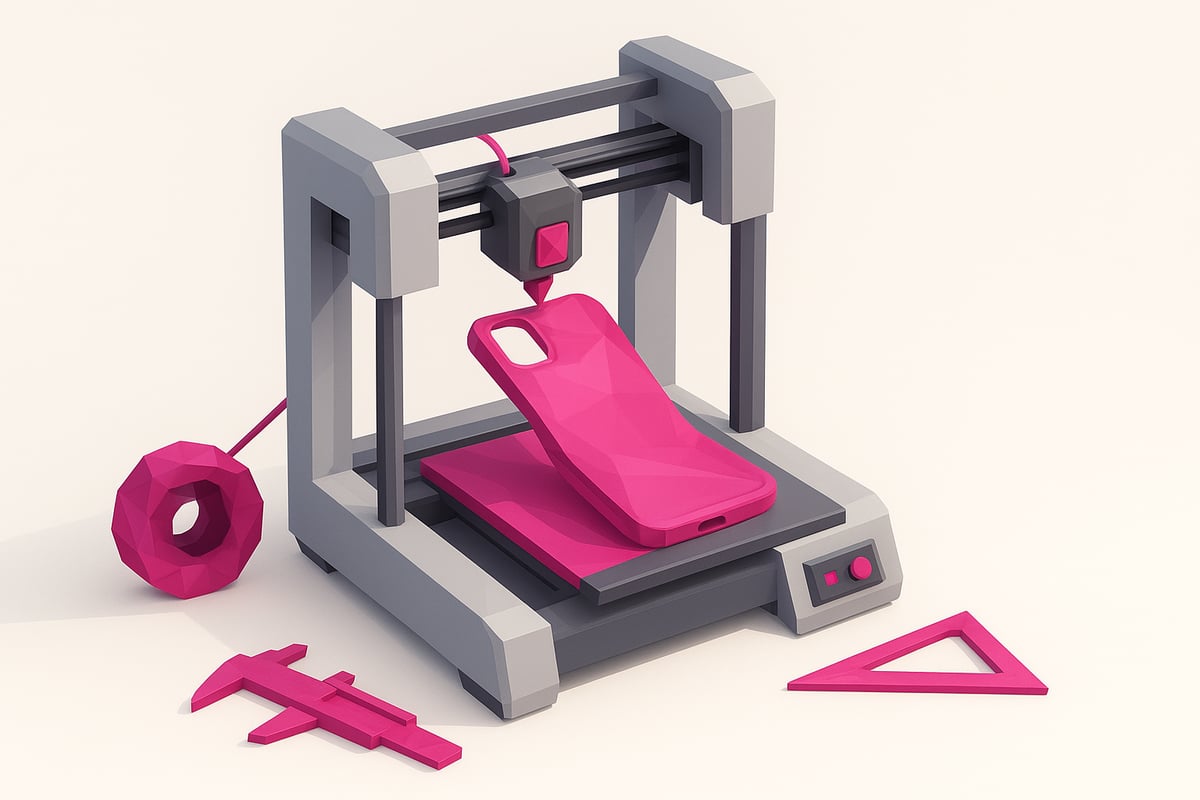
Today, printing TPU is trending in functional prototyping, phone cases, orthopedic insoles and industrial parts. If you are unsure between different Shore hardnesses (85A, 90A, 95A), choose according to the flexibility you need: the lower the number, the softer the material.
Want to know more about how to choose the best filament for your 3D printer? Discover all the details in the Complete guide on 3D filaments. That way, you can print TPU and take advantage of its ability to absorb shocks and vibrations in your next projects.
Preparing the 3D printer to print TPU
Ready to take the leap and start printing TPU on your 3D printer? 🧰 Proper preparation is the key to obtaining flexible parts without any headaches.
Extruder and nozzles: the unbeatable duo
To print TPU without issues, choose a direct drive extruder. These extruders offer better control over flexible filament and reduce jams. If your 3D printer uses a Bowden system, you can still print TPU, but you'll need to lower the speed and fine-tune retraction.
The recommended nozzle is at least 0.4 mm, although a 0.6 mm nozzle improves flow and prevents blockages. Don't forget to check the condition of your nozzle before you start!
Cleaning and maintenance: the foundation of everything
Before loading TPU, thoroughly clean the hotend and remove any remnants of other materials. A dirty hotend can cause jams and poor print quality. Take the opportunity to inspect the extruder and make sure the gears are clean and free of debris.
Filament path and spool holder
Minimise friction along the filament path by using properly aligned guides or PTFE tubes. An improved spool holder, placed directly above or at the level of the extruder, helps TPU feed smoothly and without tugging. If you're looking for ideas to upgrade your machine, here are some step-by-step 3D printing tutorials that you'll find super helpful.
Print bed and precise calibration
Choose a print surface that offers good adhesion, such as PEI or textured glass, but avoid using hairspray or glue to prevent excessive adhesion. Level the bed precisely and run an extrusion test to make sure the filament flows evenly.
Quick tips to avoid jams
- Use a rigid filament guide.
- Adjust extruder tension — not too loose, not too tight.
- Keep the speed low and consistent.
Properly preparing your 3D printer is the first step to successfully printing TPU. Take the time to make these adjustments and you'll see how your parts come out flexible, strong, and free of unpleasant surprises.
Optimal print settings for TPU in 2025
Want to achieve professional finishes when printing TPU? The key is to fine-tune your settings. Here we show you how to configure your 3D printer to get flexible, durable parts without failures.
Temperature and print speed
To print TPU correctly, set the extruder temperature between 210°C and 240°C. The optimal point is usually 230°C. Keep speeds low, between 20 and 30 mm/s, to avoid jams and achieve clean details. Printing too fast may result in rough surfaces or extrusion issues.
Want to dive deeper into these settings? Check out this guide on how to 3D print flexible TPU for specific recommendations based on filament hardness.
Layer height and retraction
The recommended layer height is 0.2 mm or more. This minimises the risk of blockages and achieves better flow. As for retraction, use low values: 1 to 2 mm at a speed of 20 mm/s. Avoid high values that could cause jams. Fine-tuning this setting improves part quality and reduces unwanted stringing.
Cooling and bed adhesion
During the first layers when printing TPU, turn the fan off. After that, enable it at 30%. There's no need to use a heated bed or extra adhesives, as TPU tends to adhere well to clean surfaces. This configuration helps prevent warping and improves part stability.
Adhesion problems? Adjusting bed cleaning and cooling can make a difference when printing TPU, achieving flat, well-adhered bases.
Summary table of recommended settings
Here is a quick summary of the ideal settings for printing TPU:
| Parameter | Recommended value |
|---|---|
| Temperature | 210°C - 240°C |
| Speed | 20 - 30 mm/s |
| Retraction | 1 - 2 mm at 20 mm/s |
| Layer height | ≥ 0.2 mm |
| Perimeter width | 0.4 - 0.6 mm |
Save your custom profile in the slicer for future projects. This way, you will always have your optimized settings at hand and avoid repeated mistakes.
Advanced tips for flawless TPU printing
Want your flexible parts to come out perfect every time you print TPU? These advanced tricks will help you avoid the most common mistakes and get the most out of your 3D printer.
Always keep your filament dry. TPU absorbs moisture like a sponge, which can cause bubbles and stringing problems. Use desiccant bags or dehumidifying boxes before printing TPU to ensure a smooth, strong finish.
Adjust retraction and temperature carefully. To avoid annoying stringing, try short, slow retractions. Run temperature tower tests to find the sweet spot for your spool. If you can, calibrate the flow between 95% and 105% using test cubes to fine-tune your results even further.
Modify your 3D printer with top spool supports and 3D printed guides. This reduces friction and improves filament feeding, especially when printing low-hardness TPU. If you need inspiration, you can find more tips and tricks for printing TPU to help you optimize your experience.
Choose the right filament hardness for your project. Soft parts (Shore 85A) absorb impacts better, while stiffer ones (95A) are ideal for structural parts. When removing parts, gently flex the base or use a thin spatula to avoid damaging the print bed.
With these tips, you will have fewer failures and more flexible parts ready to use in any application.
Troubleshooting common issues when printing TPU
Having problems printing TPU? Don't worry! Here I explain how to overcome the most common failures so your parts come out perfect.
Clogs and flow problems
Extruder clogs usually appear due to excessive retraction or very high speeds. Lower the print speed and reduce retraction to 1-2 mm to prevent the filament from jamming.
Make sure the nozzle is clean and use a diameter of at least 0.4 mm. Check the extruder tension and clean the gears for smooth feeding.
Most common surface defects
Seeing stringing, bubbles, or uneven layers? Dry the filament thoroughly, adjust the temperature, and reduce retraction. If bubbles appear, it is a sign of moisture in the material.
Try enabling the fan only from the second layer onwards and keep the flow between 95% and 105% depending on the quality of your parts.
Quick diagnosis and maintenance
Run single-wall tests to identify over-extrusion or under-extrusion issues when printing TPU. Check the PTFE tube and replace it if you notice wear.
Clean filament residue from the nozzle and gears regularly. If you need more tips, check out this 3D printing troubleshooting guide to master the art of printing TPU.
Optimization and profiles for success
Save your optimized print profiles after each adjustment. That way, the next time you go to print TPU, you'll have a reliable starting point and avoid repeating mistakes.
Remember: each spool may require small changes in temperature or flow. Practice makes perfect!
Frequently asked questions about TPU printing
Have questions about how to print TPU successfully? Here are the answers to the most common questions! 🤔
- Do I need a heated bed to print TPU? No, most TPUs adhere perfectly without a heated bed.
- Which nozzle is best? It is recommended to use at least a 0.4 mm nozzle, but 0.6 mm reduces the risk of clogs.
- How do I avoid stringing? Adjust retraction and keep the filament dry.
- Why is drying important? TPU absorbs moisture quickly, which can cause bubbles and defects.
- What do I do if the filament gets clogged? Lower the speed, check the tension, and clean the extruder.
- How do I store TPU? Keep it in airtight bags with silica gel.
- What settings do I use for functional parts? Use 0.2 mm layers, low speed, and optimal temperature. If you want to go deeper, check out this Complete guide to 3D printing with TPU.
That's it! Now you have everything you need to print TPU without complications. If you have any other questions, write them in the comments or join our community.
Conclusion:
Now you have all the keys to printing TPU successfully in 2025! Remember that mastering this flexible filament opens the door to durable, useful, and professional projects. To dive deeper into the basics, you can take a look at What is filament 3D printing to complement your learning.
Visit our online store to discover the best filaments, 3D printers, and accessories. Also join our Telegram group at https://t.me/MrResin3D and don't miss out on discounts, coupons, and the support of a passionate community.
Don't forget to subscribe to our Newsletter and receive exclusive offers, news, and tips to make your TPU printing experience always a 10.
✨Happy Printing! 🚀
Now that you know how to prepare your 3D printer, what settings to use, and even how to troubleshoot the most common errors with TPU, you're probably itching to experiment with new projects. And if you want to try different types of filaments or need to restock, I recommend taking a look at the selection of materials we have. Here you'll find everything from TPU to more rigid options, perfect for any idea you can think of. Take a look and find the perfect filament for your next 3D printing project:
View all 3D printing Filaments